


















Something’s Fishy About this Lomography La Sardina DIY Camera Build
Mar 31, 2026
David Prochnow
Our resident “how-to” project editor, David Prochnow, lives on the Gulf Coast of the United States in Ocean Springs, Mississippi. He brings his expertise at making our photography projects accessible to everyone, from a lengthy stint acting as the Contributing How-To Editor with Popular Science magazine. While you don’t have to actually build each of his projects, reading about these adventures will contribute to your continued overall appreciation of do-it-yourself photography. A collection of David’s best Popular Science projects can be found in the book, “The Big Book of Hacks,” Edited by Doug Cantor.
Share:
Love ’em or loathe ’em, either way, Lomography knows how to treat the customer right. Whether it’s the LomoKino or the LomoMod No.1, Lomography always packs each camera model with books, posters, and accessories that make you feel special. Likewise, all of this extra packaging is accompanied by a modest price.
Contrast this mindset with some modern smartphone manufacturers, who thumb their nose at the consumer by selling $1,000+ devices sterilely packaged in nondescript white or black boxes and expect the buyer to “figure it out.” Thank goodness that Lomography, “thinks different!”
[Related Reading: An Unofficial LomoMod No.1.5 Medium Format Camera Also Shoots 35mm Film]
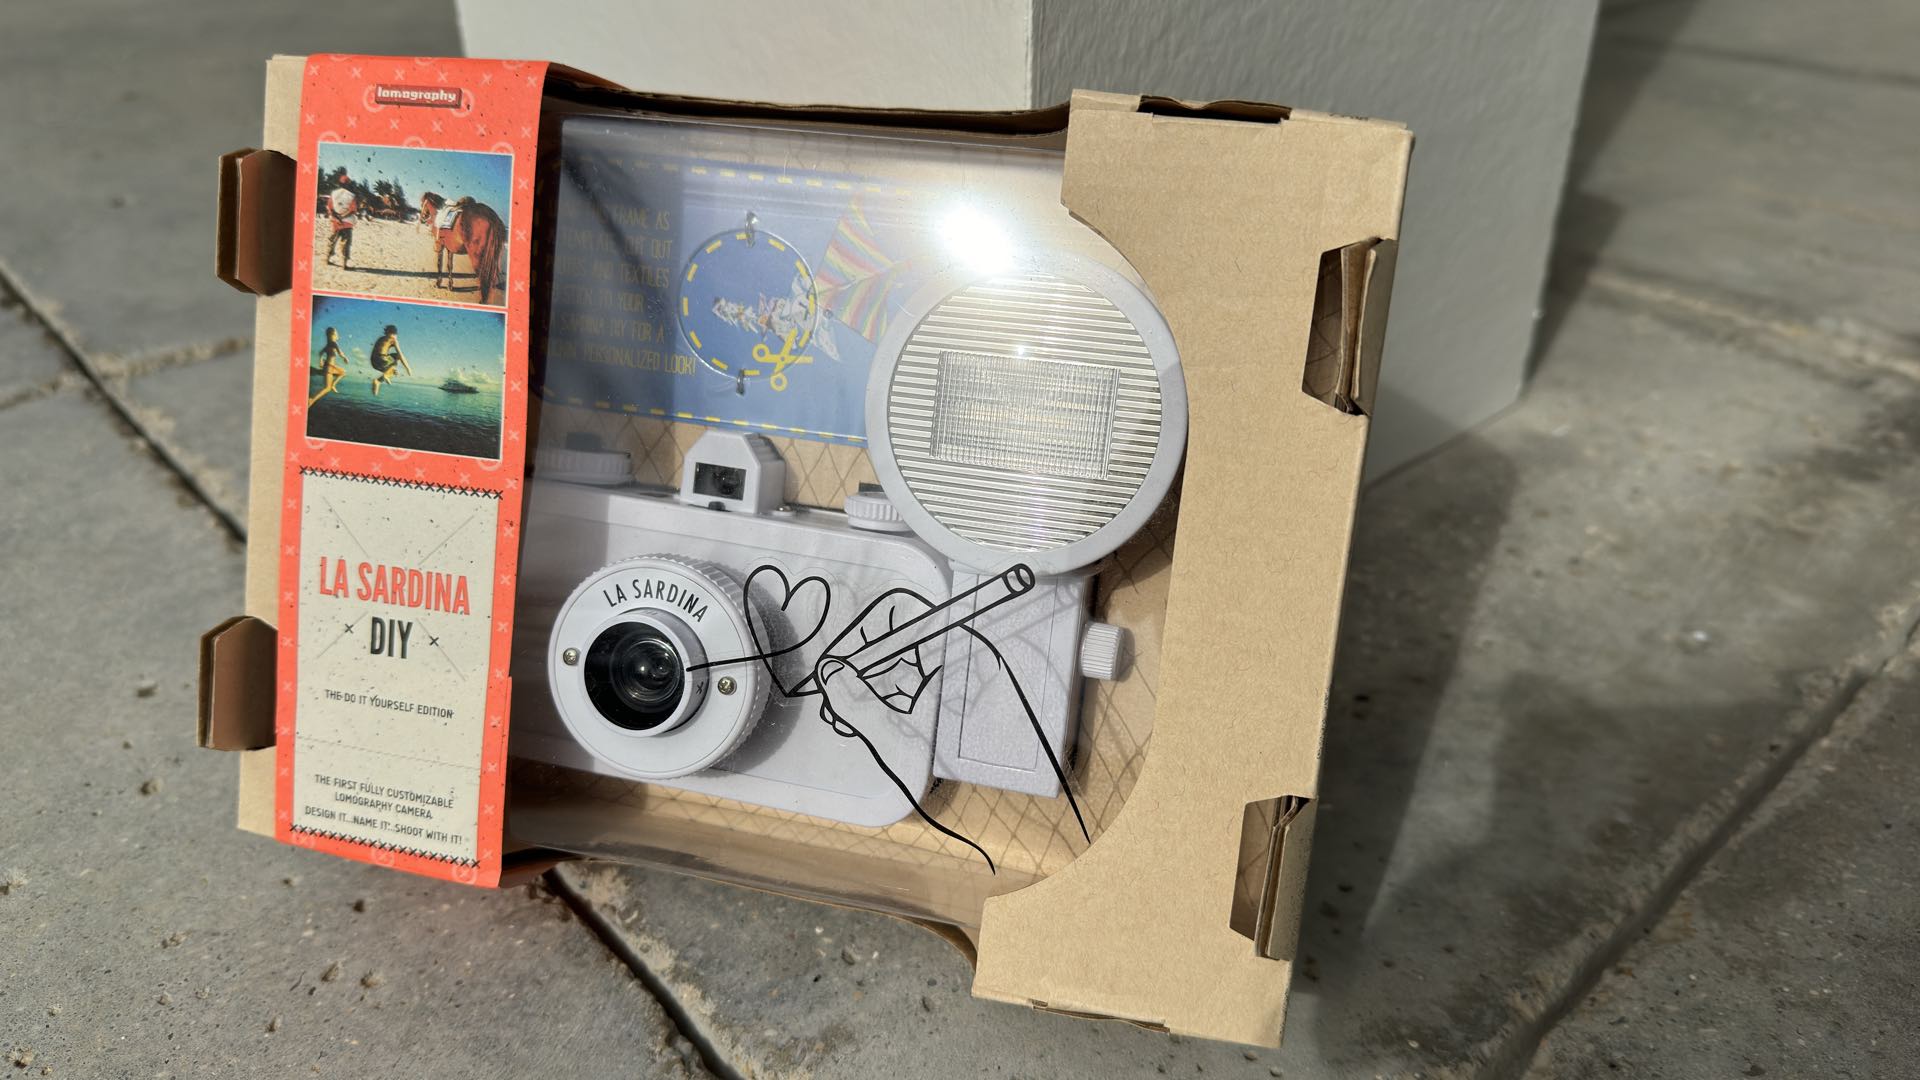
Case in point, the Lomography La Sardina DIY edition camera. Sold in a box that is literally bursting with creativity and customization, this camera is the complete antithesis of a mainstream smartphone.
Along with the “plain” canvas camera, you’ll find a 106-page softbound photographic book exploring various colorful fishing locales around the world. Supplementing this inspirational book is a large, full-color poster illustrating different views of tins holding sardines. On the back of this poster is the user manual for operating the La Sardina DIY camera.
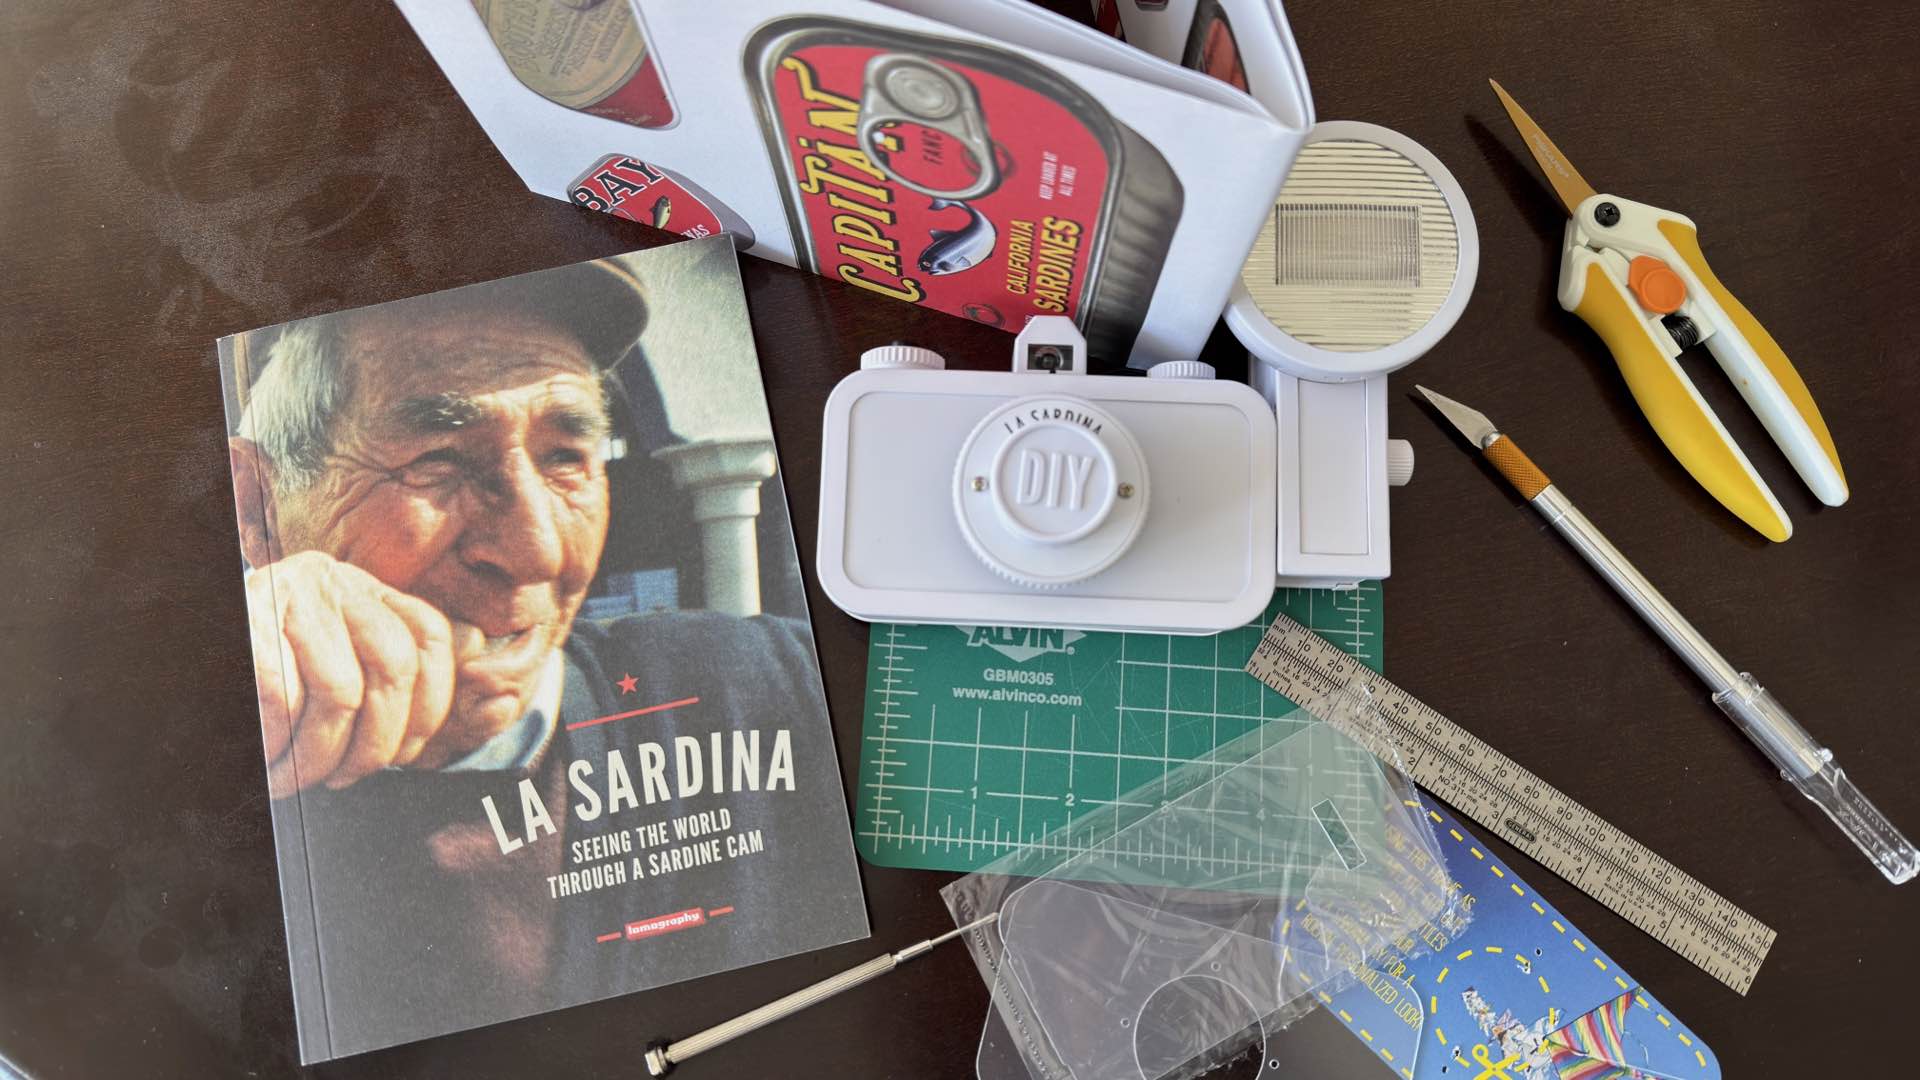
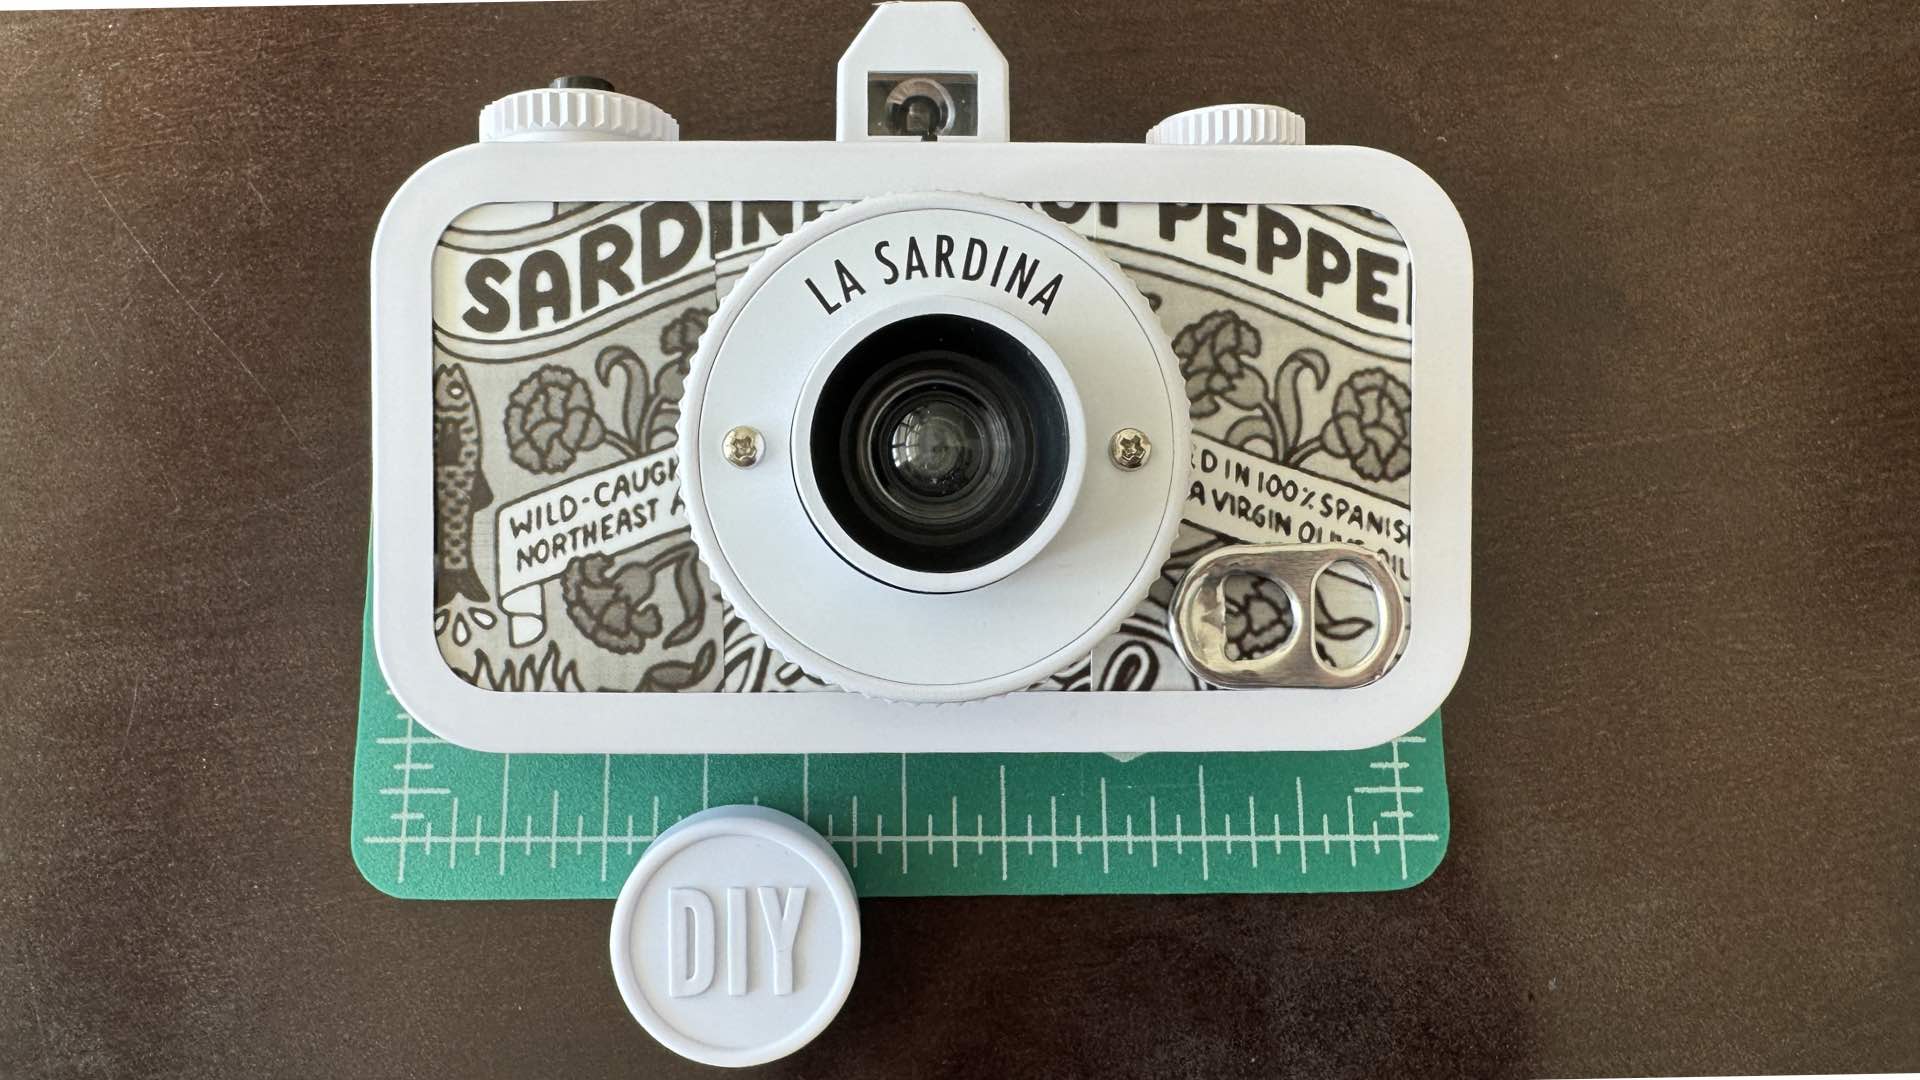
Using this supplied book and poster for inspiration, this project will demonstrate using the La Sardina DIY camera as a piece of photographic decoration. In the end, this will become an adorable piece of 3D artwork that could enhance any shelf.
A Sardine Tin without the Odor
A trip to the local supermarket served up lots of clever ideas for rendering this camera into a believable tin holding sardines. While Lomography has thoughtfully included cutting templates for the front and rear panels of the camera, a photographic reproduction of the sardine tin artwork was needed.
Furthermore, this artwork would have to be adhered to the camera’s panels. While adhesive might work, a better solution is to print the artwork on several, overlapping prints made with a Kodak Memo Shot Era camera. Each print from this camera includes a peal-off carrier sheet that exposes a sticky back.
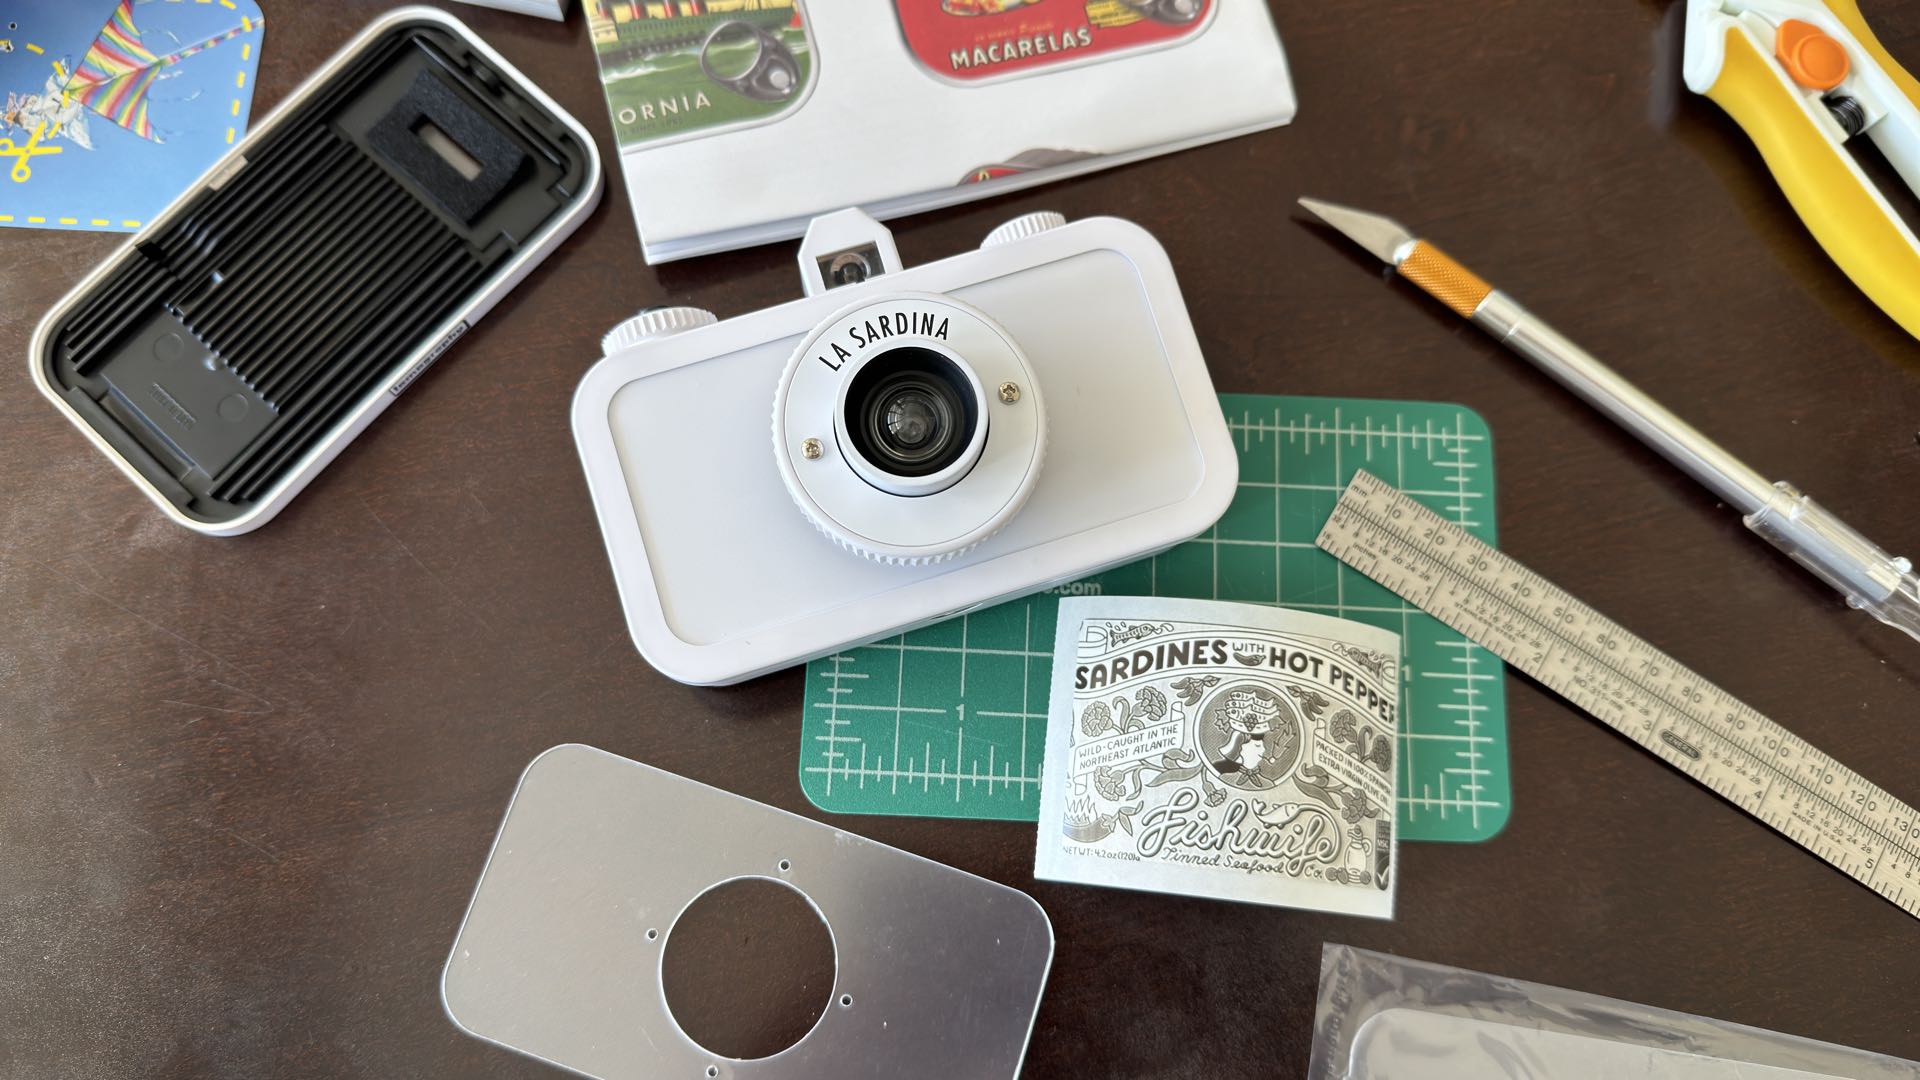
A high-resolution photograph was made of the sample sardine tin top and printed onto three sticky-back prints. These three prints were then aligned together and trimmed to size following the Lomography templates.
Adding these trimmed prints to the La Sardina DIY camera requires a complete disassembly of the front panel. Thankfully, Lomography includes a screwdriver and a handful of extra screws inside the box. These extra screws will come in handy if you accidentally drop a tiny screw that is quickly swallowed by the carpet monster.
Begin your disassembly by removing the electronic flash from the camera and setting it aside. Affectionately known as “Fritz the Blitz,” this flash will not be used in the creation of this sardine tin artwork.
There are four small screws located on the sides of the border lip surrounding the front panel. Remove these screws, but don’t be alarmed that the lip can’t be removed, yet. There are three internal clips that hold the lip in place around the front panel.
Working on the INSIDE edge of the lip, lift up one of the top corners and insert a credit card. Slide the credit card along the top edge of the lip towards the viewfinder. You will hear two clicks; two of the clips have just been released.
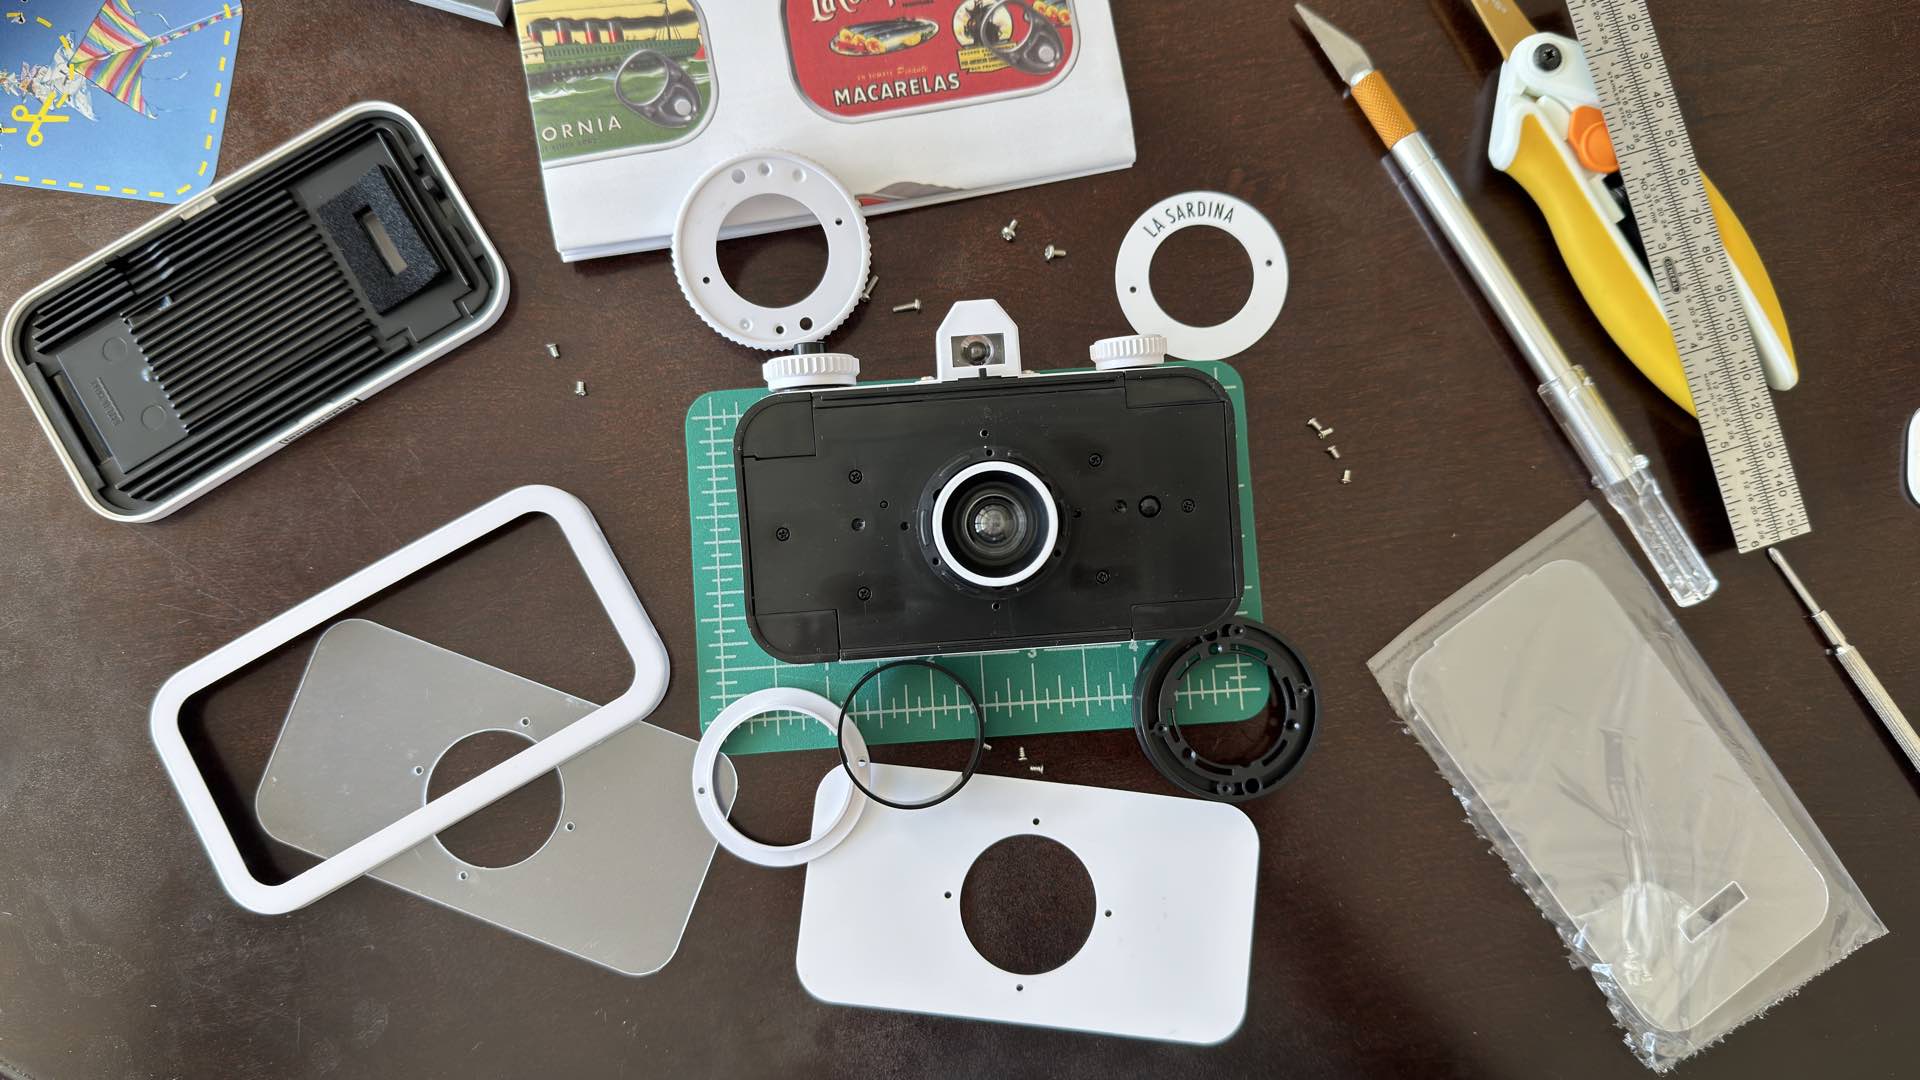
Remove your credit card and push the loosened lip towards the bottom edge of the camera’s front panel. This action should free the third, and final, clip. Lift the lip off the camera and set it aside.
Like Peeling an Onion without the Tears
The front panel is held in place by a clever set of trim rings on the lens housing. Each of these rings are removed, singly; like lifting layers off an onion. Each layer is held in place by a set of screws. Using the supplied screwdriver begin removing and exposing each of the successive trim rings.
In total, there are five trim rings that must be removed. The fourth ring isn’t held in place by screws, however. Rather, this black ring is a spacer that easily slips off the lens housing. Finally, the last trim ring is removed and the front panel can be lifted off the camera.
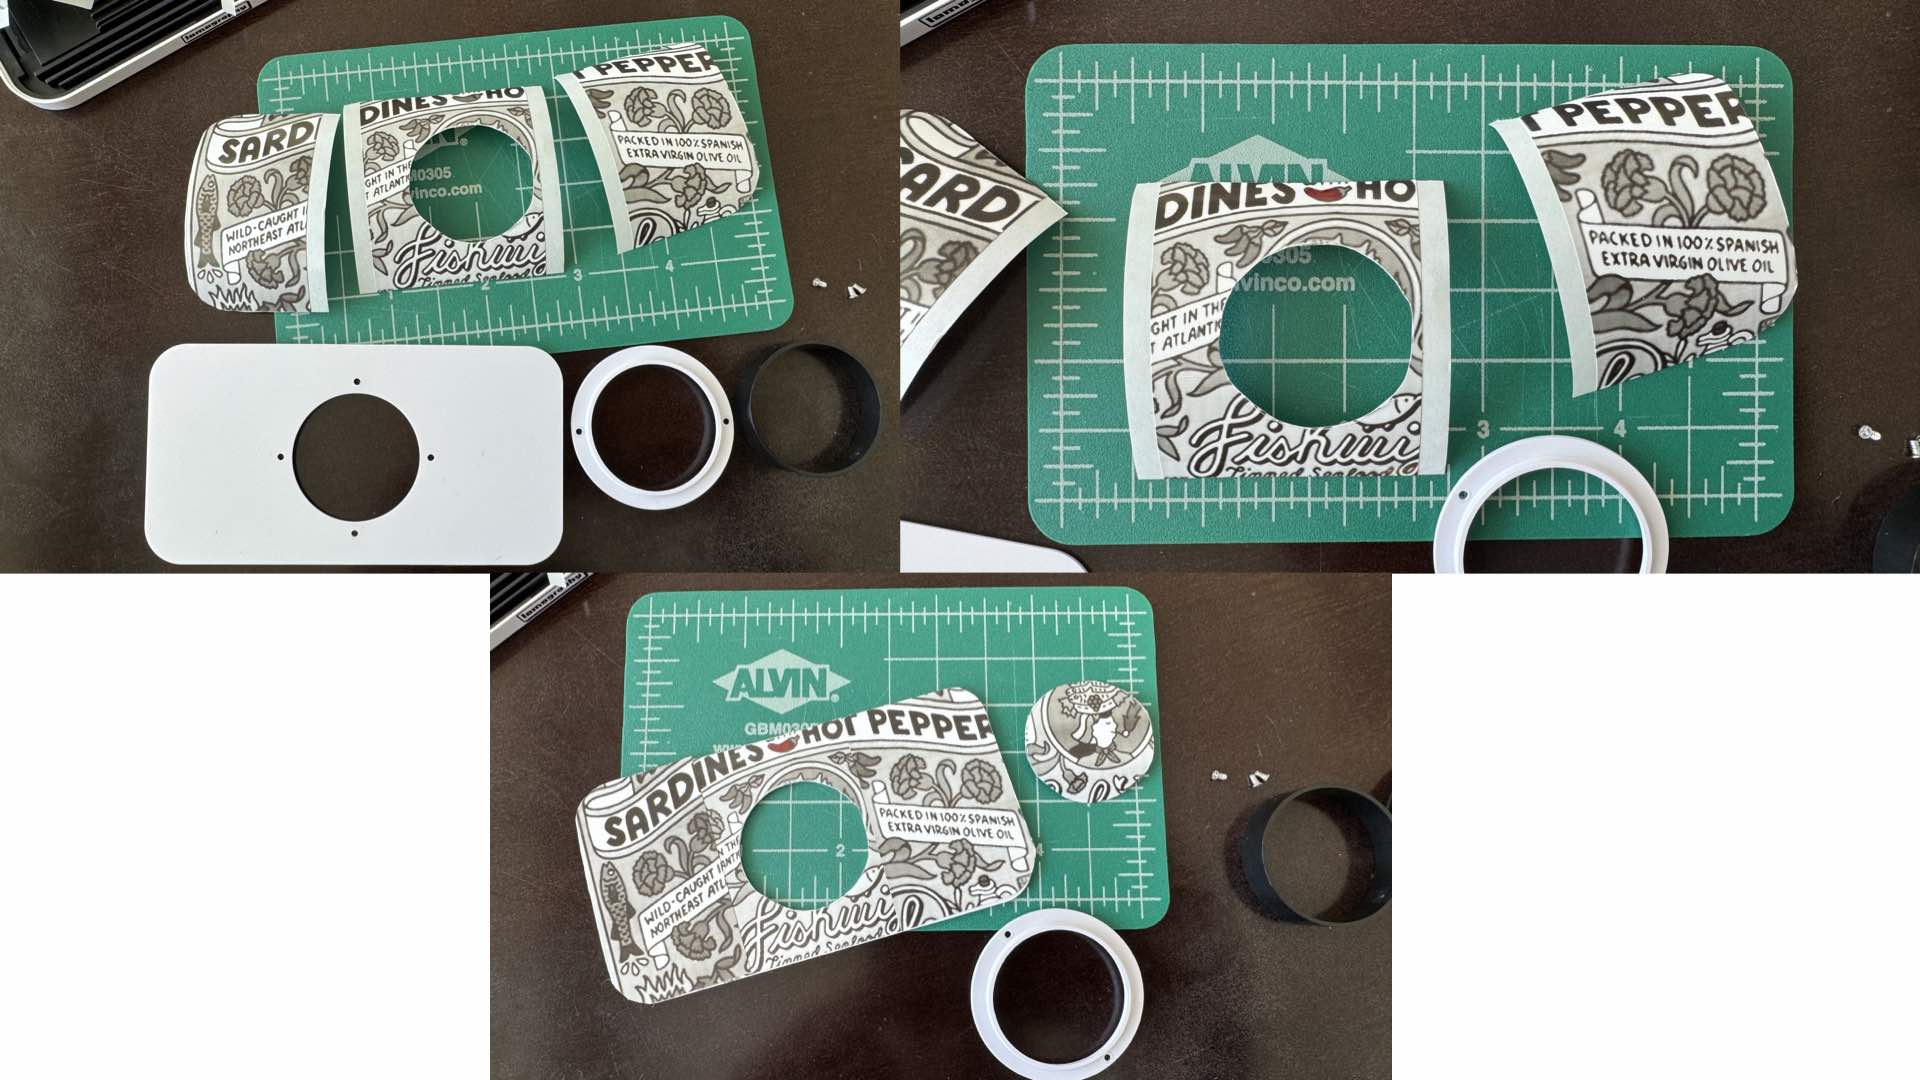
You are now ready to apply those three sticky back prints to the front panel. Optionally, you can remove the camera’s back panel and add another set of prints. Regardless of your choice, consider adding a spot or two of color to your panel prints. A permanent-ink marker is ideal for coloring small areas of one or both of the printed panels.
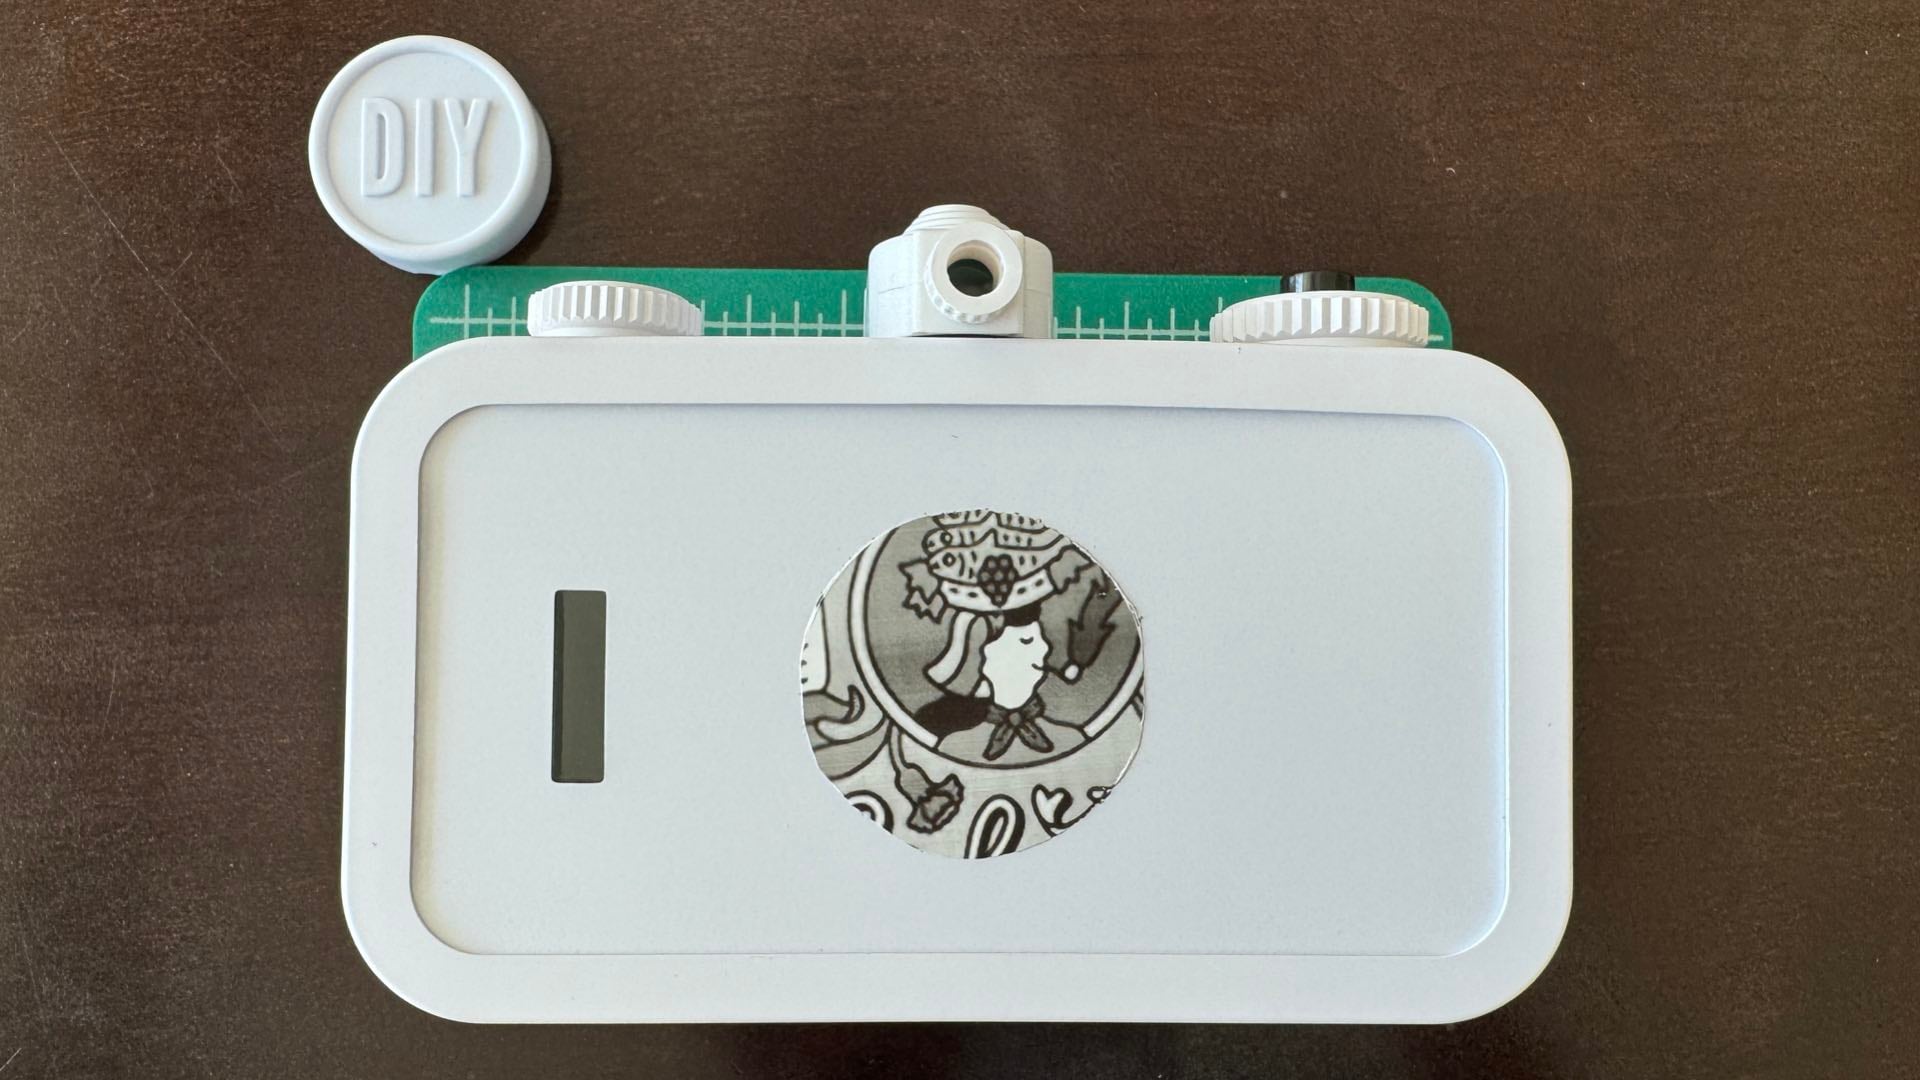
When you’re happy with the appearance of your front panel, place it back on the camera and reattach each trim ring in reverse order. One finishing touch for the completed La Sardina DIY art object is the attachment of a metal opening “key” to the front of the sardine tin. A salvaged pull-top ring from an aluminum beverage container is an ideal substitute for a real key.
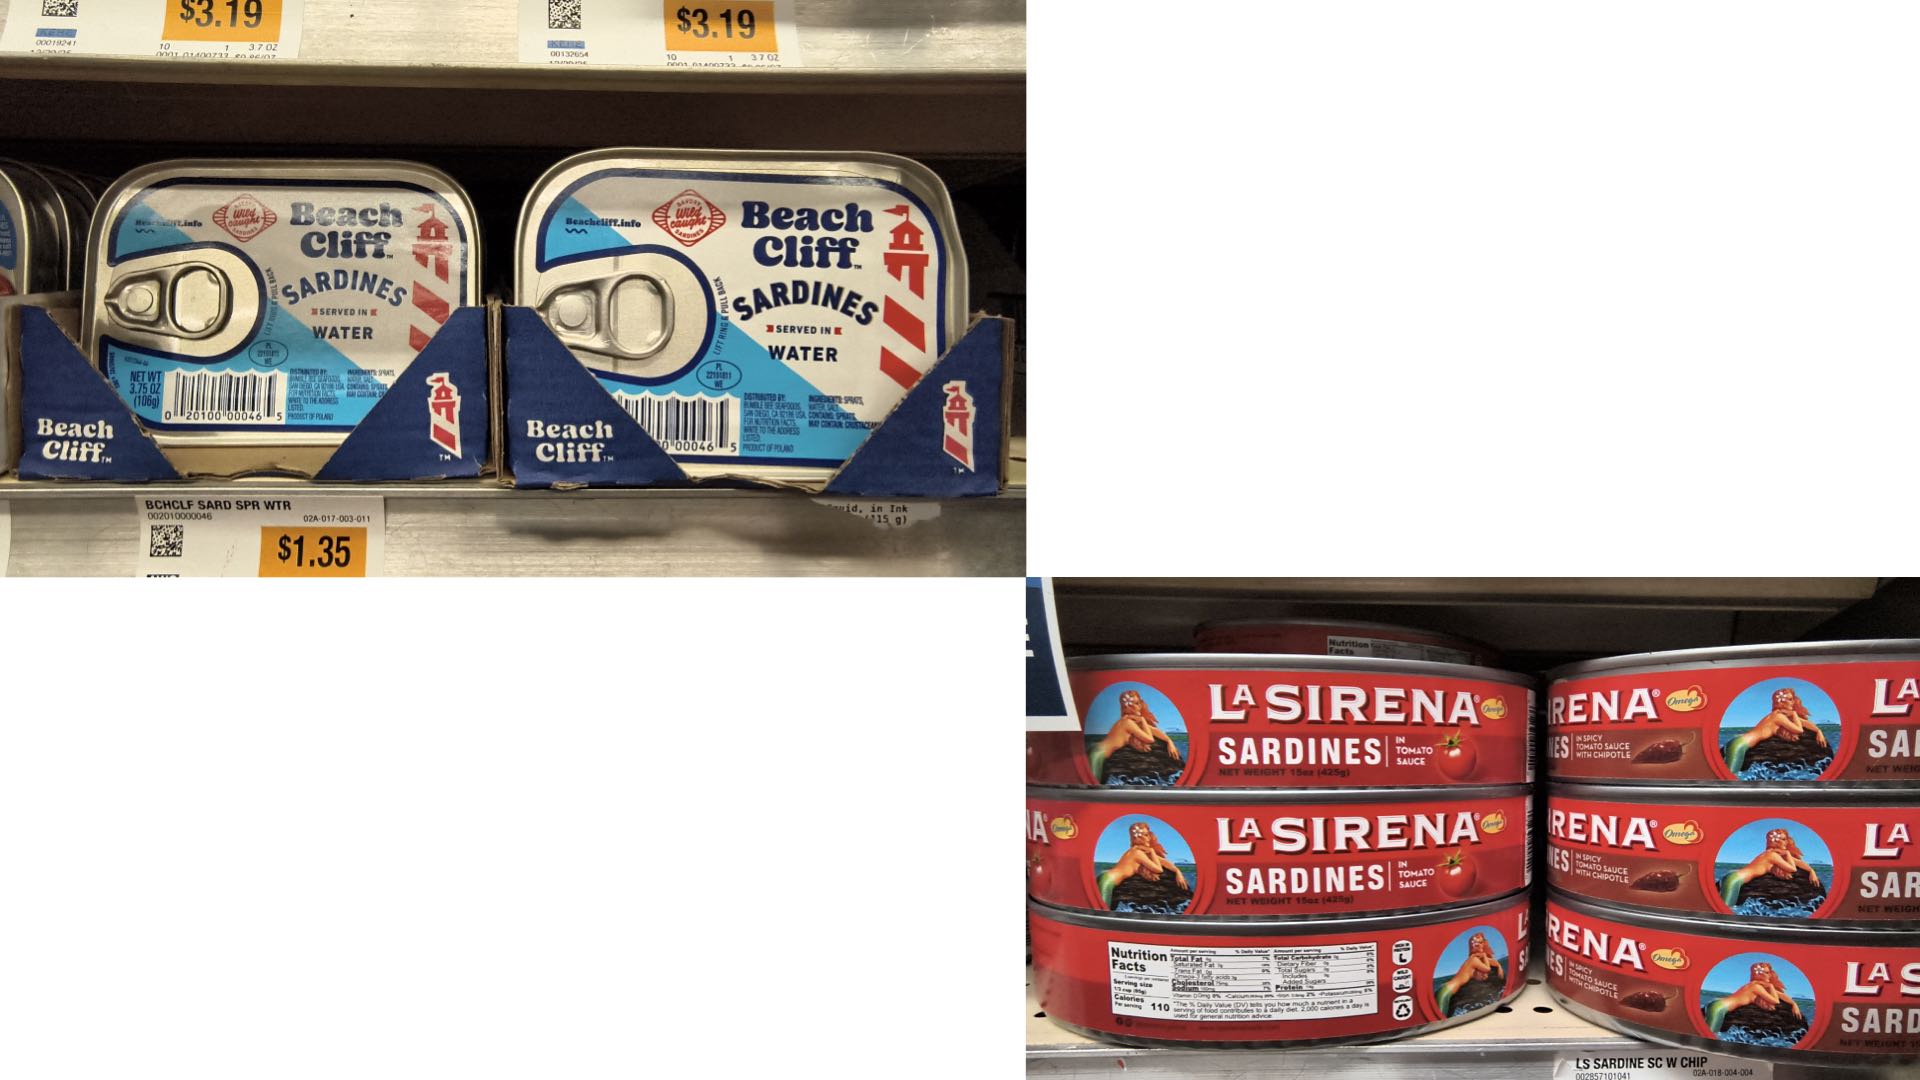
Display your completed art project proudly on a shelf. Alternatively, if you fancy a bit of performance art, think about carrying your completed La Sardina DIY camera into the supermarket and surreptitiously adding it to the store’s display of sardine tins. Photograph this “interloper” hiding amongst all of the genuine articles. Return home with the camera and add a photographic enlargement of your staged store encounter next to your newly-created camera-art object. Thank you, Lomography.
Enjoy.
See more from DIYPhotography.net on Google
Add DIYPhotography.net as a trusted source. This makes
our stories more likely to appear in your Google Search results.
 Add as a preferred source on Google

David Prochnow
Our resident “how-to” project editor, David Prochnow, lives on the Gulf Coast of the United States in Ocean Springs, Mississippi. He brings his expertise at making our photography projects accessible to everyone, from a lengthy stint acting as the Contributing How-To Editor with Popular Science magazine. While you don’t have to actually build each of his projects, reading about these adventures will contribute to your continued overall appreciation of do-it-yourself photography. A collection of David’s best Popular Science projects can be found in the book, “The Big Book of Hacks,” Edited by Doug Cantor.


Join the Discussion
DIYP Comment Policy
Be nice, be on-topic, no personal information or flames.