






















Skin Retouching Technique: Frequency Separation That Looks Natural Not Plastic
Oct 27, 2025
Darlene Lleno
Darlene Lleno brings a unique perspective to DIY Photography as someone who grew up surrounded by camera gear but chose words over lenses. With five years of writing experience, she specializes in photography content that’s both technically informed and genuinely passionate. Growing up with a photographer twin brother meant camera talk was everyday conversation in her household. While he mastered capturing moments, Darlene discovered she preferred being the subject and the storyteller behind the scenes. As a travel enthusiast and mother of two, she understands the importance of preserving life’s precious moments. When not exploring new destinations or writing for DIY Photography, you’ll find her reading or tending to her garden. Her approach to photography writing is refreshingly authentic, she may not be behind the camera, but she knows exactly what it takes to help others capture the shots that matter most.
Share:
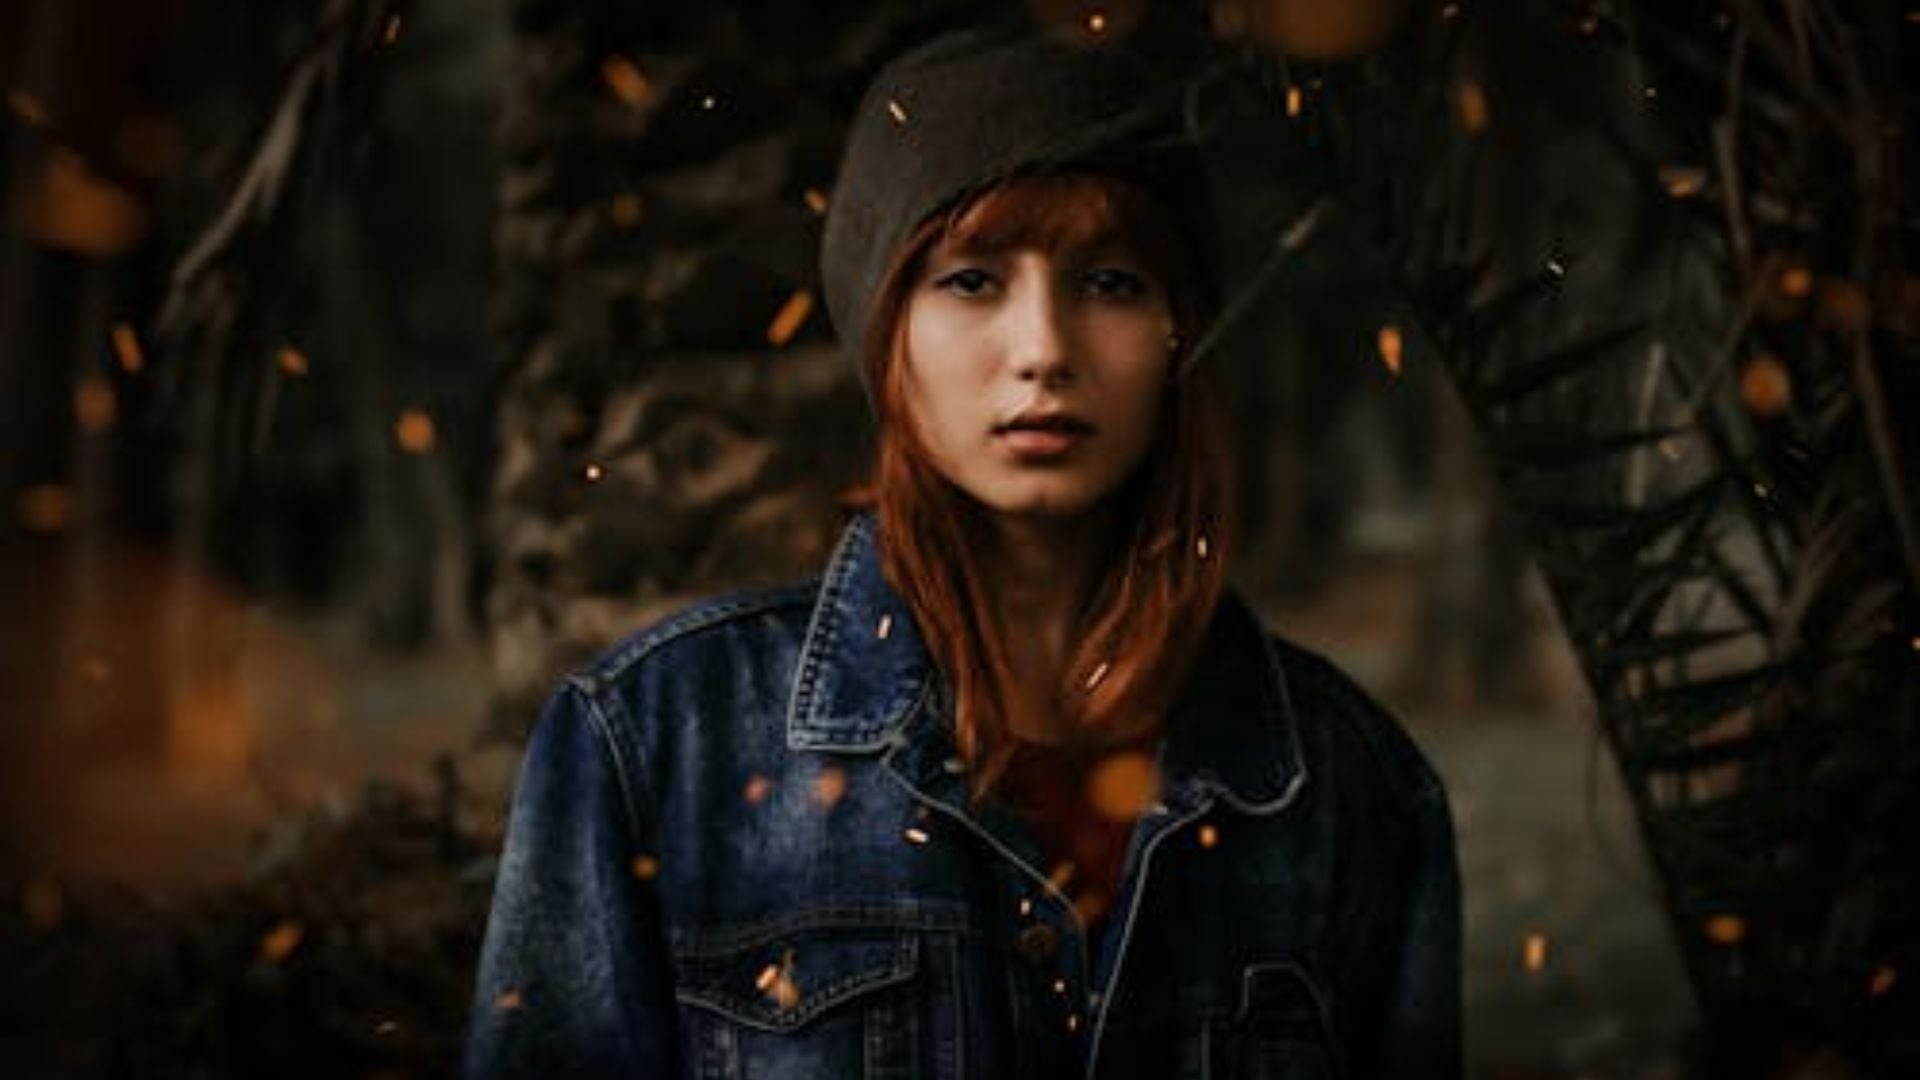
Skin retouching technique using frequency separation splits your image into two layers. You can edit texture and color independently. This method gives you precise control over blemish removal without destroying skin texture. You smooth tones while keeping pores intact. The result looks natural instead of that overly airbrushed plastic appearance.
Most beginners mess up skin retouching because they blur everything together. The healing brush removes a blemish but kills texture too. The blur tool smooths skin but makes it look fake. Frequency separation fixes these problems by separating tone and texture work. You handle color issues on one layer. You preserve or refine texture on another.
Understanding How Frequency Separation Works
Frequency separation breaks your image into high and low frequency layers. Think of it like separating ingredients in a recipe. The low frequency layer contains color information and broad tonal shifts. The high frequency layer holds fine details like pores and skin texture. You can retouch each one without affecting the other.
The low frequency layer shows blurred color and tone without texture. You see skin discoloration, uneven tones, and lighting problems clearly. Fixing these issues here won’t touch texture at all. The high frequency layer shows only texture detail. Every pore and fine line appears here without color getting in the way.
This separation matches how our eyes actually see images. We process overall color separately from fine detail. Working with separated elements feels natural. Your retouching decisions become easier and more obvious.

The Science Behind Frequency Layers
Digital images contain information at different spatial frequencies. Low frequencies show gradual changes like smooth color shifts. High frequencies capture quick changes like edges and texture. Regular retouching tools mess with all frequencies at once. This creates the plastic skin look everyone hates.
Frequency separation uses blur and math to isolate these frequencies. You make a blurred copy that keeps only low frequency stuff. Then you subtract this from the original to get high frequencies. The math makes sure both layers combine perfectly back to your original.
Pro retouchers love this skin retouching technique because it’s super precise. You control exactly what changes and what stays put. No more guessing if your edit will look real.
Common Mistakes That Create Plastic Skin
Oversmoothing the low frequency layer kills dimension in faces. Skin needs subtle tone changes to look three-dimensional. Too much smoothing flattens features and removes depth. You get that gross magazine cover look from 2005.
Removing too much texture from the high frequency layer makes skin look rubbery. Real skin has pores and fine lines. These details make portraits feel authentic. Keep more texture than you think you need. You can always remove more later.
Wrong blur radius during setup causes weird artifacts. The low frequency layer needs enough blur to separate from texture. Too little blur leaves texture in both layers. Too much blur creates halos and strange edges.
Setting Up Frequency Separation in Photoshop
Start with a clean copy of your background layer. You’ll make two new layers from this copy. Never work directly on your original image. This lets you adjust or start over if needed.
Make your low frequency layer first. Copy your working layer and apply Gaussian blur. The blur amount depends on your image size and how close you shot. Typical values run from 2 to 10 pixels. You want to blur away texture while keeping tone changes clear.
For the high frequency layer, copy your original working layer again. Go to Image, then Apply Image, and pick specific settings. Choose your blurred low frequency layer as the source. Set blending to Subtract, Scale to 2, and Offset to 128. Change this layer’s blend mode to Linear Light.
Choosing the Right Blur Radius
Portrait photographers shooting headshots usually need 3-5 pixel blur. This captures skin texture without including individual pores. Full-body shots often work better with 8-10 pixel blur. The subject takes up less space, so texture looks finer.
Test different blur amounts on a small section first. Zoom to 100% and try various numbers. The right amount makes texture completely vanish on the low frequency layer. Tone changes should stay smooth and clear. No texture detail should show up.
Your camera’s resolution affects the best blur amount too. High-resolution files need larger blur values. A 45-megapixel file needs more blur than a 24-megapixel file. Detail size scales with resolution.
Action Setup for Consistent Results
Recording a Photoshop action automates the whole setup process. You’ll use the exact same settings every time. This keeps everything consistent across images from one shoot. No more remembering specific values or steps.
Make a new action and hit record. Do all the frequency separation steps with your chosen settings. Stop recording when both layers are ready. Name your action clearly like “FS Portrait 5px” so you know the settings.
Pro retouchers keep several actions with different blur amounts. Quick access to different setups speeds up your work a lot. You can match your method to different shooting styles instantly.
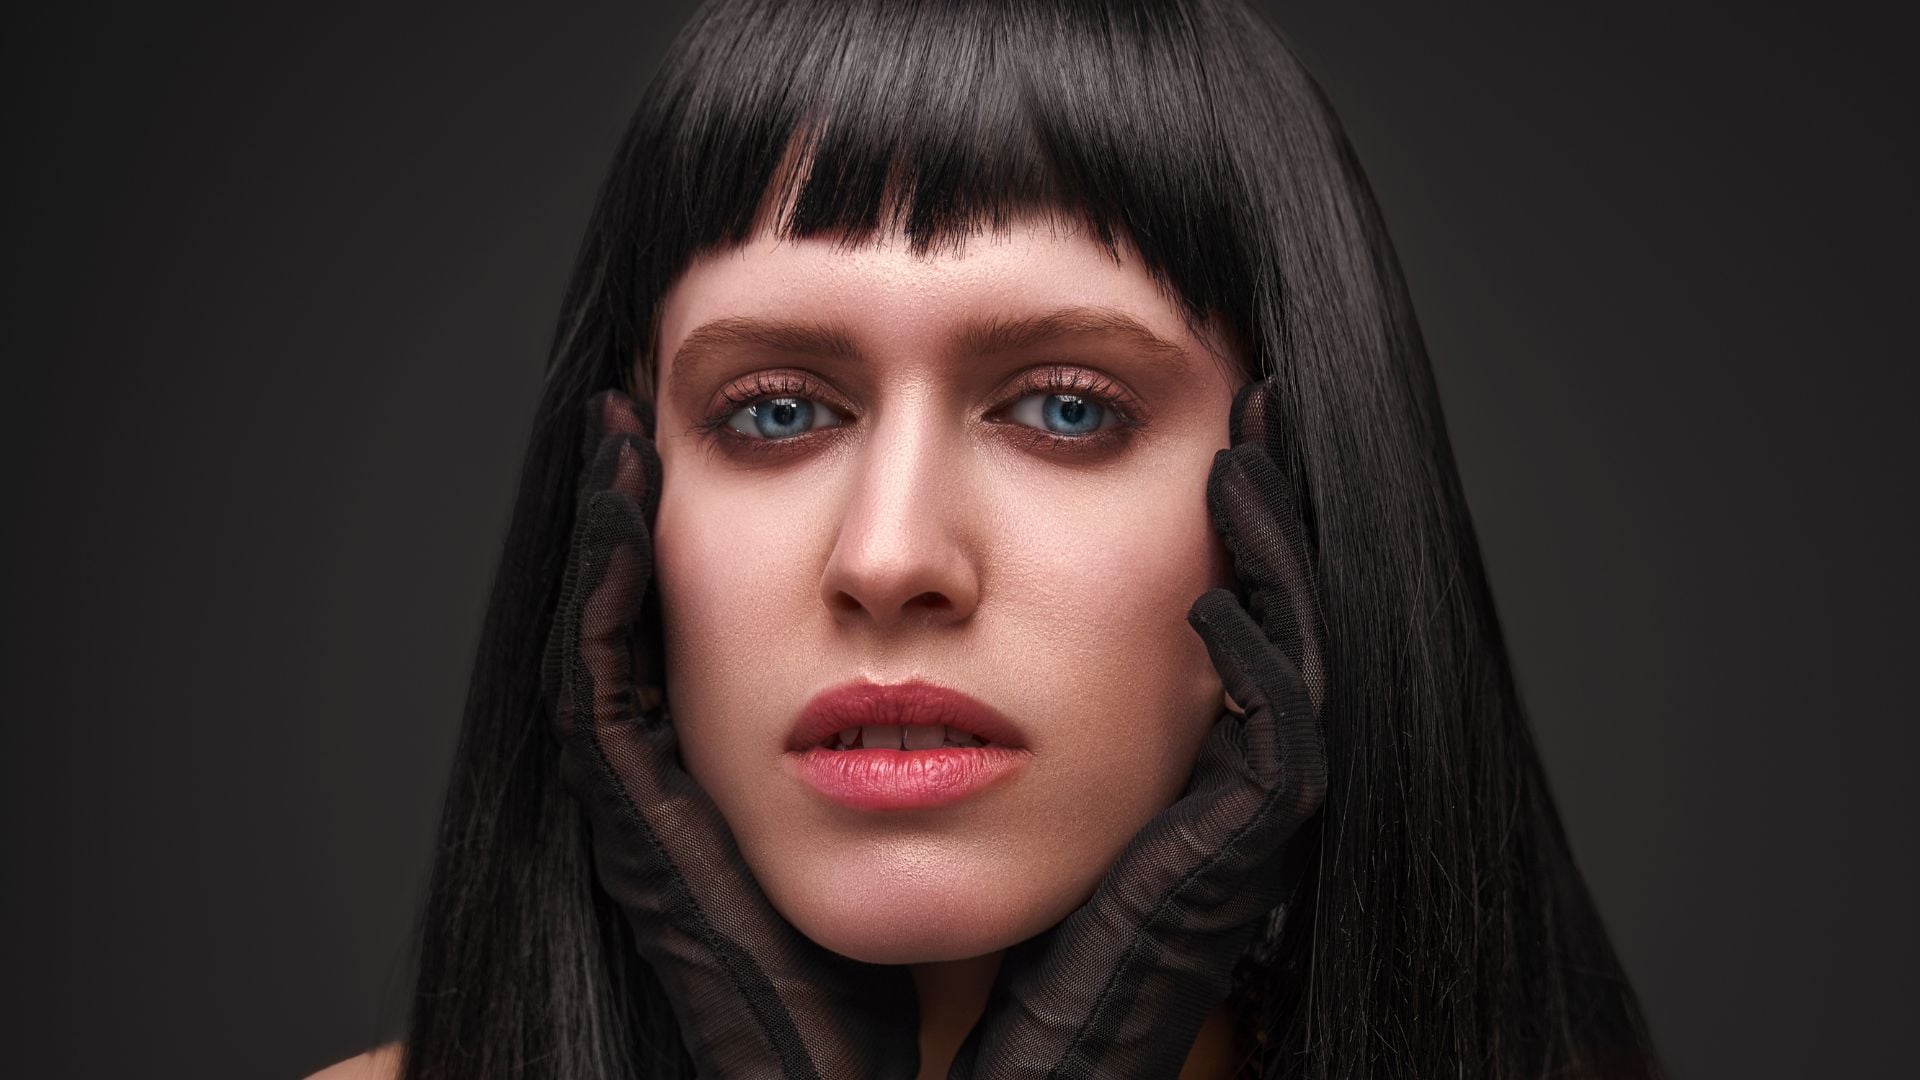
Retouching the Low Frequency Layer
The low frequency layer fixes uneven skin tones and discoloration. Use the mixer brush tool set super low around 10-20%. Sample clean skin tones and paint over problem spots. This blends colors smoothly without touching texture.
Redness around the nose and cheeks often needs fixing. Sample neutral skin tone from the forehead or cheek. Paint gently over red areas to even things out. Multiple light passes work way better than one heavy swipe.
Dark circles under eyes respond really well to low frequency work. Sample skin tone from just below the darkness. Carefully brush over the shadowed spots. Build up the fix slowly instead of trying to kill darkness in one pass.
Working With Dodge and Burn
Dodging and burning on the low frequency layer shapes faces subtly. Make a new layer set to Soft Light above your low frequency layer. Paint with white to dodge or black to burn. This dodging and burning technique adds shape without messing with texture.
Dodge the high points like cheekbones and bridge of nose. Burn the hollows under cheekbones and along the jaw. These small tweaks boost natural face structure. It looks like better lighting instead of heavy editing.
Keep your brush opacity super low around 5-10%. Build up the effect slowly with multiple passes. You want barely visible changes that add up to real improvement. Heavy dodging and burning looks obvious and bad.
Color Correction for Even Skin
Color casts hit different face parts unevenly. Foreheads might look yellow while chins look red. The low frequency layer lets you fix these problems precisely. Use a hue/saturation adjustment layer with a mask for specific areas.
Sample the bad color and move its hue slider. Shift reds toward orange to reduce ruddy looks. Move yellows toward neutral to kill jaundiced tones. Small moves of 5-10 degrees usually work fine.
Saturation tweaks help too. Too much saturation looks sunburned or makeup-heavy. Drop saturation in problem spots by 10-20%. This creates more neutral, natural skin tones that look better.
Refining the High Frequency Layer
The high frequency layer holds all texture detail. Work here to remove blemishes while keeping good texture. Use the clone stamp or healing brush set to Current Layer. This makes sure you only touch the texture layer.
Zoom to at least 100% for precise work. Pick a clean texture area near the blemish. Clone this good texture over the problem spot. The color and tone underneath stay the same because they live downstairs.
Acne, scratches, and stray hairs all get removed here. Each fix keeps natural skin texture intact. The result looks like the person simply didn’t have that blemish. No smoothing or blur gives away your work.

Texture Smoothing Without Overdoing It
Sometimes you need to dial back texture intensity slightly. Make a layer mask on your high frequency layer. Paint with low opacity black where texture looks too strong. This shows the smooth low frequency layer beneath.
Focus texture reduction on areas with naturally finer texture. Foreheads, cheeks, and chin typically show less visible pores. Nose and t-zone areas show more texture naturally. Matching these natural patterns keeps portrait retouching looking real.
Never reduce texture evenly across the whole face. This creates that fake doll look. Change your mask opacity based on what looks natural. Some areas need full texture. Others benefit from 20-30% reduction.
Adding Texture Where Needed
Some workflows accidentally remove too much texture. You can add it back on the high frequency layer. Use the sharpen tool at very low strength. Apply it selectively to bring back texture detail.
Or copy texture from another face part. Clone good texture from the forehead to areas that lost detail. This skin texture restoration keeps faces looking real and dimensional.
Watch texture direction and scale closely. Skin texture follows face contours. Cloned texture should match surrounding texture direction and size. Wrong texture looks obvious even if color and tone are perfect.
Advanced Frequency Separation Techniques
Multiple frequency separation layers handle tough retouching jobs. Make one separation for overall skin work. Add another for specific problems like under-eye circles. This layered method gives you maximum control.
Each frequency separation pair can use different blur amounts. Broad color work might use 8-10 pixel blur. Fine texture work might use 3-4 pixel blur. Matching your approach to specific issues improves results a ton.
Pro beauty retouchers often stack three or more separations. They work from broad to fine tweaks. Big tone issues get fixed first. Medium adjustments come next. Final fine-tuning happens on the most detailed separation.
Selective Frequency Separation
You don’t always need to separate the entire image. Make a selection around just the face before building layers. This focuses your work and reduces file size. Background stuff stays untouched and sharp.
Use the lasso or pen tool to outline facial areas needing work. Feather the selection edge by 20-50 pixels. This creates smooth shifts between retouched and untouched areas. No visible boundaries show where you worked.
Selective separation works great for beauty photography where skin must be perfect. Hair and clothing need to stay sharp. You get natural skin without softening anything else.

Frequency Separation for Other Elements
This skin retouching technique works on more than faces. Clothing wrinkles, fabric texture, and backgrounds all respond to frequency separation. The same rules apply no matter what you’re fixing.
Separate wrinkled fabric into tone and texture layers. Smooth harsh shadows on the low frequency layer. Clone away unwanted creases on the high frequency layer. The fabric keeps its texture while looking neater.
Background texture cleanup uses the same workflow. Remove distracting stuff from the high frequency layer. Even out lighting on the low frequency layer. Your background becomes cleaner without looking fake or blurred.
Blending Frequency Separation With Other Techniques
Frequency separation works best as part of a complete workflow. Start with basic cleanup like removing stray hairs and obvious blemishes. Then apply frequency separation for skin tone and texture work. Finish with color grading and final sharpening.
Combine frequency separation with luminosity masks for even more control. Use masks to target specific tones within your frequency layers. This prevents accidental changes to highlights or shadows you want to keep.
Layer your frequency separation between other adjustment layers. This creates a unified editing approach. Each method supports the others instead of working alone. Your final image benefits from the combined power of multiple tools.
Non-Destructive Workflow Considerations
Always work on copy layers or smart objects. This saves your original image data. You can go back and adjust any step without starting over. Non-destructive editing saves time and keeps maximum quality.
Name your layers clearly with good descriptions. “FS Low Freq” and “FS High Freq” tell you exactly what each does. Good organization becomes critical when managing complex files with many layers.
Save your working file as a PSD with all layers intact. Export final JPEGs or TIFFs only after finishing all edits. Keep your layered file for future changes or client requests. This pro approach keeps flexibility throughout your editing workflow.

When to Skip Frequency Separation
Not every image needs frequency separation. Quick social media posts or web images often don’t justify the time. Simple spot healing and light smoothing work fine for less critical stuff.
Environmental portraits where faces are tiny rarely benefit from this method. The detailed control becomes invisible at small sizes. Save your effort for images where skin detail actually matters.
Documentary or photojournalism work might ban heavy retouching. These genres value truth over perfection. Basic cleanup might be okay, but extensive frequency separation crosses ethical lines. Know your genre’s standards and expectations.
Common Problems and Solutions
Halos around edges mean your blur was too large during setup. The low frequency layer bleeds into nearby areas. Redo your frequency separation with smaller blur. Test 1-2 pixels less than your original setting.
Visible texture in the low frequency layer means not enough blur. Texture detail should completely disappear on this layer. Increase your blur until you see only smooth color shifts. No pores or fine details should stay visible.
Weird artifacts or patterns when combining layers suggest wrong Apply Image settings. Double-check your Subtract mode, Scale 2, and Offset 128 values. Even small errors in these settings break proper layer combo.
Fixing Oversmoothed Skin
You went too far with smoothing and now skin looks plastic. Drop the opacity of your low frequency adjustments. Bring back some original tone variation. Skin needs subtle flaws to look real and dimensional.
Add back texture on the high frequency layer using earlier techniques. Clone good texture from less-smoothed areas. Use the sharpen tool at very low strength. Build texture back slowly until faces regain natural looks.
According to Adobe’s retouching guidelines, keeping skin texture is critical for natural results. Their research shows viewers instantly spot over-smoothed skin as fake. Keeping texture real makes portraits believable and engaging.
Managing File Size and Performance
Frequency separation layers balloon file size a lot. High-res images with multiple separations can hit several gigabytes. This hammers computer performance and eats storage space.
Flatten unnecessary layers as you finish each stage. Keep only active working layers and your original background. Export flattened versions for client review while keeping your full working file separate.
Work on 16-bit files only when absolutely needed. 8-bit files work fine for most web and print jobs. The smaller bit depth cuts file size substantially. You’ll rarely see quality differences in normal viewing.
Mastering Natural-Looking Results
This skin retouching technique gives you incredible control over portrait editing. The secret to natural results lies in holding back. Fix obvious problems but keep minor flaws. Real skin has texture, slight color changes, and subtle irregularities.
Compare your retouched image to the original frequently. Toggle layers on and off to see your changes in context. If you can’t quickly spot what changed, your retouching is probably subtle enough. Obvious retouching usually means you overdid it.
Study pro beauty and fashion photography to understand current standards. Modern looks favor natural texture over heavy smoothing. Pores should show in close-up portraits. Freckles and beauty marks often stay intact. The goal is boosting natural beauty instead of creating fake perfection.
Build your frequency separation skills through regular practice. Start with easier images that have good lighting and few problems. Move to tougher situations as your skill improves. Each image teaches you something new about tone and texture.
Your eye for subtle tweaks develops over time. You’ll naturally know when to smooth and when to keep detail. Master this fundamental skin retouching technique and your portrait photography reaches a pro level that clients notice and love.
See more from DIYPhotography.net on Google
Add DIYPhotography.net as a trusted source. This makes
our stories more likely to appear in your Google Search results.
 Add as a preferred source on Google

Darlene Lleno
Darlene Lleno brings a unique perspective to DIY Photography as someone who grew up surrounded by camera gear but chose words over lenses. With five years of writing experience, she specializes in photography content that’s both technically informed and genuinely passionate. Growing up with a photographer twin brother meant camera talk was everyday conversation in her household. While he mastered capturing moments, Darlene discovered she preferred being the subject and the storyteller behind the scenes. As a travel enthusiast and mother of two, she understands the importance of preserving life’s precious moments. When not exploring new destinations or writing for DIY Photography, you’ll find her reading or tending to her garden. Her approach to photography writing is refreshingly authentic, she may not be behind the camera, but she knows exactly what it takes to help others capture the shots that matter most.
Related Posts
 This is everything you could ever want to know about Frequency Separation
 How to use frequency separation to remove chromatic aberration and colour fringing
 Affinity Photo – First Impressions: Inpainting Brush; Photoshop Plugins; Frequency Separation
 Infinite Skin is a new retouching plugin for Photoshop designed specifically for skin
Join the Discussion
DIYP Comment Policy
Be nice, be on-topic, no personal information or flames.