


3 Dirt-Cheap Ways to Make Pro Mist Filters (That Actually Work!)
Feb 18, 2026
Darlene Lleno
Darlene Lleno brings a unique perspective to DIY Photography as someone who grew up surrounded by camera gear but chose words over lenses. With five years of writing experience, she specializes in photography content that’s both technically informed and genuinely passionate. Growing up with a photographer twin brother meant camera talk was everyday conversation in her household. While he mastered capturing moments, Darlene discovered she preferred being the subject and the storyteller behind the scenes. As a travel enthusiast and mother of two, she understands the importance of preserving life’s precious moments. When not exploring new destinations or writing for DIY Photography, you’ll find her reading or tending to her garden. Her approach to photography writing is refreshingly authentic, she may not be behind the camera, but she knows exactly what it takes to help others capture the shots that matter most.
Share:
Video Source: https://www.youtube.com/watch?v=iA6yn3KKn_w
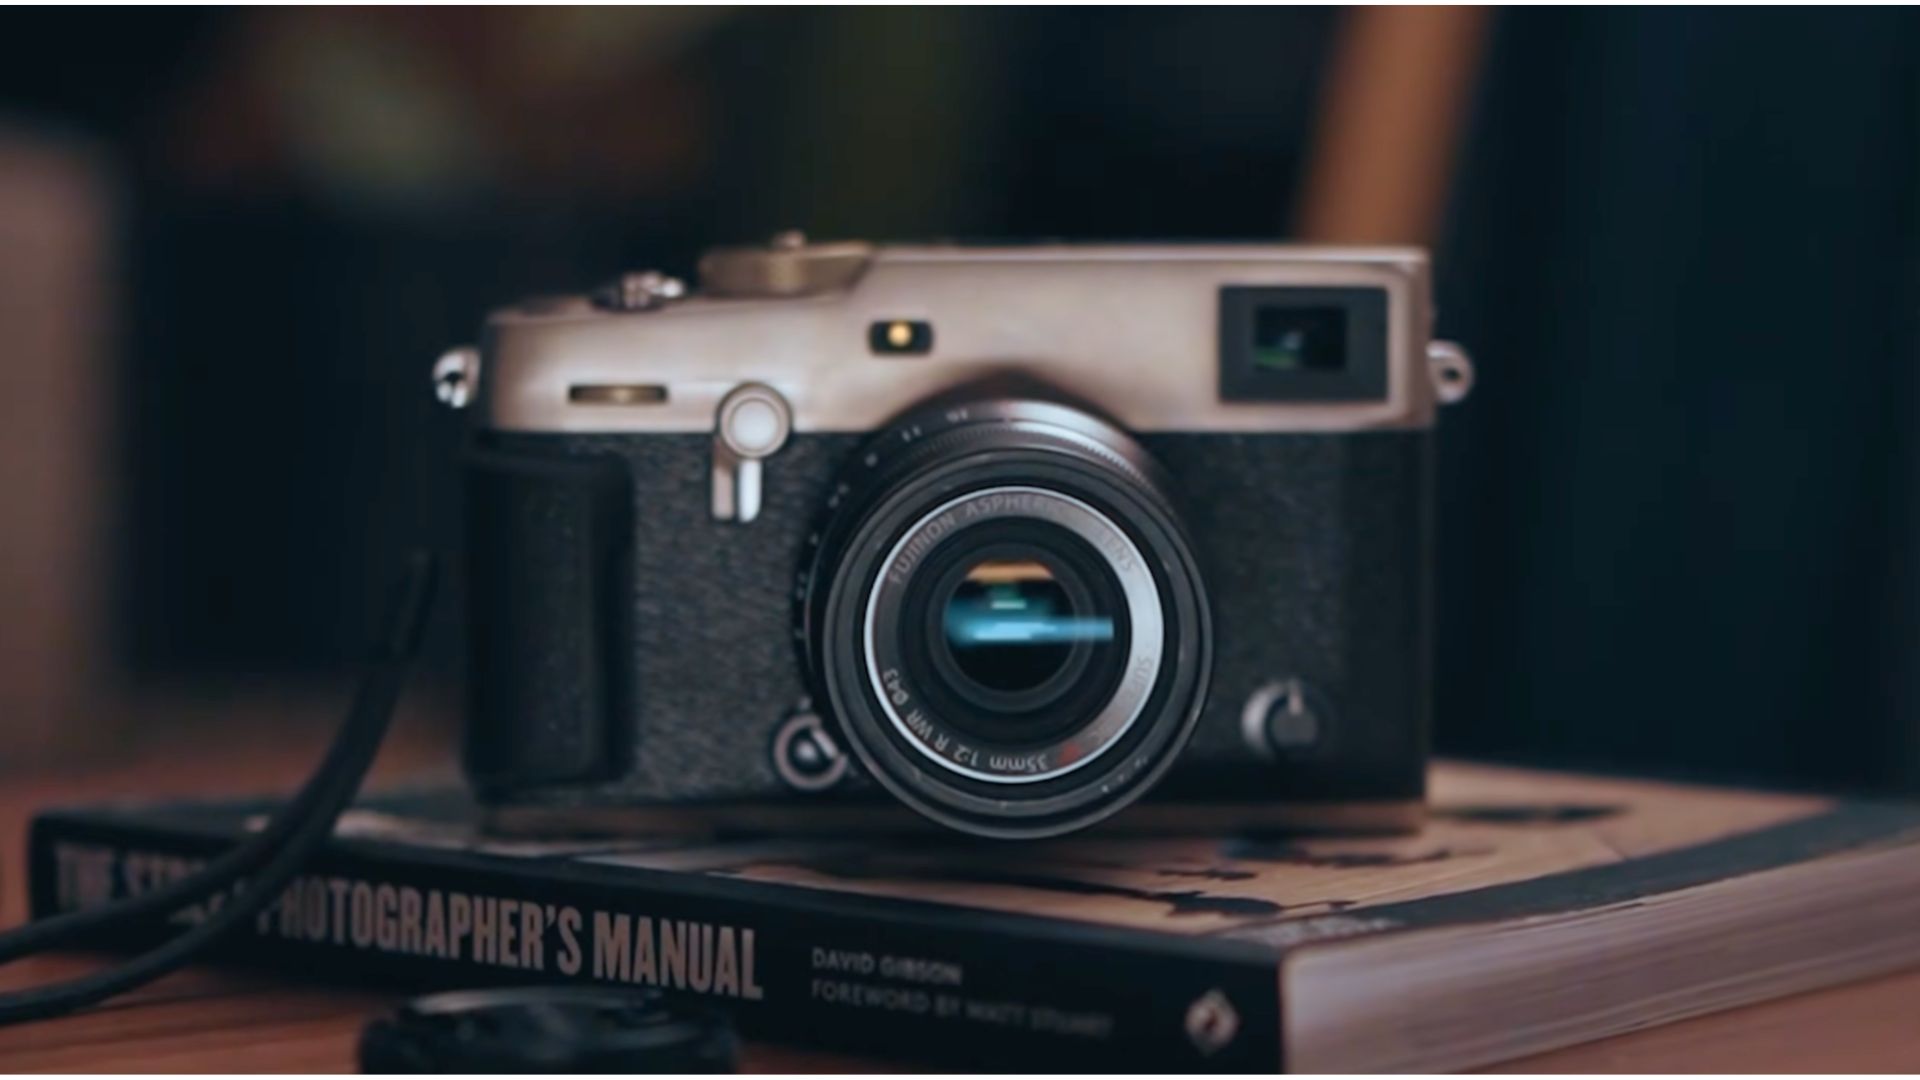
Making a DIY pro mist filter gives you that dreamy, soft-focus look without spending $100+ on commercial diffusion filters. Pro mist filters soften images, add a hazy glow around highlights, and create that vintage film aesthetic popular in modern photography and videography. This guide shows three budget methods to achieve professional results using materials you probably already own.
Why Pro Mist Filters Cost So Much
Commercial pro mist filters from brands like Tiffen, NiSi, and K&F Concept range from $80-200 depending on size and strength. They’ve become increasingly popular over recent years, with every major filter manufacturer releasing their own versions. The optical quality and consistent manufacturing justify the price, but you don’t always need commercial-grade precision.
A DIY pro mist filter works perfectly for experimentation, learning which strength you prefer, or keeping your setup compact. Instead of adapting larger filters to small lenses or buying multiple sizes, create custom versions for each lens at a fraction of the cost.
Understanding Pro Mist Filter Strengths
Pro mist filters come in different strengths: 1/8, 1/4, 1/2, and full strength. Lower numbers create subtle softening while higher numbers produce dramatic diffusion. When making your DIY pro mist filter, you control the strength by how much material you apply to the filter surface.
Start light with your first attempt. You can always add more material to increase the effect, but removing excess requires completely restarting. This principle applies to all three DIY pro mist filter methods covered here.
Materials Needed for All Methods
Each method requires a UV filter as the base. Choose an inexpensive clear UV filter in your lens diameter. You’ll sacrifice this filter to the DIY gods, so don’t use expensive multi-coated glass. Budget UV filters work perfectly and cost $10-20.
Alternatively, the cling wrap method uses step-up rings instead of a UV filter, making it even cheaper. Gather your chosen materials before starting so you can work efficiently without interruptions.
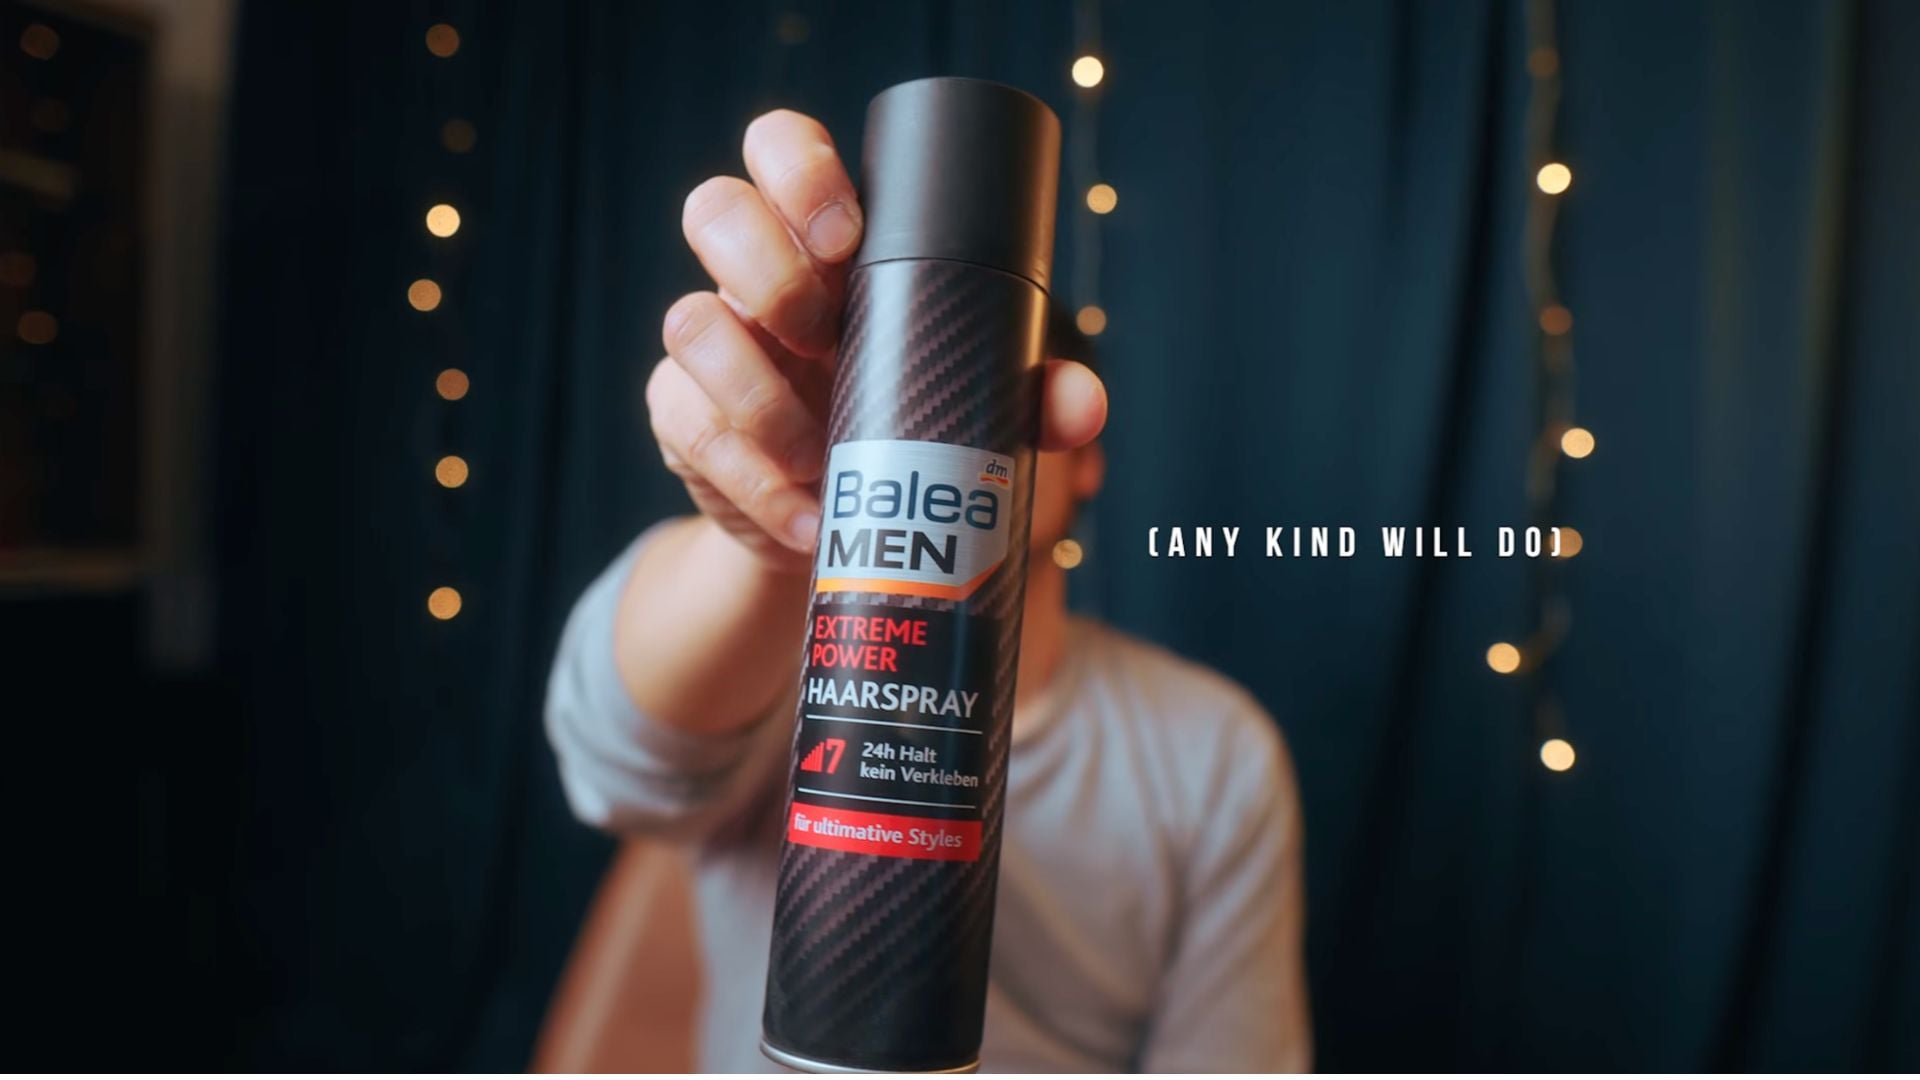
Method 1: Hairspray DIY Pro Mist Filter
The hairspray method creates a soft, glowy effect similar to commercial Glowmist filters. This DIY pro mist filter technique produces less contrast than other methods while maintaining a dreamy aesthetic.
Video Source: https://www.youtube.com/watch?v=iA6yn3KKn_w
Step 1: Prepare Your UV Filter
Remove the UV filter from its packaging. You’ll be spraying on the inside surface (the side that faces the lens when mounted). Working on the inside protects the diffusion coating from accidental smudging during use.
Hold the filter by its edges to avoid fingerprints on either glass surface. Clean it thoroughly before starting to ensure no dust or oils interfere with the hairspray application.
Step 2: Apply Hairspray Particles
Hold the UV filter in one hand and the hairspray can in the other. Extend your arms as far apart as possible. Spray hairspray into the air and move the filter through the mist to catch falling particles.
The key is creating a fine, even distribution of hairspray particles across the glass. Don’t spray directly onto the filter, or you’ll get a heavy, uneven coating. Instead, spray upward and let the filter catch particles as they drift down.
Step 3: Build Up Thin Layers
One pass won’t create visible effects. Make multiple passes, spraying and catching particles each time. Wait 30 seconds between passes to let the hairspray dry. This builds up the diffusion effect gradually.
You might not see much happening initially – that’s normal. The particles are microscopic, but they accumulate with each pass. Keep going until you achieve the desired strength for your DIY pro mist filter.
Step 4: Test the Results
Once dry, mount the filter on your lens and test it. Point the camera at a bright light source to see the characteristic glow and halation that define pro mist effects. If you want stronger diffusion, add more hairspray layers using the same technique.
The hairspray DIY pro mist filter works great for portrait photography where you want soft, flattering skin tones and gentle highlight blooms. It creates less contrast reduction than the black spray paint method.
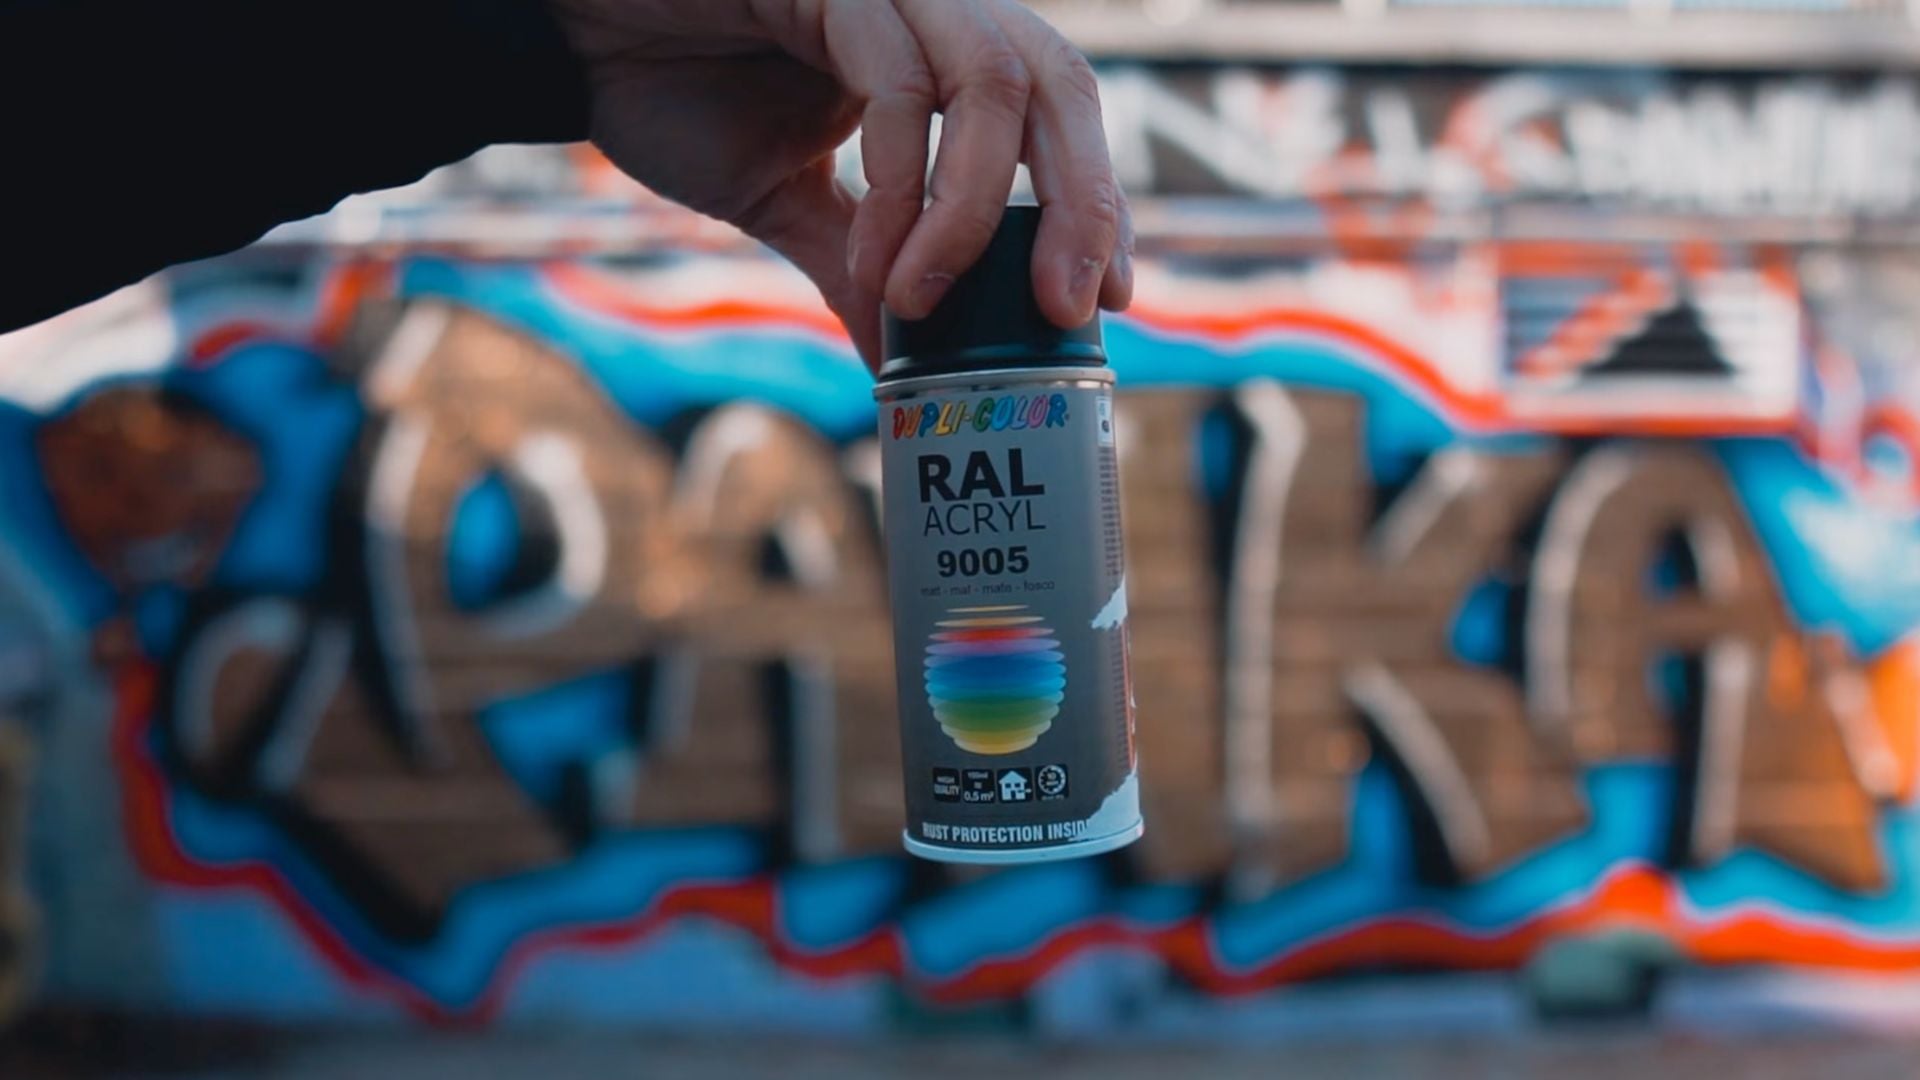
Method 2: Black Spray Paint DIY Pro Mist Filter
Black spray paint creates a DIY pro mist filter similar to commercial black pro mist filters. This version maintains more contrast than hairspray while still providing the signature soft-focus and glow effects.
Video Source: https://www.youtube.com/watch?v=iA6yn3KKn_w
Step 1: Choose the Right Spray Paint
Use acrylic-based black spray paint. Acrylic is crucial because it cleans off with water and soap if you apply too much. Oil-based paints are permanent and impossible to remove without damaging the UV filter glass.
Check the spray paint can label to confirm it’s acrylic-based. This single detail determines whether your DIY pro mist filter is repairable if mistakes happen.
Step 2: Apply Paint Particles
Using the same technique as hairspray, extend your arms far apart. Spray black paint into the air and move the UV filter through the mist to catch particles. The filter should be positioned to catch paint on the inside surface.
Again, don’t spray directly on the filter. You want microscopic paint particles evenly distributed across the glass, not heavy blobs that create uneven diffusion and visible spots in your images.
Step 3: Build Strength Gradually
Multiple light passes work better than single heavy applications. Each pass adds more diffusion strength to your DIY pro mist filter. Wait between passes for the paint to dry completely before adding more.
The black particles create the characteristic pro mist look – softness with maintained shadow detail and contrast. This differs from the glowier, less contrasty hairspray version.
Step 4: Evaluate and Adjust
Mount your completed DIY pro mist filter and shoot test images. The black spray paint version excels in high-contrast lighting situations where you want to maintain shadow depth while softening highlights.
If the effect is too strong, you can remove some paint using water, mild soap, and cotton swabs. Soak the paint for a few seconds, then gently scrub with Q-tips. This removes excess without starting completely over.
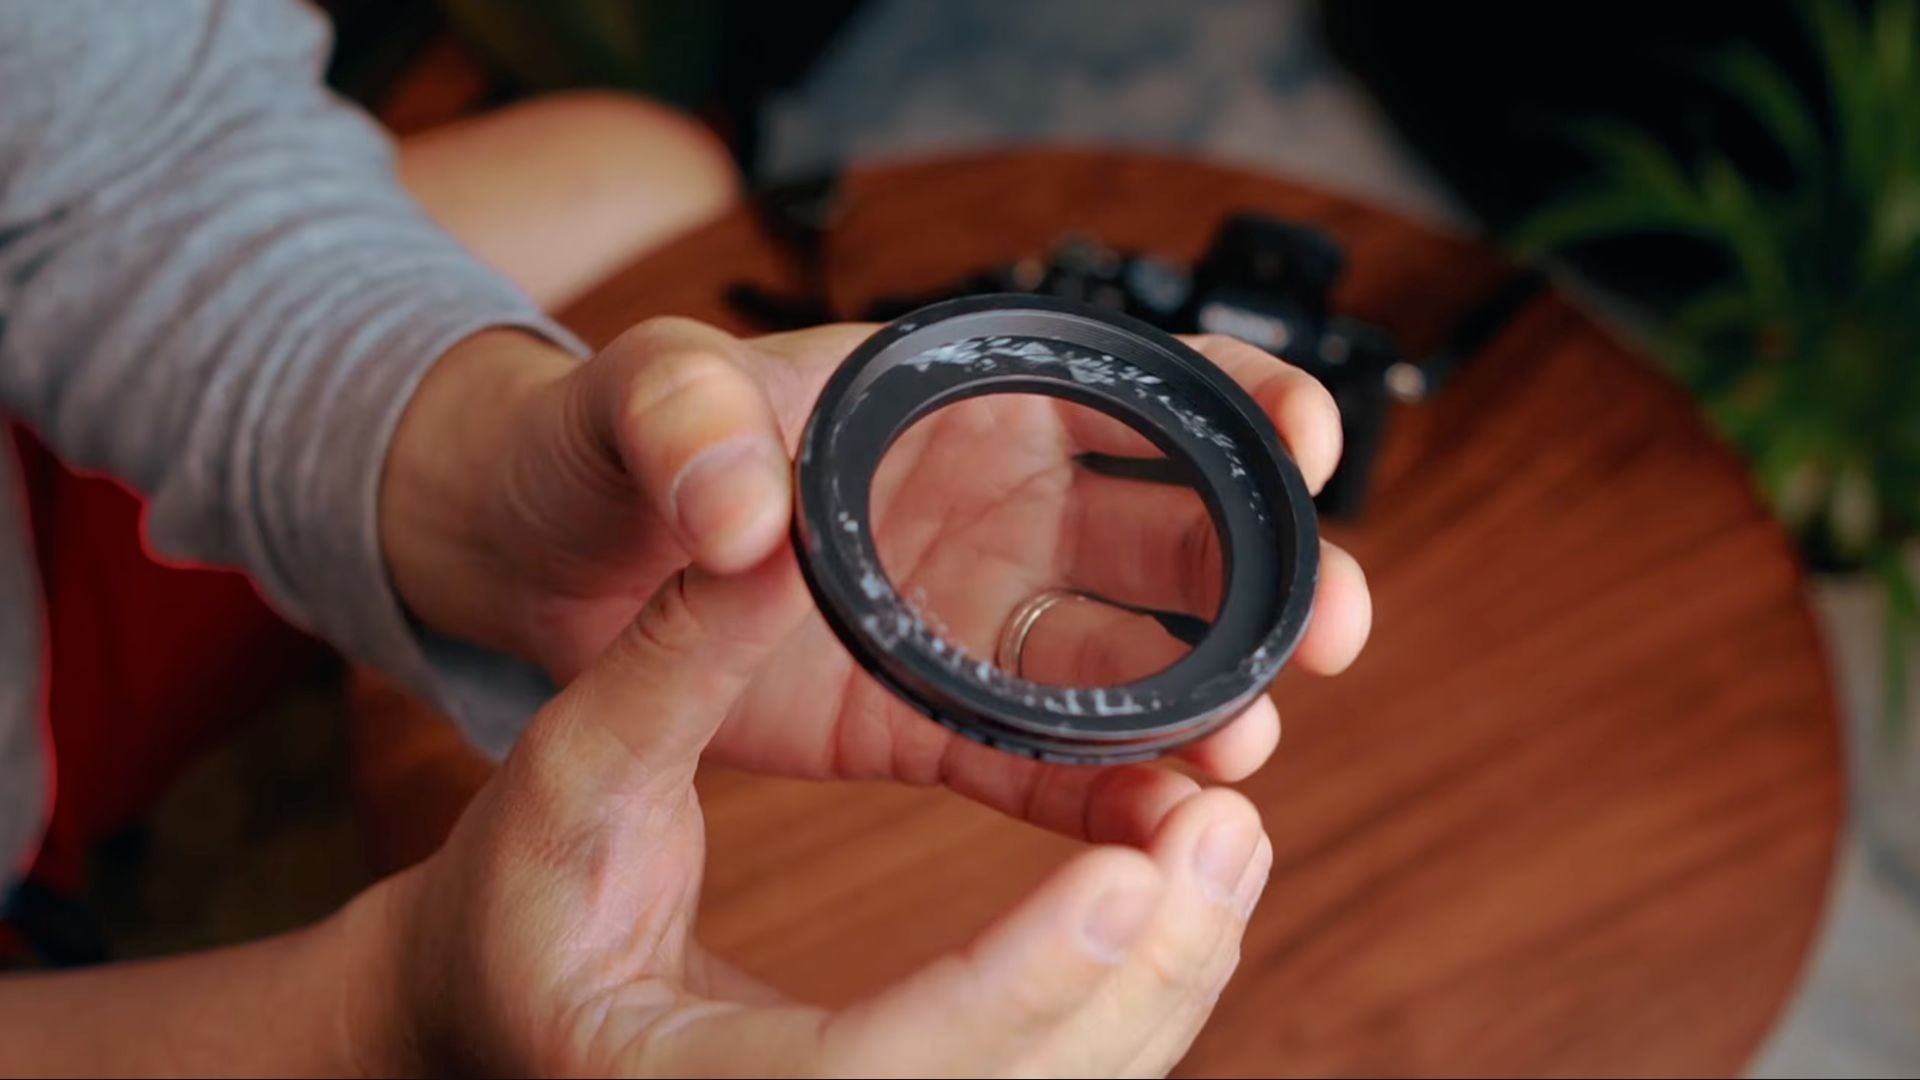
Method 3: Cling Wrap DIY Pro Mist Filter
The cling wrap method produces the strongest diffusion of all three DIY pro mist filter techniques. It creates a dreamlike, low-contrast effect perfect for ethereal portraits and moody cinematography.
Video Source: https://www.youtube.com/watch?v=iA6yn3KKn_w
Step 1: Gather Step-Up Rings
You need two step-up rings that thread together. The larger ring forms the base while the smaller ring clamps down to hold the cling wrap. Choose sizes that match your lens diameter.
This method completely avoids sacrificing a UV filter. The step-up rings cost less than UV filters, and you can reuse them by making fresh cling wrap inserts whenever needed.
Step 2: Stretch Cling Wrap Across Ring
Cut a piece of cling wrap much larger than you think necessary. Generous material makes stretching easier and creates smoother results. Place the larger step-up ring on a flat surface and stretch cling wrap tightly across the opening.
Pull the wrap as taut as possible to eliminate wrinkles and bubbles. Smooth, flat surfaces are critical for your DIY pro mist filter. Uneven wrap creates weird light refraction and artifacts in images.
Step 3: Secure With Smaller Ring
While holding the cling wrap taut, thread the smaller step-up ring onto the larger ring. This sandwiches the wrap between the two rings, clamping it in place. The rings hold tension, keeping the wrap stretched flat.
Trim excess cling wrap around the edges for a clean appearance. The secured wrap should be smooth and tight like a drum head.
Step 4: Heat Shrink for Smoothness
If your cling wrap has wrinkles or isn’t perfectly flat, use a blow dryer to heat-shrink it. Hold the dryer at medium heat and move it across the wrap surface. The plastic shrinks slightly, pulling tighter and smoothing out imperfections.
Be careful not to overheat, or the plastic will melt and create holes. Use short heat bursts and check progress frequently. This step transforms your DIY pro mist filter from acceptable to excellent.
Step 5: Mount and Shoot
Thread the completed step-up ring assembly onto your lens. The cling wrap now acts as your diffusion element, creating strong soft-focus effects with significant highlight bloom.
This DIY pro mist filter version works beautifully for dreamy portraits, fashion photography, and cinematic video work where you want maximum diffusion and glow.
When to Use Each DIY Pro Mist Filter Type
Use the hairspray version to create soft lighting for portraits where you want a gentle glow without losing too much contrast. It’s perfect for beauty work, lifestyle shots, and situations where you want subtle softening.
The black spray paint DIY pro mist filter excels in high-contrast scenarios. Use it for dramatic lighting setups where you want to soften highlights while maintaining shadow detail. It’s ideal for commercial work and editorial photography.
Choose the cling wrap method for maximum dreamlike effects. This works beautifully for fantasy portraits, romantic wedding photography, or any situation where you want significant diffusion and ethereal quality.
Save Money and Get Creative
Creating DIY pro mist filters for under $5 proves you don’t need expensive gear for professional-looking results. These three methods – hairspray, black spray paint, and cling wrap – each produce distinct aesthetics comparable to commercial filters costing twenty times more.
Start with the method that appeals most to your shooting style. Hairspray for gentle portraits, black spray paint for maintained contrast, or cling wrap for maximum dreamlike effects. All three DIY pro mist filter techniques deliver the soft-focus, glowy aesthetic that makes pro mist filters so popular in modern photography and videography.

Darlene Lleno
Darlene Lleno brings a unique perspective to DIY Photography as someone who grew up surrounded by camera gear but chose words over lenses. With five years of writing experience, she specializes in photography content that’s both technically informed and genuinely passionate. Growing up with a photographer twin brother meant camera talk was everyday conversation in her household. While he mastered capturing moments, Darlene discovered she preferred being the subject and the storyteller behind the scenes. As a travel enthusiast and mother of two, she understands the importance of preserving life’s precious moments. When not exploring new destinations or writing for DIY Photography, you’ll find her reading or tending to her garden. Her approach to photography writing is refreshingly authentic, she may not be behind the camera, but she knows exactly what it takes to help others capture the shots that matter most.


Join the Discussion
DIYP Comment Policy
Be nice, be on-topic, no personal information or flames.
One response to “3 Dirt-Cheap Ways to Make Pro Mist Filters (That Actually Work!)”
Cling wrap and a rubber band