


This DIY point-and-shoot could cure your ‘waitin’ for the camera unicorns’ blues
Sep 17, 2024
David Prochnow
Our resident “how-to” project editor, David Prochnow, lives on the Gulf Coast of the United States in Ocean Springs, Mississippi. He brings his expertise at making our photography projects accessible to everyone, from a lengthy stint acting as the Contributing How-To Editor with Popular Science magazine. While you don’t have to actually build each of his projects, reading about these adventures will contribute to your continued overall appreciation of do-it-yourself photography. A collection of David’s best Popular Science projects can be found in the book, “The Big Book of Hacks,” Edited by Doug Cantor.
Share:

You’re about to save yourself, conservatively, $3,500 with the following bit of hackery. What? Why? How? Because we’re going camera unicorn hunting. Oh, you don’t know about unicorns? Well, maybe you should first take a short trip back to the good ol’ days.
Remember the story of poor Gottfried Wilhelm Leibniz who wrote in his earth science book, Protogaea, 1749, that he had seen a unicorn skeleton in a cave near Magdeburg, Germany in 1663? According to his description, this was an ungainly creature with two forelegs and a stumpy tail that dragged behind. But all was not as it seemed to Herr Professor Leibniz.
In The Fate of the Mammoth by Claudine Cohen (please note: Ms Cohen also helped with the first English translation of Protogaea, University of Chicago Press, 2008), in a chapter titled “Leibniz’s Unicorn,” she declared that what he had actually seen was an amalgam of mammoth teeth, scapula, and vertebrae formed into the main body of this so-called “unicorn” skeleton.
Furthermore, bucking contemporary conjecture, Ms Cohen states that the unicorn’s horn likely isn’t the canine tusk of a narwhal (which is spiraled), rather it was “the fossilized straight tusk of a young mammoth, with the jawbone still adhering to the base of the tooth.” Yikes; what a mess.
Which brings us right back to today’s camera unicorns. Huh? How does a mishmash of bones relate to photography equipment? Simple, you’ve got four well-known and respected manufacturers that have an amalgam of suppliers that never come close to meeting the demand for their cameras. In turn, this presents a mishmash of camera availability fraught with extended waiting lists and coupled to non-existent communication from the manufacturers. Yikes; what a mess…exactly.
These four camera unicorns are: Canon EOS R5 Mark II, FujiFilm X100VI, Leica D-Lux 8, and Ricoh GR III HDF. Each of these cameras are currently living on ad infinitum wait lists. Granted, today’s cameras aren’t as popular as they were back in the late 1990s, so these companies probably don’t lease huge Chinese production factories. But can you imagine the outrage if a red hot smartphone was meted out in a trickle release system that was governed by an endless wait list. Anarchy!
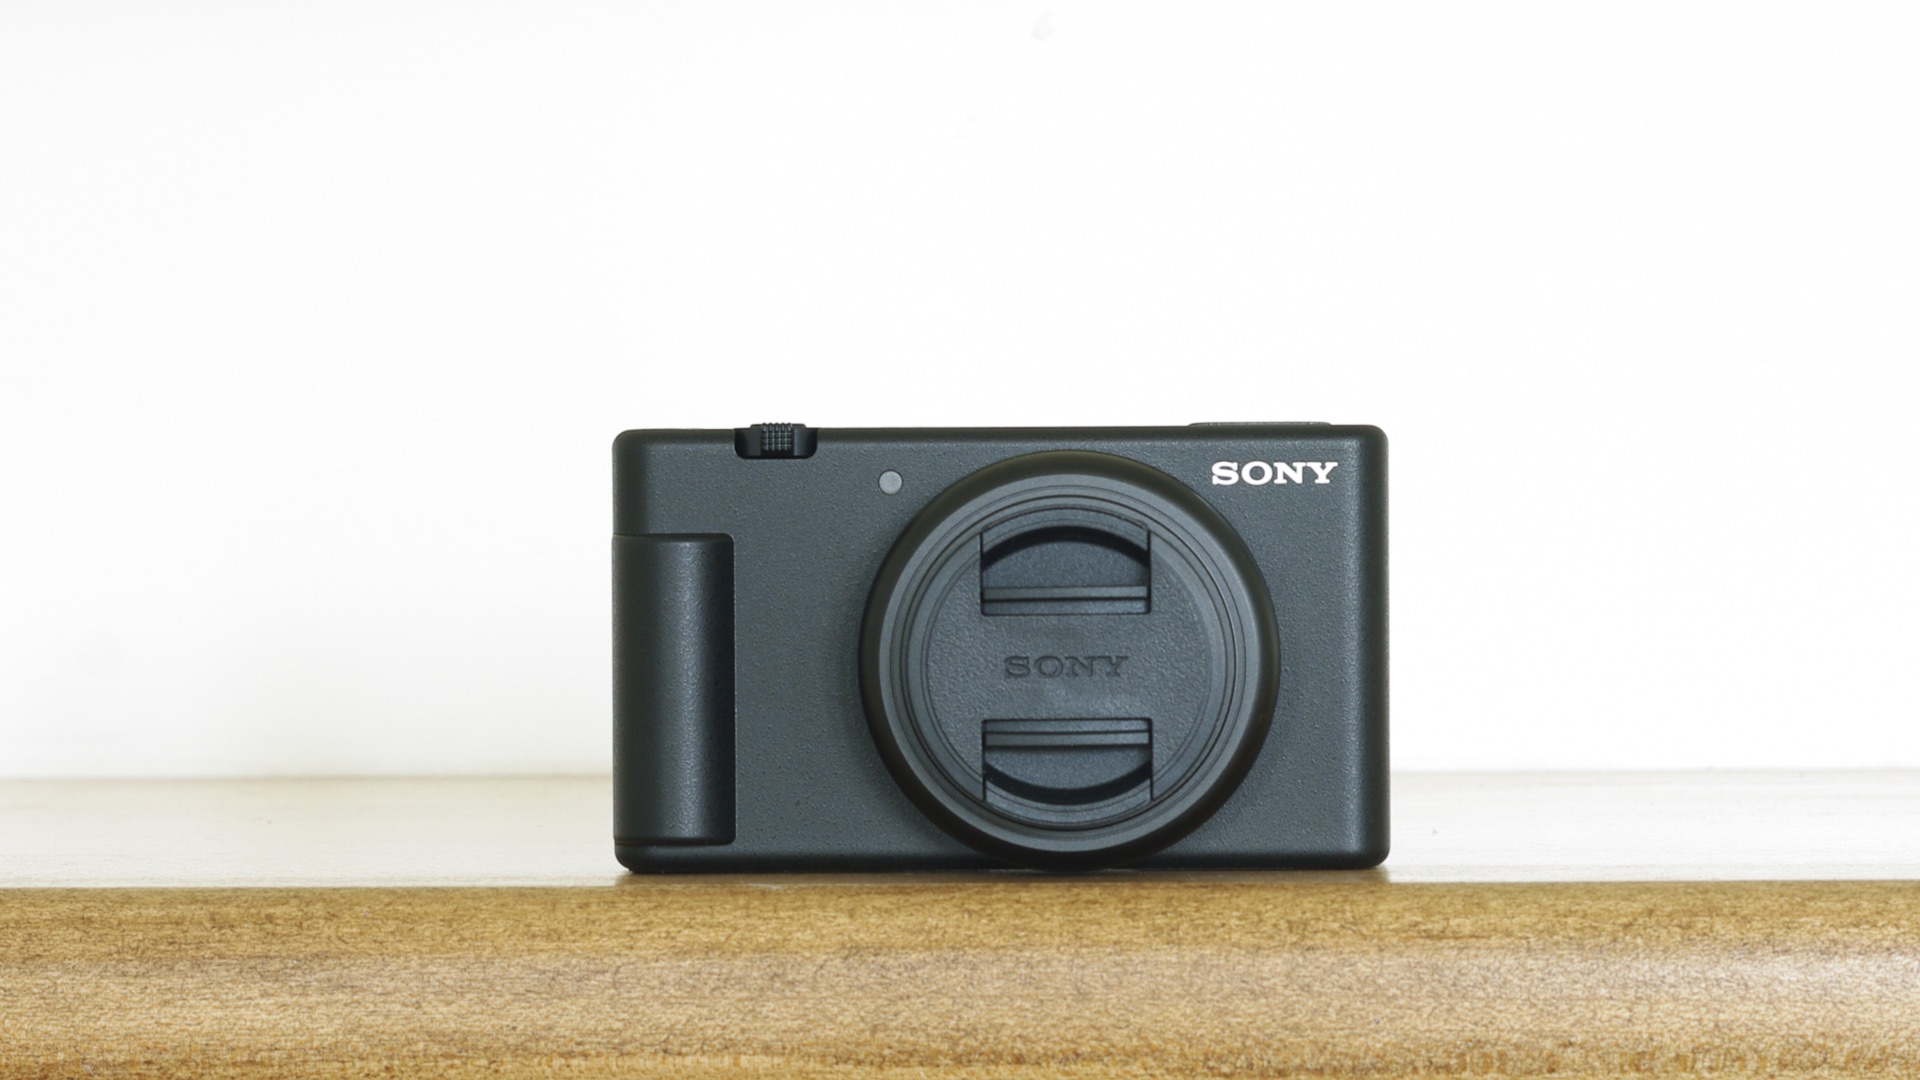
All is not lost, however. There is a possible solution for chasing away these camera unicorn blues. That answer comes in the form of an often overlooked point-and-shoot camera: the Sony ZV-1F. Sure, this svelte Sony (see Figure 1) won’t cure your unicorn angst straight outta the box. You’ll have to make some minor modifications to the camera, but the end result will be a perfect “temporary” proxy for these camera unicorns. Please note, this substitution adequately covers three of these four cameras, except for the Canon EOS R5 Mark II. That particular unicorn is best handled with another temporary camera of your choosing.
Right off the bat; NO, the Sony ZV-1F is NOT a replacement for the FujiFilm X100VI, the Leica D-Lux 8, or the Ricoh GR III HDF. Rather, this likable compact vlogger is a great substitute for any of these higher profile, more powerful cameras (see Figure 2) while you continue to sit patiently on a waiting list. Whether you’ll still feel compelled to purchase a camera unicorn after trying the Sony could become a difficult choice. Just don’t sell this Sony short, until you read the rest of this article.
In order to make your Sony ZV-1F a more competitive camera, you’ll need to purchase a short laundry list of accessories (see Figure 3). Specifically, you’ll need to buy:
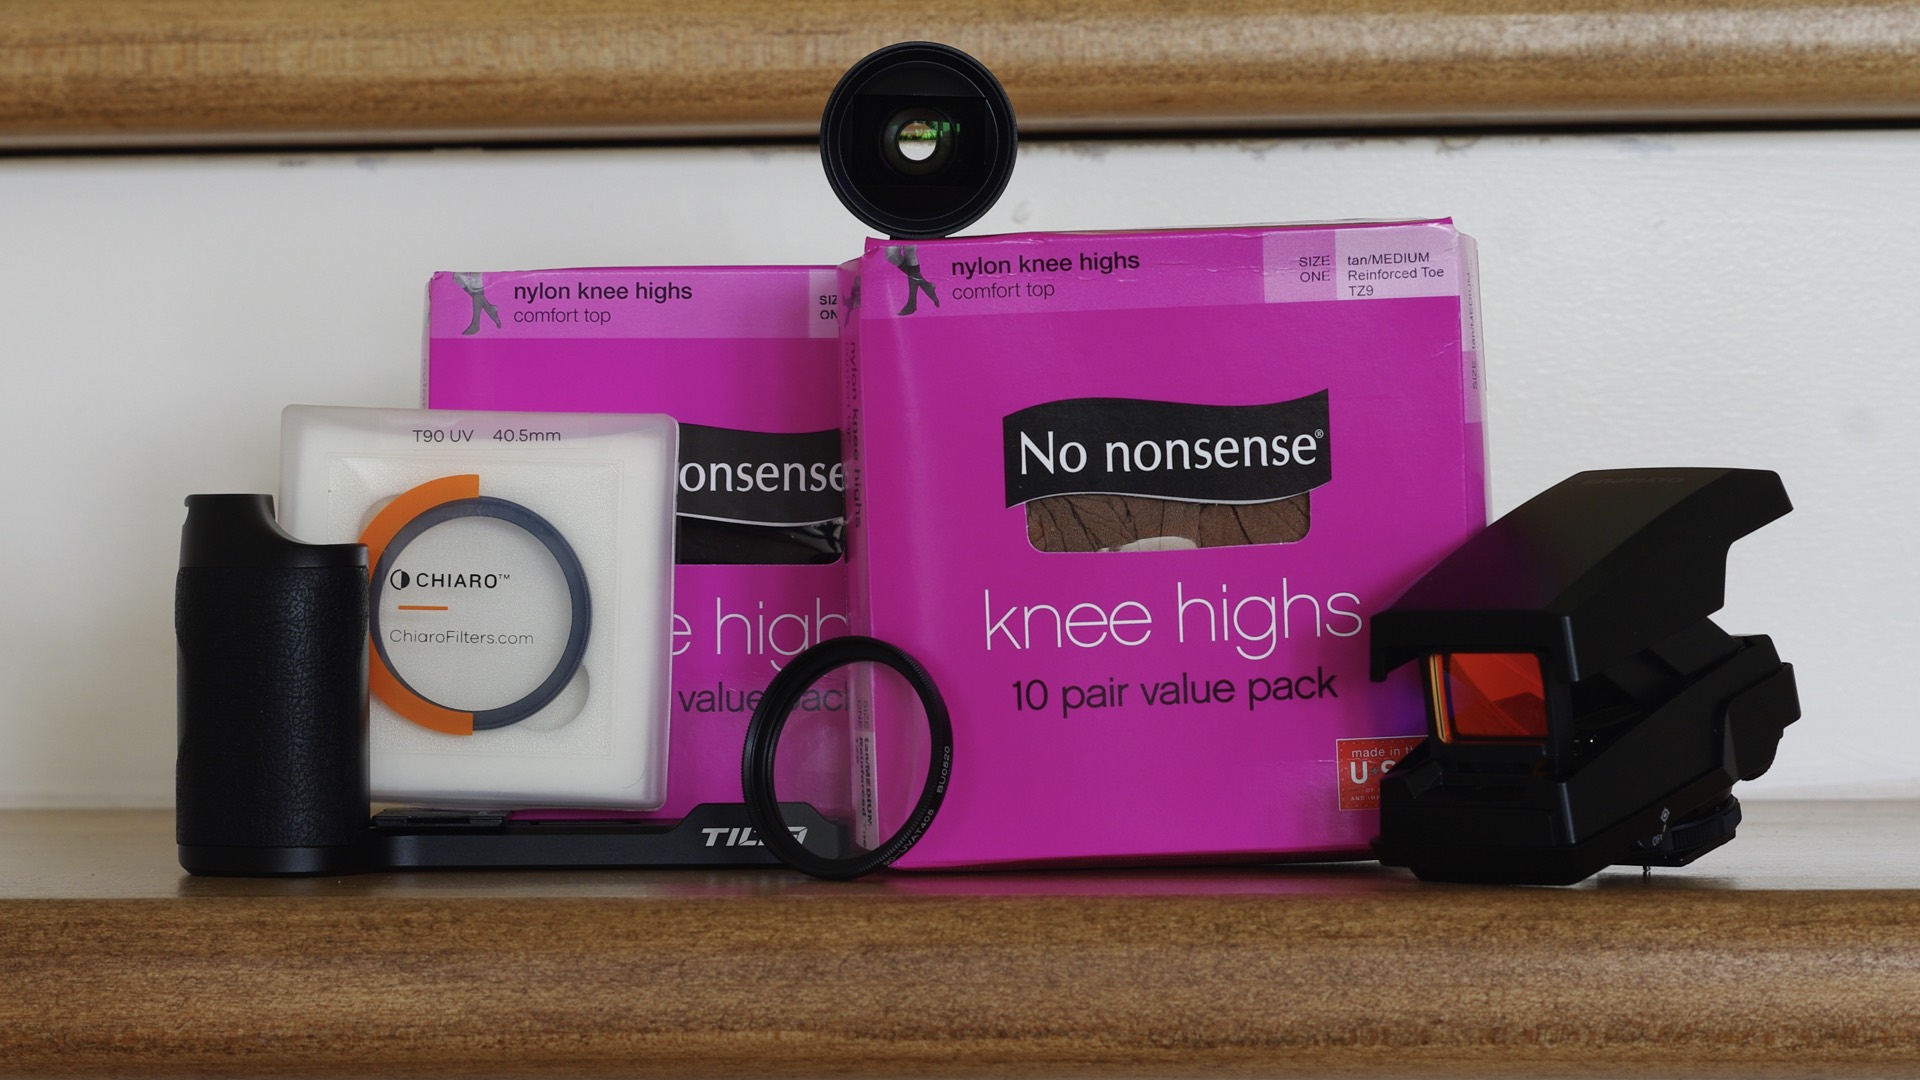
- Tilta Mounting Baseplate with Grip for Sony ZV-1, ZV-1F & ZV-1M2 (Black) $35.00
- 2x – Chiaro 40.5mm 90-UVAT UV Filters $3.95
- Optional – TTArtisan Viewfinder for 21mm f/1.5 Lens $43.00
- Or, more optionally – OM SYSTEM EE-1 Dot Sight $124.79
- One No nonsense Women’s Sheer Knee High Value Pack with Comfort Top Tan 10 pair pack $10.01
- Also, One No nonsense Women’s Sheer Knee High Value Pack with Comfort Top Midnight Black 10 pair pack $8.86
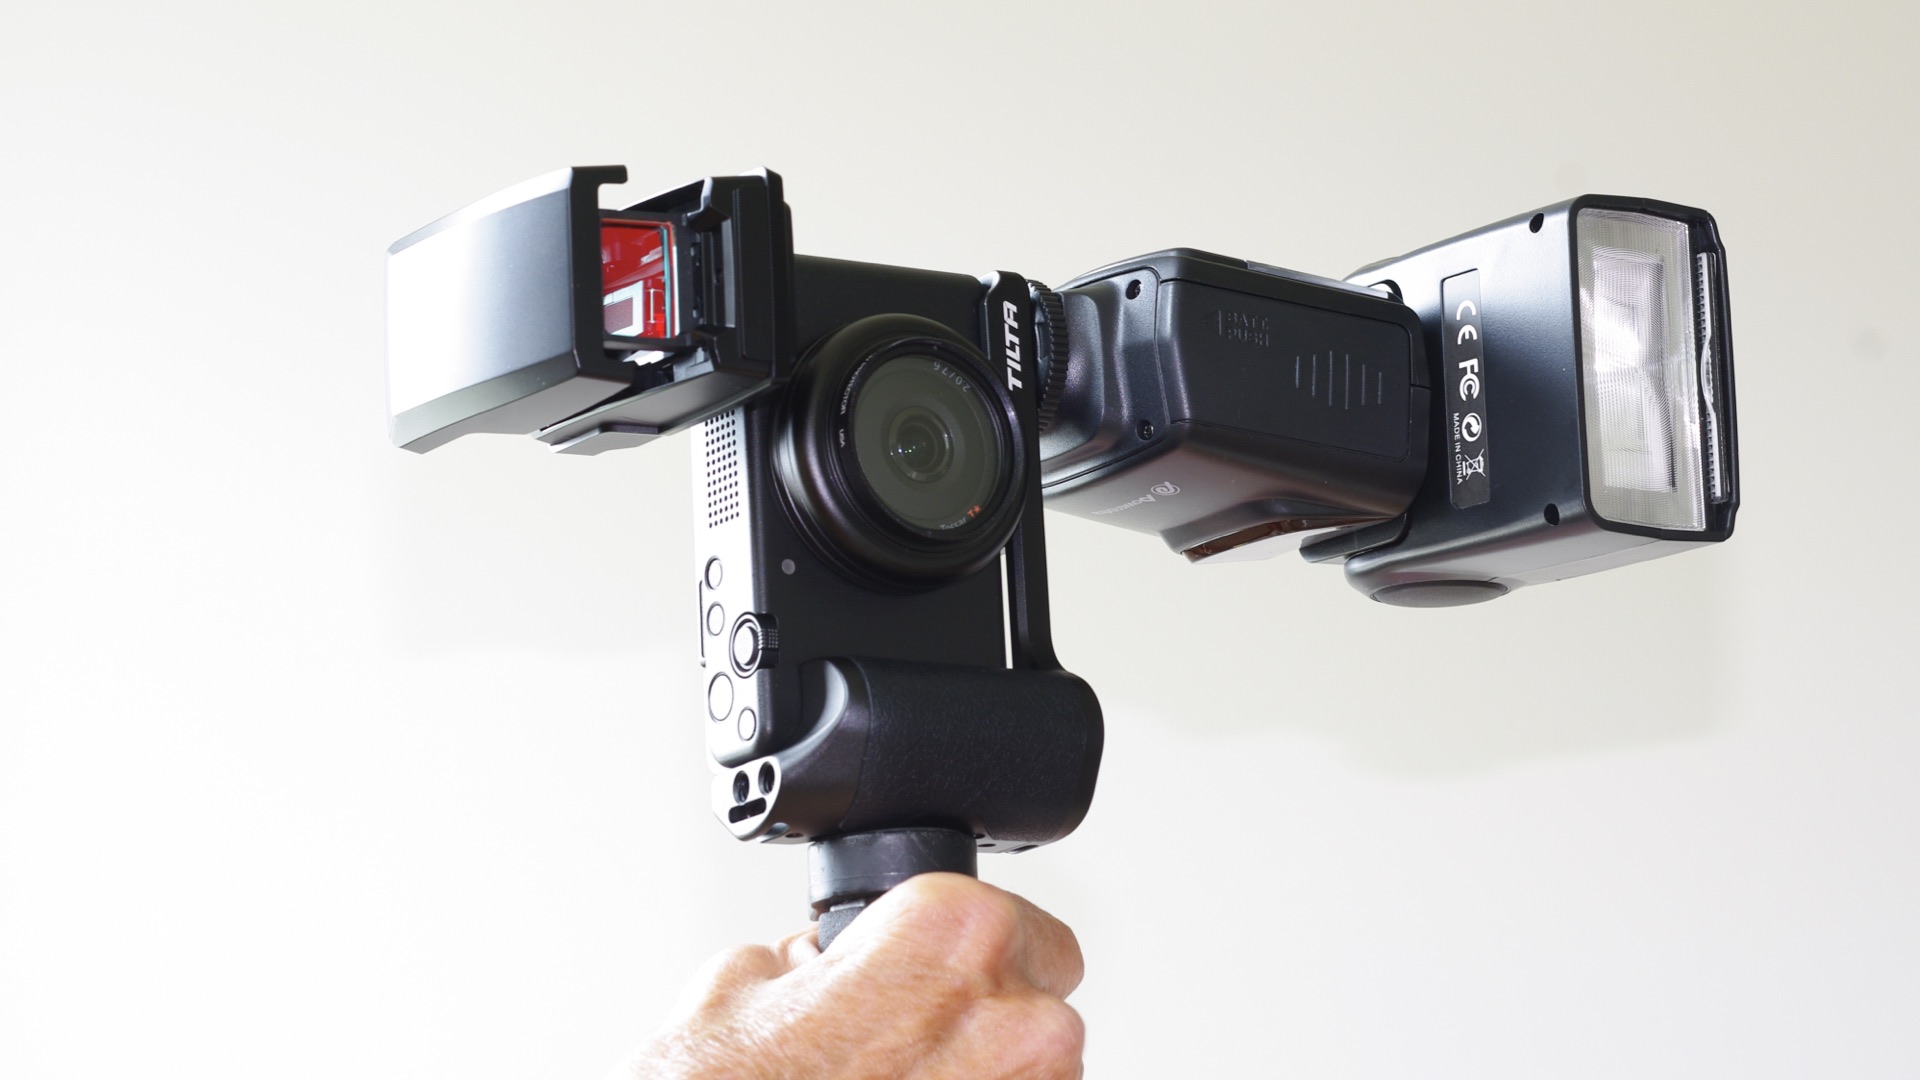
Putting all of these pieces and parts together will produce a potent surrogate for three of those pesky camera unicorns (see Figure 4). You might be curious, however, about three of those items in the above list. In other words, why do you need a viewfinder and two pairs of nylon hosiery?
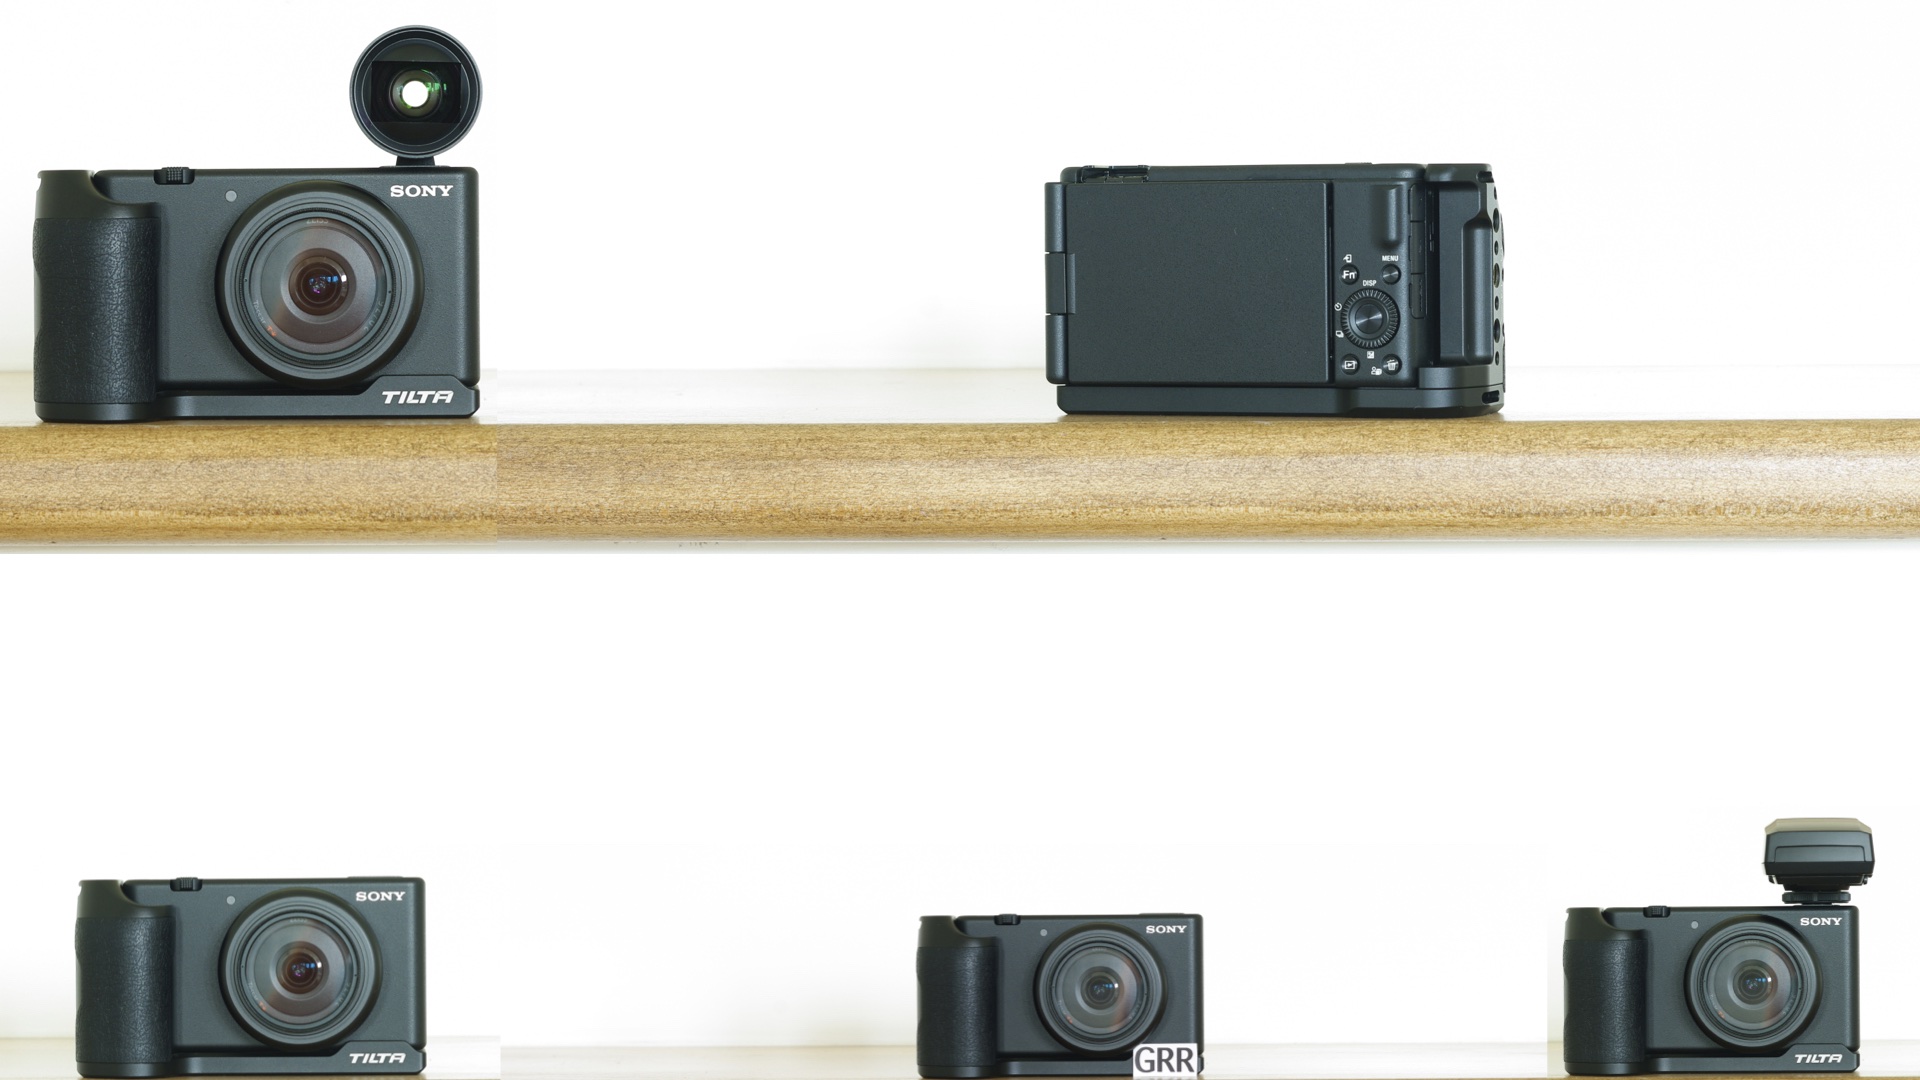
Well, the short answer is you really don’t need these three items. But they will convert the Sony into a much more capable substitute for a camera unicorn (see Figure 5). For example, either of the two viewfinders can be slipped into the ZV-1F hot shoe for providing a practical optical viewfinder. Does the Sony require a viewfinder? No, you can easily operate the camera “bare back” with excellent results. A viewfinder, however, provides a welcome border for framing a subject during shooting. Try it, you might like it.
There are two quick notes, here:
- The TTArtisan viewfinder does not have frame lines, nor does it exactly match the camera’s field of view.
- The Olympus viewfinder isn’t even close to matching the camera’s field of view. It does have a red laser dot that can be positioned at the center of the Sony’s focusing and meter reading area, however. Plus it’s a laser! And it “pops” up for use! How cool is that?
And as mentioned earlier, an external viewfinder is optional.
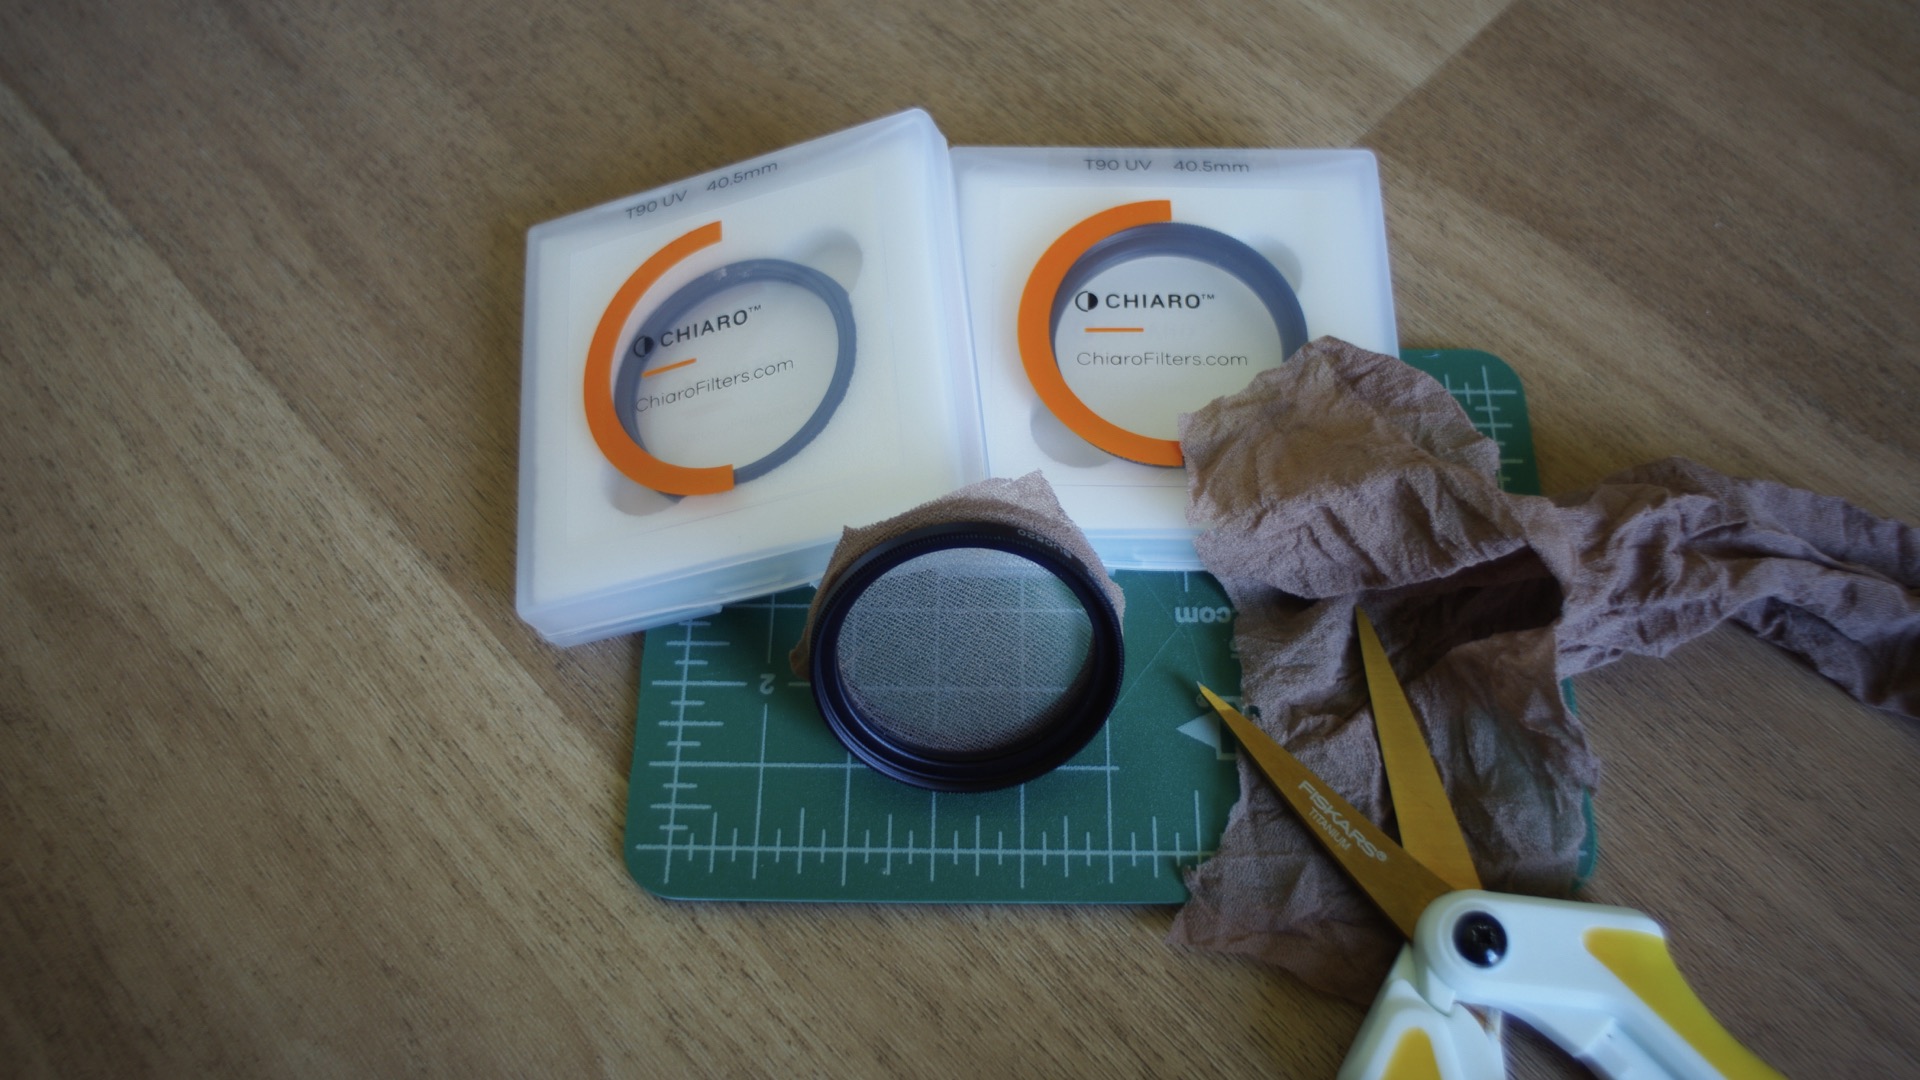
Finally, that brings up the other oddball item from the previously cited accessory list…two boxes of nylon hosiery. Say what? These two items coupled with the pair of 40.5mm UV filters will become a substitute for a highlight diffusion filter (HDF). Huh? Well, in this case, we’ll be making a “hose” diffusion filter (HDF), instead (see Figure 6). Very clever! Simply:
- Remove one tan or one black knee high from the package and snip it into a rough square shape.
- Hold this square over one of the 40.5mm filters and slowly and carefully thread the other filter over the piece of hosiery. This will form a sandwich of the hose between the two filters.
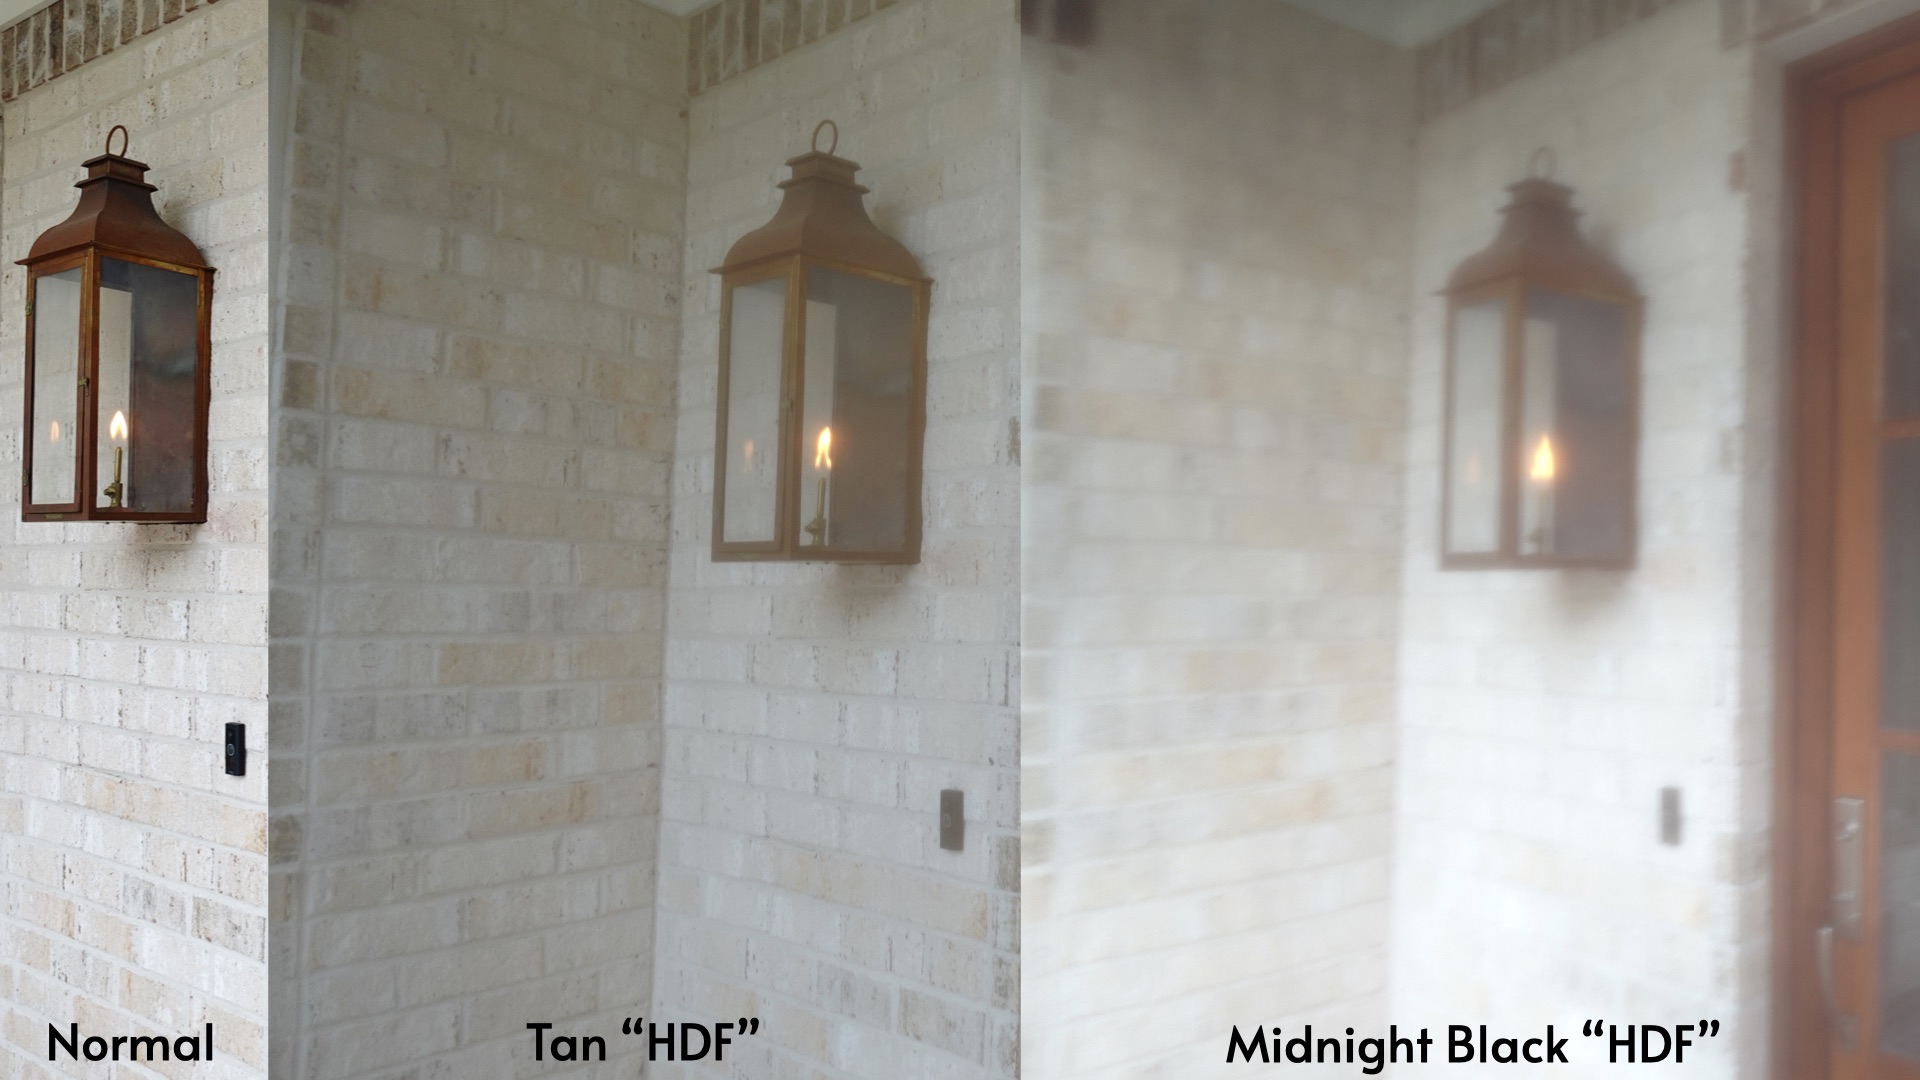
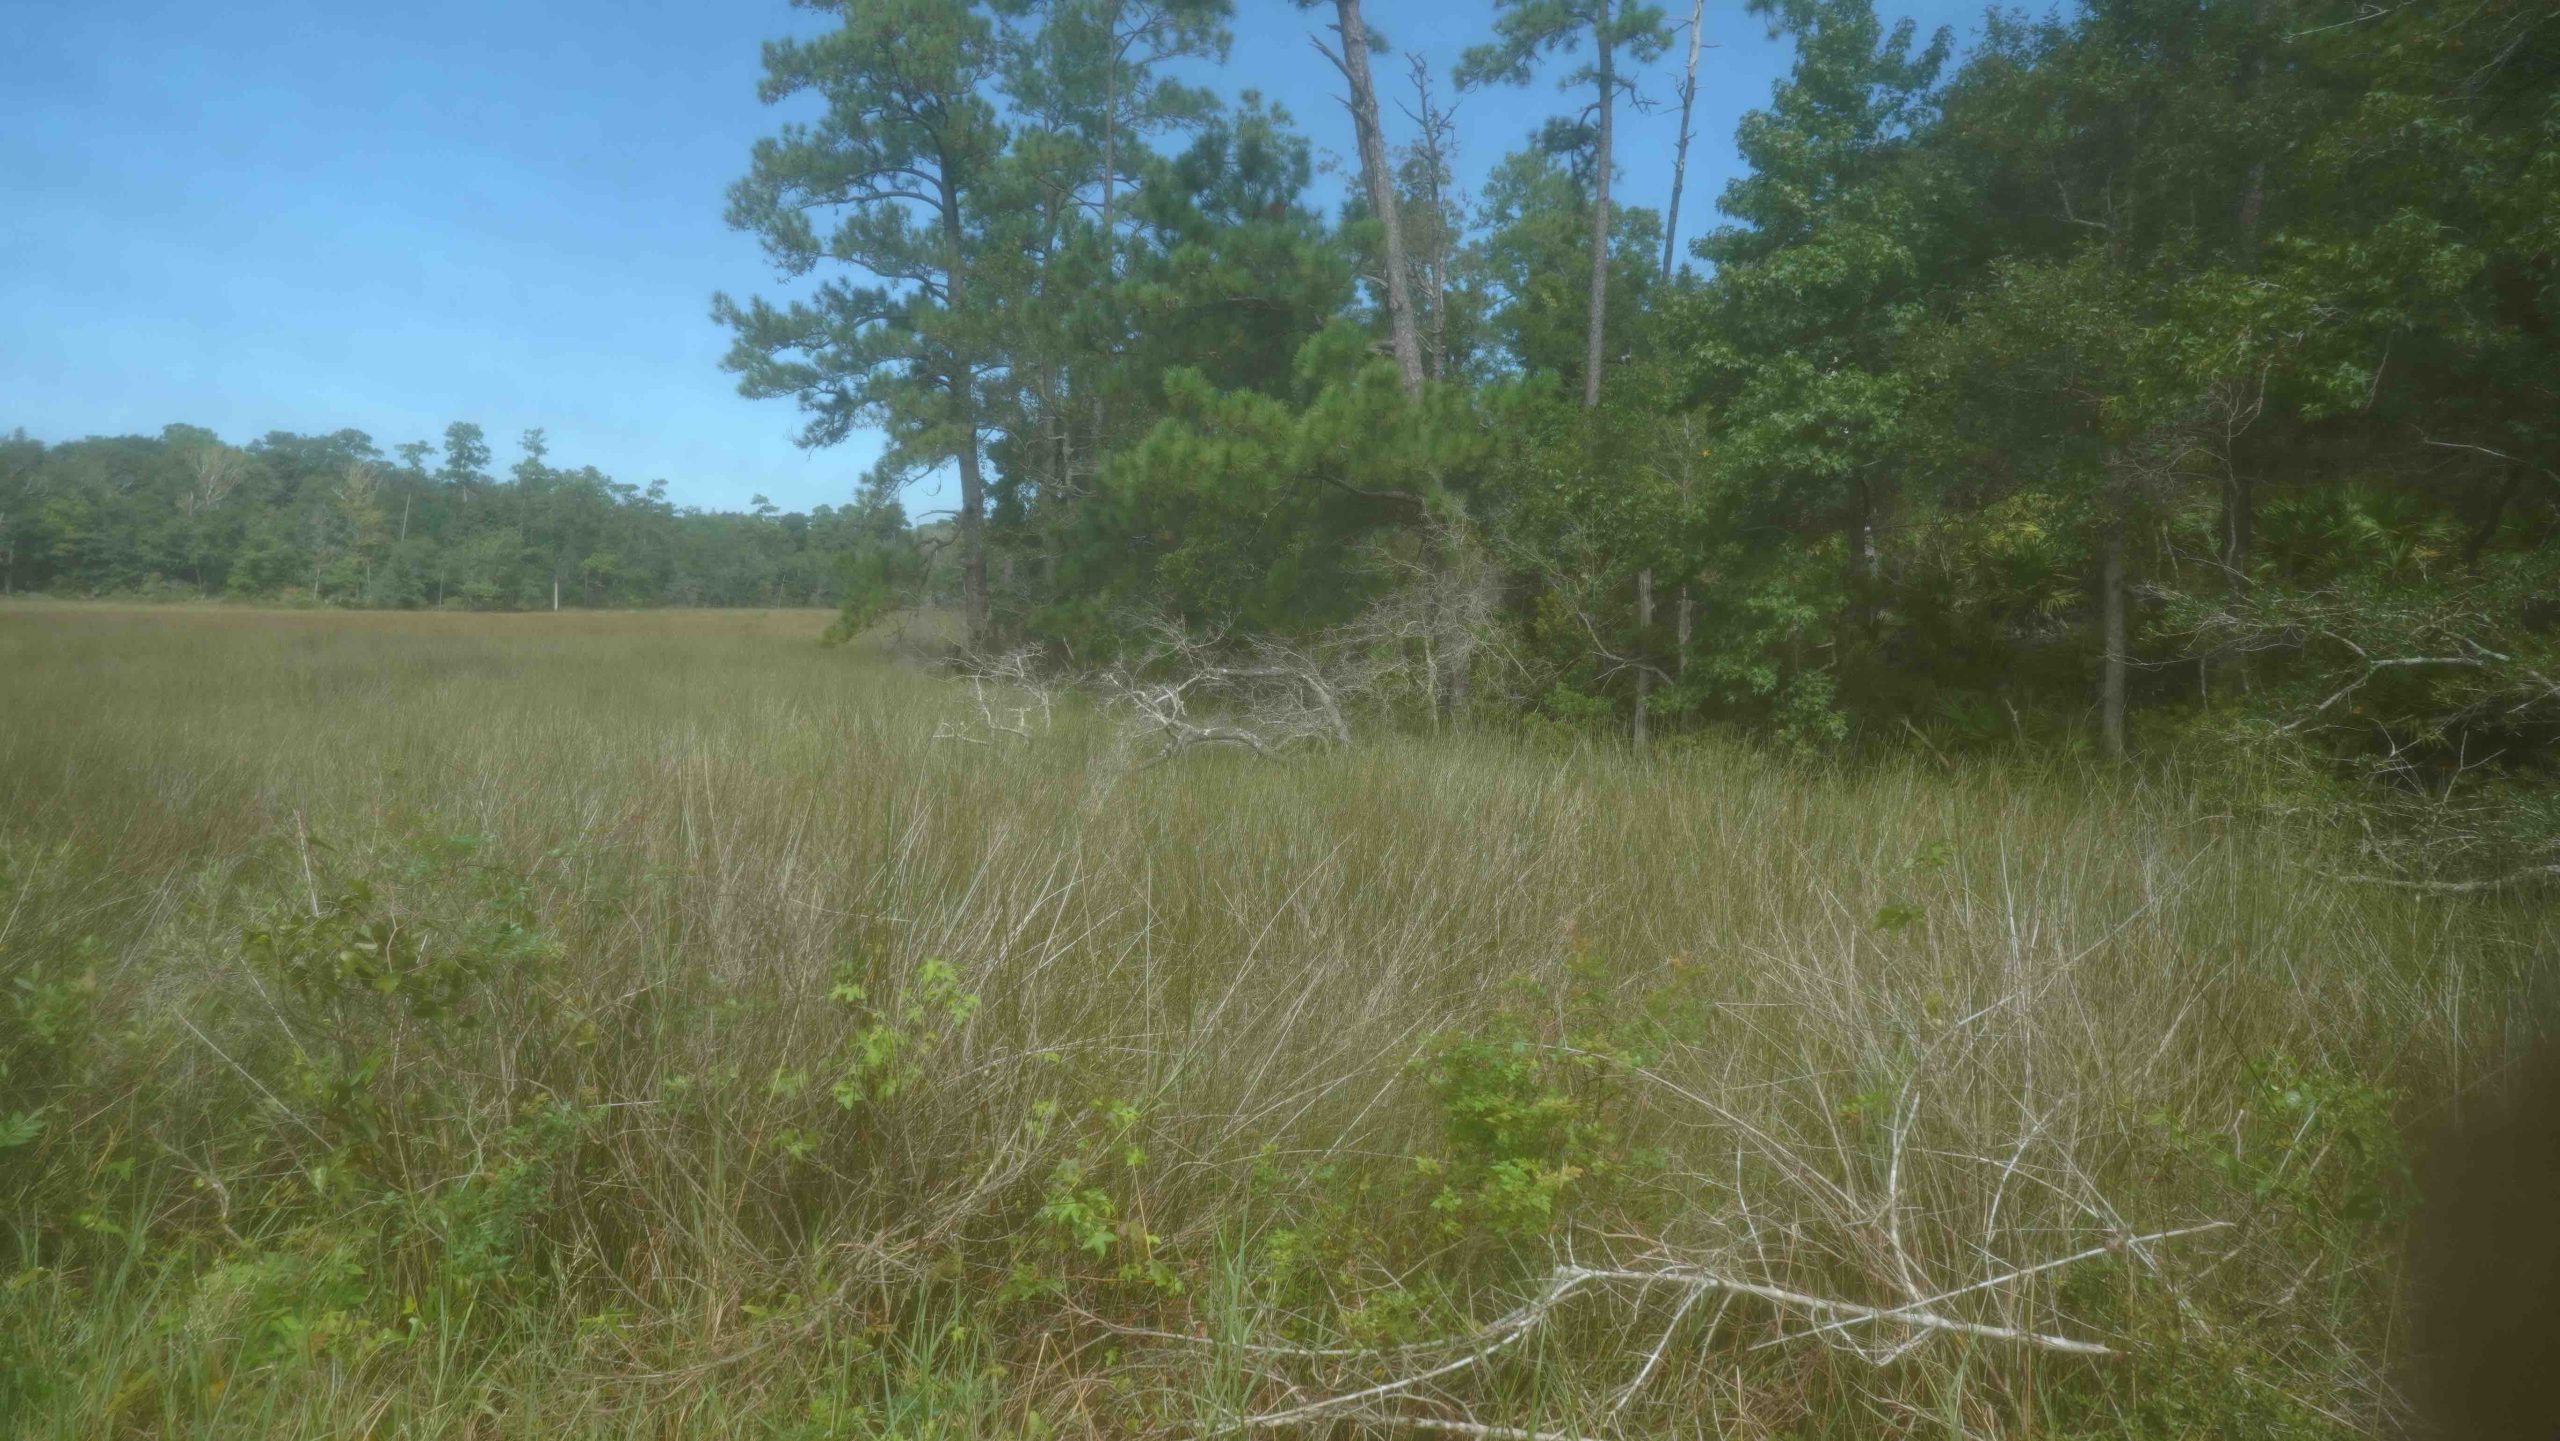
There ya go, a DIY HDF (see Figure 7). Just be careful that the filter threads neither tear nor snag the swatch of nylon. Each of the two shades of hosiery lend a different effect to a photograph. Try them both (see Figure 8 and 9). Unfortunately, you might notice some banding on large open spaces, like blue sky, in landscape photographs (see Figure 10).


You are now fully equipped for “standing in line” on those long wait lists for your preferred camera. Remember, this Sony ZV-1F modification is not meant to replace any of these cameras. Rather, it provides you with some hope that your beloved FujiFilm X100VI, Leica D-Lux 8, or Ricoh GR III HDF doesn’t end up inside a cave in Germany (see Figure 11).

Enjoy.

David Prochnow
Our resident “how-to” project editor, David Prochnow, lives on the Gulf Coast of the United States in Ocean Springs, Mississippi. He brings his expertise at making our photography projects accessible to everyone, from a lengthy stint acting as the Contributing How-To Editor with Popular Science magazine. While you don’t have to actually build each of his projects, reading about these adventures will contribute to your continued overall appreciation of do-it-yourself photography. A collection of David’s best Popular Science projects can be found in the book, “The Big Book of Hacks,” Edited by Doug Cantor.


Join the Discussion
DIYP Comment Policy
Be nice, be on-topic, no personal information or flames.