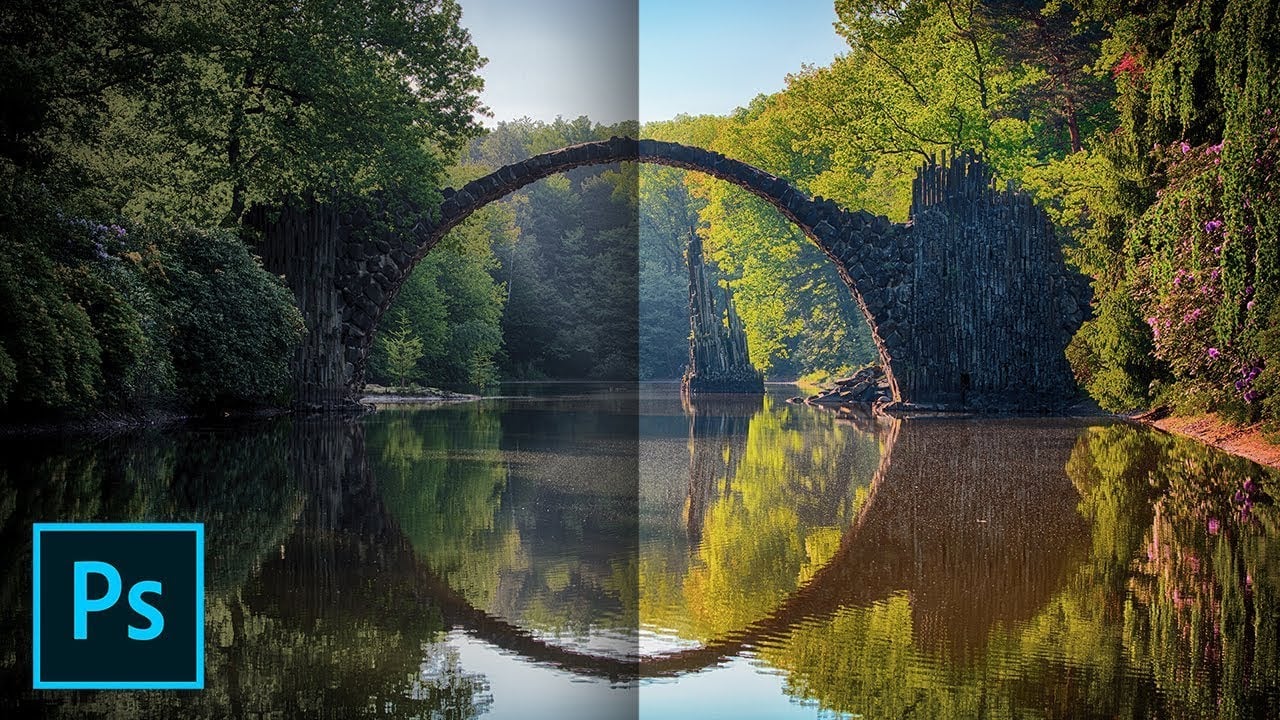
There are times when your photos can get an unnatural-looking color cast. You can fix it in post and fine tune it so it looks more natural. In this video from Adobe Creative Cloud, you’ll learn how to neutralize unwanted color cast in only a couple of clicks, in literally a few seconds.
Follow these nine quick tips to raise your black and white photography to a higher level
Both black and white and color photography have their charm, but it takes some skill to master when and how to shoot or edit in black and white. In this video, Jamie Windsor shares nine quick and very useful tips for all of you who want to raise your black and white photography to a new level. These tips will help you brush-up your skills, and Jamie also shares plenty of example images to illustrate his points.
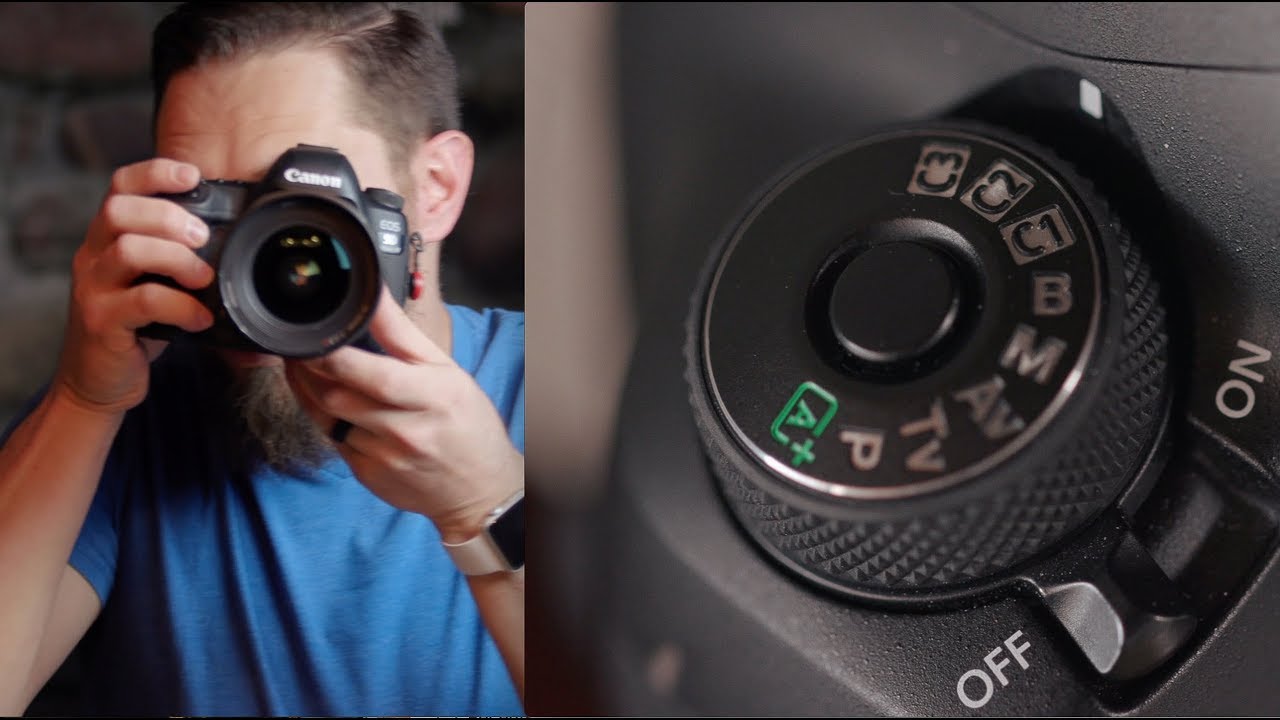
Quick Tip: Use Camera User Settings to save time
Camera User Settings are not something new, but if you’ve never used them before you can save a nice chunk of time moving between different setups. User Settings are a group of pre-configured groups of settings (C1, C2, C3 on Canons, U1, U2 on Nikons) that you can activate with a click of a dial.
Usually, those settings are found at the setting dial (the one with S, A, M, P) so you can move between them by rotating this dial. This configuration does two things for you: a) it saves time, as all relevant settings for a scenario are grouped together and b) it helps to make sure you are not missing any critical god-forsaken setting.
Videographer Aaron Tremblay shares how he sets his camera (A Canon 5Dmk4) to work with Camera User Settings. Similar settings can be done with Nikon’s by hitting the setup menu, and clicking on Save User Settings then selecting (A), (B).
Quick tip: four ways to copy develop settings in Lightroom Classic
Copying and pasting Develop settings from one photo to another can immensely speed up your editing workflow. It’s one of my favorite features of Lightroom, and Benjamin Warde from Lightroom team shows you four different ways to do it.
5 useful Photoshop tricks in under 90 seconds
Jesús Ramirez from Photoshop Training Channel often shows us awesome Photoshop tricks and tutorials. In his latest video, he shares 5 quick Photoshop tricks in only 90 seconds. All of them only take a few moments to set up, and you can use them right now to speed up your workflow.
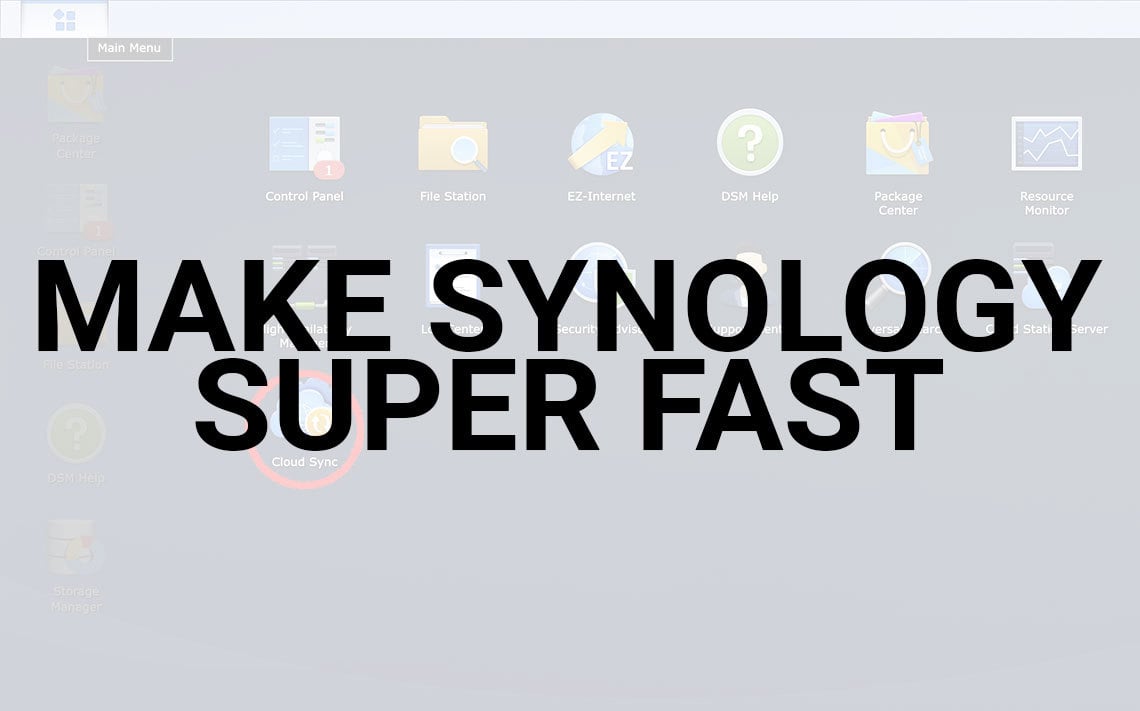
Quick tip: This single setting will dramatically increase your backup to the cloud backup speed
If you are a creative going both video and photos and amassing a huge amount of data you may have considered both a dedicated storage and maybe a cloud service.
Personally, I use a Synology 5 bay NAS as a second storage and Backblaze B2 as my cloud provider. The tip here is relevant for all providers of cloud storage though.
When I hooked up to B2, I already had about 2 Terabytes of data that I wanted to back up. Day to day operations should not be an issue, but getting that initial chunk of data up was something that needed consideration. I needed to get that data up there fast.
Using an invisible shotgun microphone right in the shot
Sometimes, you want to use a shotgun microphone, but the angle is too wide, or the location demands that the microphone would be very close to the subject. So close that it gets in the shot. Videographer Griffin Hammond has a great tip on placing a shotgun mic very close to your subject, while not seeing it in the final frame. Think invisible shotgun mic.
The trick is to actually place the shotgun very close to the subject (i.e. in the frame) but making sure that nothing is moving behind or in front of it. Then masking the video “in post” with a piece of frame that does not have that microphone in it.
How to enhance colors in sunset photos with a single layer, and get optimal results
Even the magical light of the golden hour requires some enhancement in post-processing. There are a few ways to do it, and Denny Tang of Denny’s Tips suggest one of the simplest I’ve seen so far. He uses a single adjustment layer, and it’s the Channel Mixer. The whole editing process is pretty fast, yet gives natural-looking results on the photos taken during sunset (or sunrise).
Quick tip for maximizing the usable distance of your C-Stand
The standard setup of a C-stand is to put the longest, largest leg under the arm so the whole thing doesn’t tip over. This is a correct way, but Jay P. Morgan suggests you another one, which will help you maximize the usable length of the arm, and still keep the C-stand stable.
Quick tip: how to remember the F-Stop Scale like a boss
you know how funny the f-stop scale is. All those weird numbers that make no sense.. (well, they do make sense if you look at the square roots of powers of two, but this is really not making anybody’s lives easier).
Griffin Hammond came up with a clever trick to remember the entire scale of F-Stops using only two numbers: 1 and 1.4.
The secret to the method is making a series of numbers that starts with those two numbers and then the next member is the prev-prev number times two.
So, it’s 1, then 1.4, then 1×2=2, then 1.4×2=2.8, then 2×2=4, then 2.8×2=5.6 and so on.
[Griffin Hammond via nofilmschool]
P.S. 1.8 is not a “round” f-stop number
- « Previous Page
- 1
- 2
- 3
- 4
- …
- 7
- Next Page »
FIND THIS INTERESTING? SHARE IT WITH YOUR FRIENDS!