


Master Your Photoshop Workspace to Boost Your Workflow
Jul 30, 2025
Anzalna Siddiqui
A psychology major in her third year of Bachelor’s, Anzalna Siddiqui has endless curiosity for the human mind and a deep love for storytelling – both through words and visuals. Though she hasn’t taken up photography as a profession, her Instagram is where her passion finds its home. In addition to this, she’s a travel enthusiast who never travels without her camera because every place has a story waiting to be captured.
Share:
Photoshop is a strong tool, but it doesn’t always feel like yours. Many of us jump into our projects without taking the time to customize the software to suit our needs. However, making a few adjustments could completely change how you work and make your creative process much easier.
I recently watched an amazing video by Aaron Nace of PHLEARN, who is excellent at using Photoshop. He showed how to organize and personalize your workspace. You’re about to discover how to make Photoshop feel like it’s yours.
Starting Fresh: Your Default Workspace
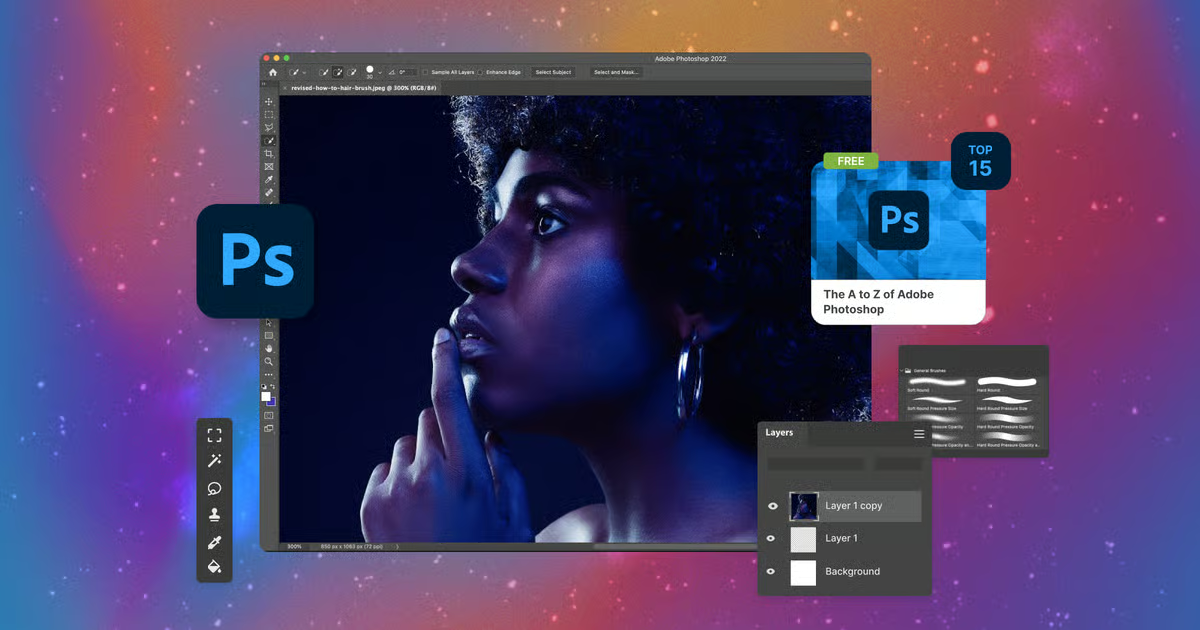
When you launch Photoshop for the first time, you’ll likely see the “Essentials” workspace. This is the default setup, which is a good starting point, but it may not fit your personal preferences. As Aaron points out in his video, if things look cluttered or someone else has changed your layout, you can click the “Reset Essentials” button. It acts like a reset for your workspace, restoring everything to its original state.
A toolbar is ready for use on the left side of your screen. Your images will open in tabs at the top of the window. To the right, you’ll find a series of grouped panels: Properties, Adjustments, Library, Layers, Channels, and Paths. These panels are essential for your work, and you can easily show or hide any of them by going to the “Window” menu.
The Contextual Taskbar: Your New Best Friend
Aaron highlights a cool feature called the “Contextual Taskbar.” This tool appears with helpful options depending on your current activity. I think it’s really useful, but you might have different ideas. Aaron demonstrates how he prefers to pin it in a particular place to fit his workflow, which is a great approach. This is your chance to customize Photoshop to your liking. Would you rather have it floating freely, or would you like it fixed in one spot? The choice is yours.
Decluttering Your Digital Desk: Removing Unused Panels
Aaron recommends starting by removing things you don’t use. He shows how easy it is to get rid of the “Channels” tab by simply dragging it away and closing it. Why keep something in your way if you hardly ever use it?
But what if you need that tab later? Aaron demonstrates how to restore any closed window quickly. Go to the “Window” menu, locate what you need, and click it to bring it back. You can then place it exactly where you want, maybe right next to your “Layers” panel. It’s all about making the workspace comfortable for you.
You can also rearrange tabs within a group or even move them to different groups. This kind of flexibility is one of the great features of customizing your Photoshop workspace. Once you start shifting things around, you’ll see just how much control you really have.
The Power of Movement: Everything is Movable
Aaron points out an important fact: every part of your Photoshop workspace can be moved and customized. It’s not fixed. It’s like a flexible canvas for your tools. He demonstrates how to easily open or close groups of windows using a simple icon. This is useful when focusing on your image or working on a specific panel.
You can click on individual windows to pop them out, and they can smoothly collapse back in when you’re done. It’s a handy way to take quick looks without opening everything fully. Plus, you can rearrange tabs by dragging them around or into different groups, which is really easy. This is where your creative side can shine – in the digital world.
Streamlining Your Setup: What to Keep, What to Toss
Aaron highlights that your workspace should be tailored to your work style. Many of the default panels in Photoshop might not be helpful for you and could just be taking up space. He demonstrates this by removing rarely-used panels, such as Channels, Paths, Libraries, Color, Swatches, Gradients, Patterns, History, and Comments. Think about how much more space you’ll have on your screen. It’s like clearing out clutter and making everything feel lighter.
He continues to get rid of unnecessary panels, which allows him to create more space for the ones he uses regularly. Then, he groups his most-used panels – Layers, Properties, and Adjustments – together in one neat section. I appreciate this approach. Having your favorite tools easily accessible is a smart move.
Crafting Your Ideal Layout: Groups and Resizing
The customization goes even further. Aaron fine-tunes his layout by creating new groups for his panels. For example, he puts “Layers” in its group above “Adjustments” and “Properties.” This way, “Layers” stands out and gets the attention it needs in most tasks.
He also demonstrates how to adjust the size of different panel groups, making sure that frequently used panels like “Layers” have enough space. This small change can really improve your workflow. If you ever need a panel you’ve closed, like the “Character” panel for text work, just go back to the “Window” menu to bring it back.
When you open the “Character” and “Paragraph” panels, they appear in your sidebar, and you can easily group them. Aaron then shows how to move these panels into existing tab groups, like “Adjustments,” or keep them on their line. If things start to look messy, he suggests making the view more compact for better organization.
He keeps adjusting the layout and emphasizes the need to keep “Layers” visible. He demonstrates how to merge “Character” and “Paragraph” into one window and dock them in a second collapsible sidebar. This is a great idea. It lets you access tools that you don’t use as often without cluttering your main workspace.
Aaron reminds us that any panel can be moved to the right side, helping you create a setup where “Layers” are always visible and other frequently used items are neatly organized in tabs. And here’s a helpful tip: if your layout becomes confusing, collapse everything to make it easier to reorganize.
Saving Your Masterpiece: Custom Workspaces
Think about having one workspace just for photo editing and another for writing. This isn’t just a fantasy. It’s possible in Photoshop. For his photo editing workspace, Aaron hides the “Paragraph” and “Character” menus and keeps only “Properties,” “Adjustments,” and “Layers.” He also widens the toolbar and moves the taskbar to fit his editing needs.
Once you’ve arranged everything just how you like it, saving your setup is easy. Simply go to “Window” > “Workspace” > “New Workspace” and name it something like “Photo Editing.” Aaron points out that you can also change keyboard shortcuts, menus, and toolbars to match your workspace. However, he prefers to keep his keyboard shortcuts the same across all his workspaces. This is a helpful tip if you rely on your shortcuts like I do.
Peace of Mind: Resetting and Locking Your Workspace
Aaron demonstrates how easy it is to reset a customized workspace if it becomes messy. Just go to “Window” > “Workspace” and choose “Reset [Your Workspace Name].” Your workspace will then return to its neat, saved state.
To make things even better, Aaron introduces the “Lock Workspace” feature. This is really useful. It stops your panels from being moved by accident. When it’s locked, you can still change the heights of panels and add new ones to existing tabs, which is super handy. However, you won’t be able to remove any panels until you unlock the workspace. This feature is essential, especially if you share your computer or accidentally drag things around.
He also shows how to unlock the workspace to take out a panel that was added while it was locked, proving that regaining control is simple. Plus, a convenient “Workspace” icon is at the top right of your Photoshop window. This lets you quickly switch between your saved workspaces, like Aaron’s “Free Tutorials” setup for YouTube or a “Vertical” setup for vertical videos.
Final Thoughts
Aaron emphasizes the importance of having customized workspaces for various types of projects. Whether you’re working on photo editing, making animations, or editing text, having a specific setup for each task can really boost your productivity.
Personally, I think tailoring your Photoshop workspace is a great way to improve your creative work. It might seem like a minor detail, but having a neat and personalized space helps reduce distractions and allows you to concentrate on what matters most: your art. So, feel free to try new things, rearrange elements, and truly make Photoshop your own.
[How to Customize Your Workspace in Photoshop I PHLEARN; Image credits: Envato]

Anzalna Siddiqui
A psychology major in her third year of Bachelor’s, Anzalna Siddiqui has endless curiosity for the human mind and a deep love for storytelling – both through words and visuals. Though she hasn’t taken up photography as a profession, her Instagram is where her passion finds its home. In addition to this, she’s a travel enthusiast who never travels without her camera because every place has a story waiting to be captured.
Related Posts
 Adobe Rolls Out Creative Cloud 2014.2 Updates at AdobeMAX; Photoshop Gets New “Layer Inspector” Workspace
 Turn your tablet into an external monitor for more on-the-go workspace
 How to thoroughly disinfect your camera and workspace
 Are you a Photoshop master? Well, these may be 10 features even you don’t know
Join the Discussion
DIYP Comment Policy
Be nice, be on-topic, no personal information or flames.