


Create Wonderful Digital Pinhole Pictures Using a Tobacco Box
May 25, 2010
Udi Tirosh
Udi Tirosh is an entrepreneur, photography inventor, journalist, educator, and writer based in Israel. With over 25 years of experience in the photo-video industry, Udi has built and sold several photography-related brands. Udi has a double degree in mass media communications and computer science.
Share:
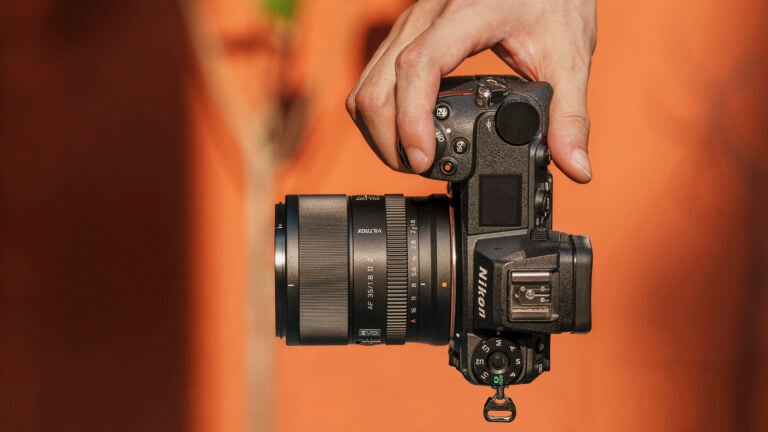
)") Digital pinhole uses the same principles as a “regular pinhole” i.e. a small hole instead of lens, but as all digital cameras, it provides a way to instantly view your image and “change film” with less hustle.
Digital pinhole uses the same principles as a “regular pinhole” i.e. a small hole instead of lens, but as all digital cameras, it provides a way to instantly view your image and “change film” with less hustle.
Photographer Matt Devlin posted this awesome digital pinhole guide on DIYP flickr group. I thought it is worth to repost it here (with permission) to help everyone see it. Thanks Matt.
Step 1 – Get The Parts You Need
I used a Tobacco tin [Altoids will work too, if you don’t care about the squareness – ut]), old body cap, double sided tape, nail, pin, hammer.
(now you could use different stuff that is what I had around the house, I am not going to list all the alternatives but a drink can would be fine and your nest best bet as your hole)
)")
Step 2 – Put It All Together
Next I put the tape on the cap. A few things here: I used tape because I don’t have any spare caps at the moment I will pick some up next time I am in the city. They are cheap and real handy for DIY, this big holed one is to fit my old film lenses to the canon!
And yes, a lot of the work was done for me with the hole already in the cap, but this is not hard to do yourself. Just drill out a hole in the middle of a body cap. It has to be big-ish, give yourself some room say a 10mm-15mm drill.
Also you might need to pill the canon logo off it sits high I think that would get in the way. And lastly I would glue the tin on if it was a long-term fix but I need the cap back that big hole was hard to do
)")
Step 3 – The Hole
The next step is the hole, now a tin is too hard for a pin to go through so I taped it with a nail first. Not all the way though, just till there was a dent on the other side of the tin. You only want a small hole. The smaller the better; the rounder the better too but we will see how we go.
)")
The pin was next I just pushed it through with my thumb and pointer finger touching the tin as support, so I only let the tip of the pin through.
If the hole is small: higher aperture, sharper photos, bigger depth of field. A bigger hole will be faster but not as sharp.
)")
The Hole
)")
Stick the cap on the back of the tin as centered as you can. You can do this by eye, and if you miss a bit it is not the end of the world
)")
And this is it all ready to go!
)")
Added benefit of the tobacco tin it comes with a free lens cap!!
)")
First Shot & Results
)")
An advantage with digital is that you can still use the light meter so a lot of the hard work (or skill if you like) is done.
The bottle is actually my DIY blower it’s an old squeeze sauce bottle cleaned out and works a treat as a camera blower. (Wow two DIY projects in the one thread good value if I ever seen it!)
)")
Well there you have it. I hope you got something out of it, and if you have any ways to improve on, it or want to share your design I would love to see it.

Udi Tirosh
Udi Tirosh is an entrepreneur, photography inventor, journalist, educator, and writer based in Israel. With over 25 years of experience in the photo-video industry, Udi has built and sold several photography-related brands. Udi has a double degree in mass media communications and computer science.


Join the Discussion
DIYP Comment Policy
Be nice, be on-topic, no personal information or flames.