


Create magic with this 3 light gelled portrait set-up
Jan 17, 2022
Alex Baker
Alex Baker is a portrait and lifestyle driven photographer based in Valencia, Spain. She works on a range of projects from commercial to fine art and has had work featured in publications such as The Daily Mail, Conde Nast Traveller and El Mundo, and has exhibited work across Europe
Share:

Studio photography can be so creative. All you need is a subject and a light. But after you’ve mastered one light, the possibilities are endless. Ohio-based fashion photographer Ron Hautau created this striking series of coloured portraits using nothing more than a black background, 3 lights and some coloured gels. He explained to DIYP how he did it.
Ron took his initial inspiration from the work of fashion photographer Jake Hicks who is well known for his colourful approach to portraits. Ron wanted to try a similar simple set-up and play around with some coloured gels to see what combinations worked.
Equipment

Ron used his Sony A7III camera with the Tamron 28-75 at ƒ/5.6 – 1/250 – ISO 200. He used a pair of Godox AD200s and a Godox AD400. “I like Godox because it’s affordable and they have a range of different lights,” Ron says.
For the modifiers, Ron explains that he wanted precise control of the light so used gridded strip boxes (Glow EZ lock 12×56 strip boxes) for the side lights. “They’re great for lighting up one side of a body with a narrow beam of light.”
Ron used a 22″ beauty dish + grid for the key light. He says that he likes beauty dishes because the light spread is easy to control and the dish design eliminates hotspots.
He used some inexpensive Selens gels and attached them to the strobes with rubber bands. He also used Savage black seamless paper because the dark colour prevents the strobes from lighting up the background behind the model.
Set up

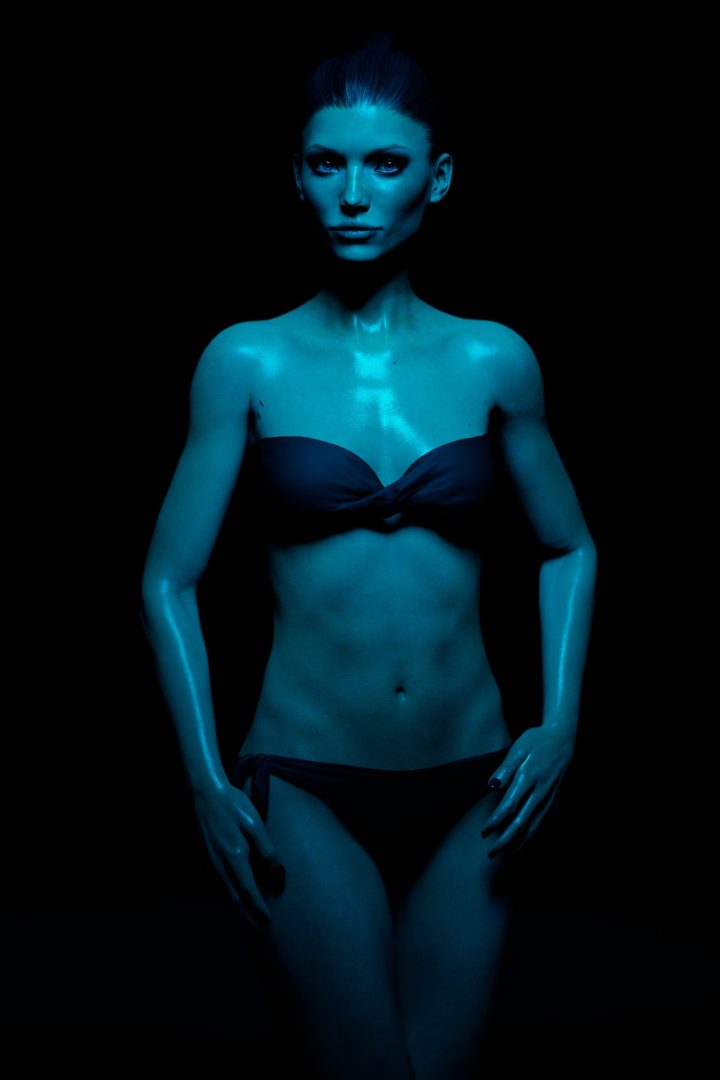
The lighting was a symmetrical 3 light setup, with one gelled key light in the butterfly lighting position (centre and above) and two gelled rim/kicker lights, one to each side and behind the subject. Ron used different gels with complimentary colours. Starting off with a cool blue gel on the key light and a warm orange gel on the sidelights.
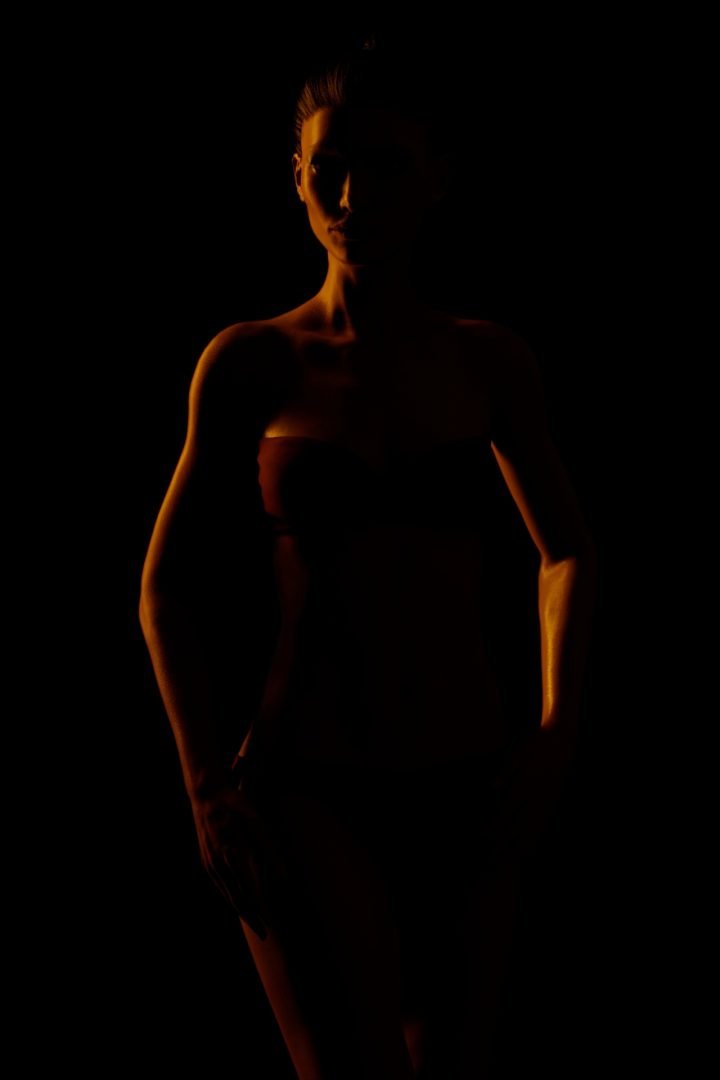
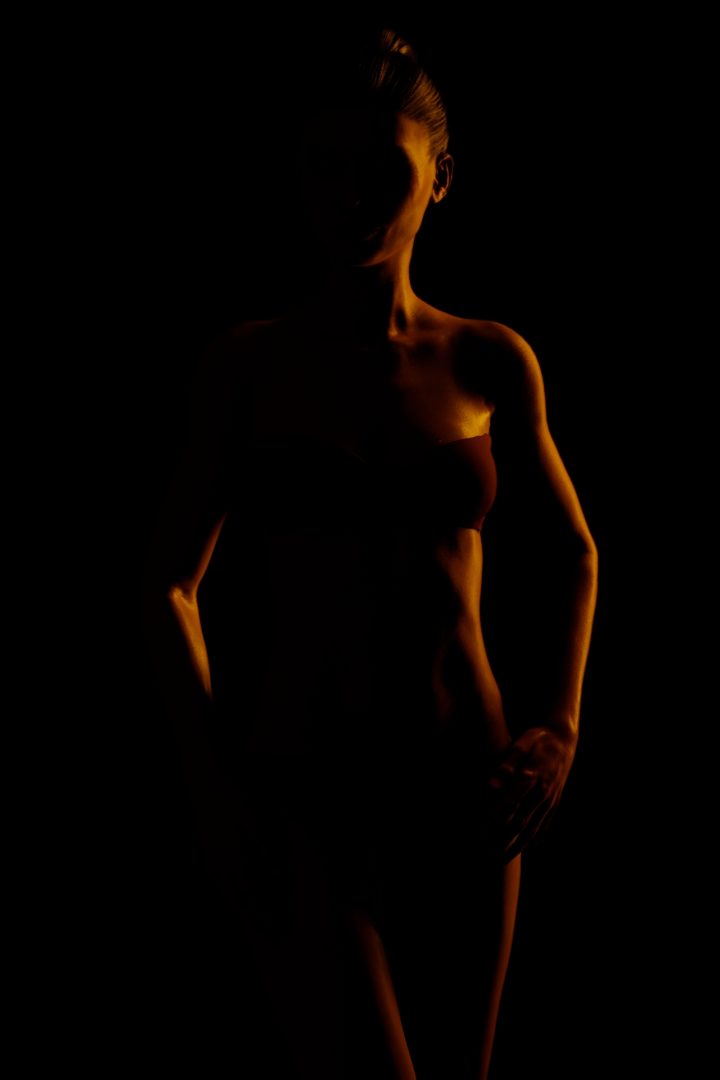
He later switched up the colours of the gels to experiment with them, as you can see in the images below.

Post processing
Ron used Lightroom for the color editing, and Photoshop for skin retouching. In Lightroom, he explains that he mostly changed the HSL (hue/saturation/luminance) tab, the camera calibration tab, and the white balance controls. “I wanted to really push and pull the colours in different directions to see what I could get from the RAW images,” Ron says.
And here are more of the final images.
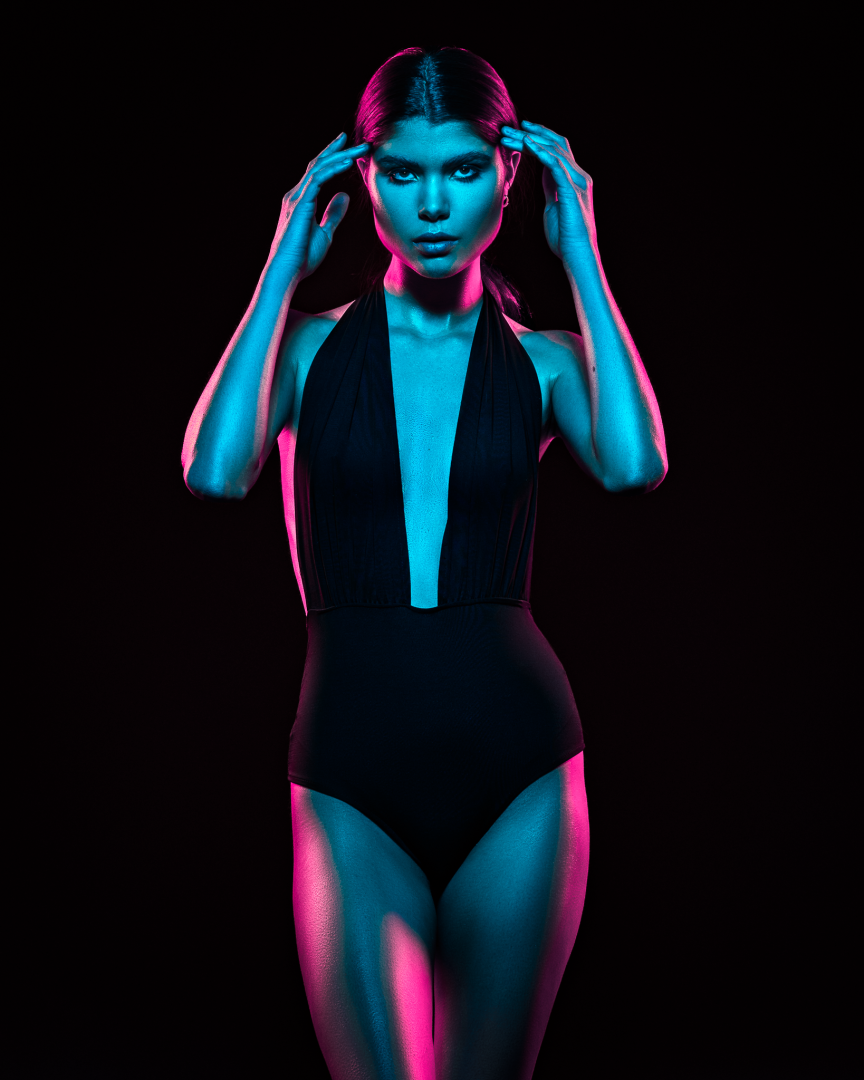

Overall these images are beautifully lit and use colour in a wonderfully creative way. You can see more of Ron’s work on his website and Instagram.

Alex Baker
Alex Baker is a portrait and lifestyle driven photographer based in Valencia, Spain. She works on a range of projects from commercial to fine art and has had work featured in publications such as The Daily Mail, Conde Nast Traveller and El Mundo, and has exhibited work across Europe


Join the Discussion
DIYP Comment Policy
Be nice, be on-topic, no personal information or flames.
One response to “Create magic with this 3 light gelled portrait set-up”
very interesting article and a good one for DYI. I haven’t played with gels on lights since the 1980s and used gel plates I got from a film Co.