


Creative Shadow Photography with DIY Projects to Cast Interesting Shadow
Oct 14, 2025
Darlene Lleno
Darlene Lleno brings a unique perspective to DIY Photography as someone who grew up surrounded by camera gear but chose words over lenses. With five years of writing experience, she specializes in photography content that’s both technically informed and genuinely passionate. Growing up with a photographer twin brother meant camera talk was everyday conversation in her household. While he mastered capturing moments, Darlene discovered she preferred being the subject and the storyteller behind the scenes. As a travel enthusiast and mother of two, she understands the importance of preserving life’s precious moments. When not exploring new destinations or writing for DIY Photography, you’ll find her reading or tending to her garden. Her approach to photography writing is refreshingly authentic, she may not be behind the camera, but she knows exactly what it takes to help others capture the shots that matter most.
Share:
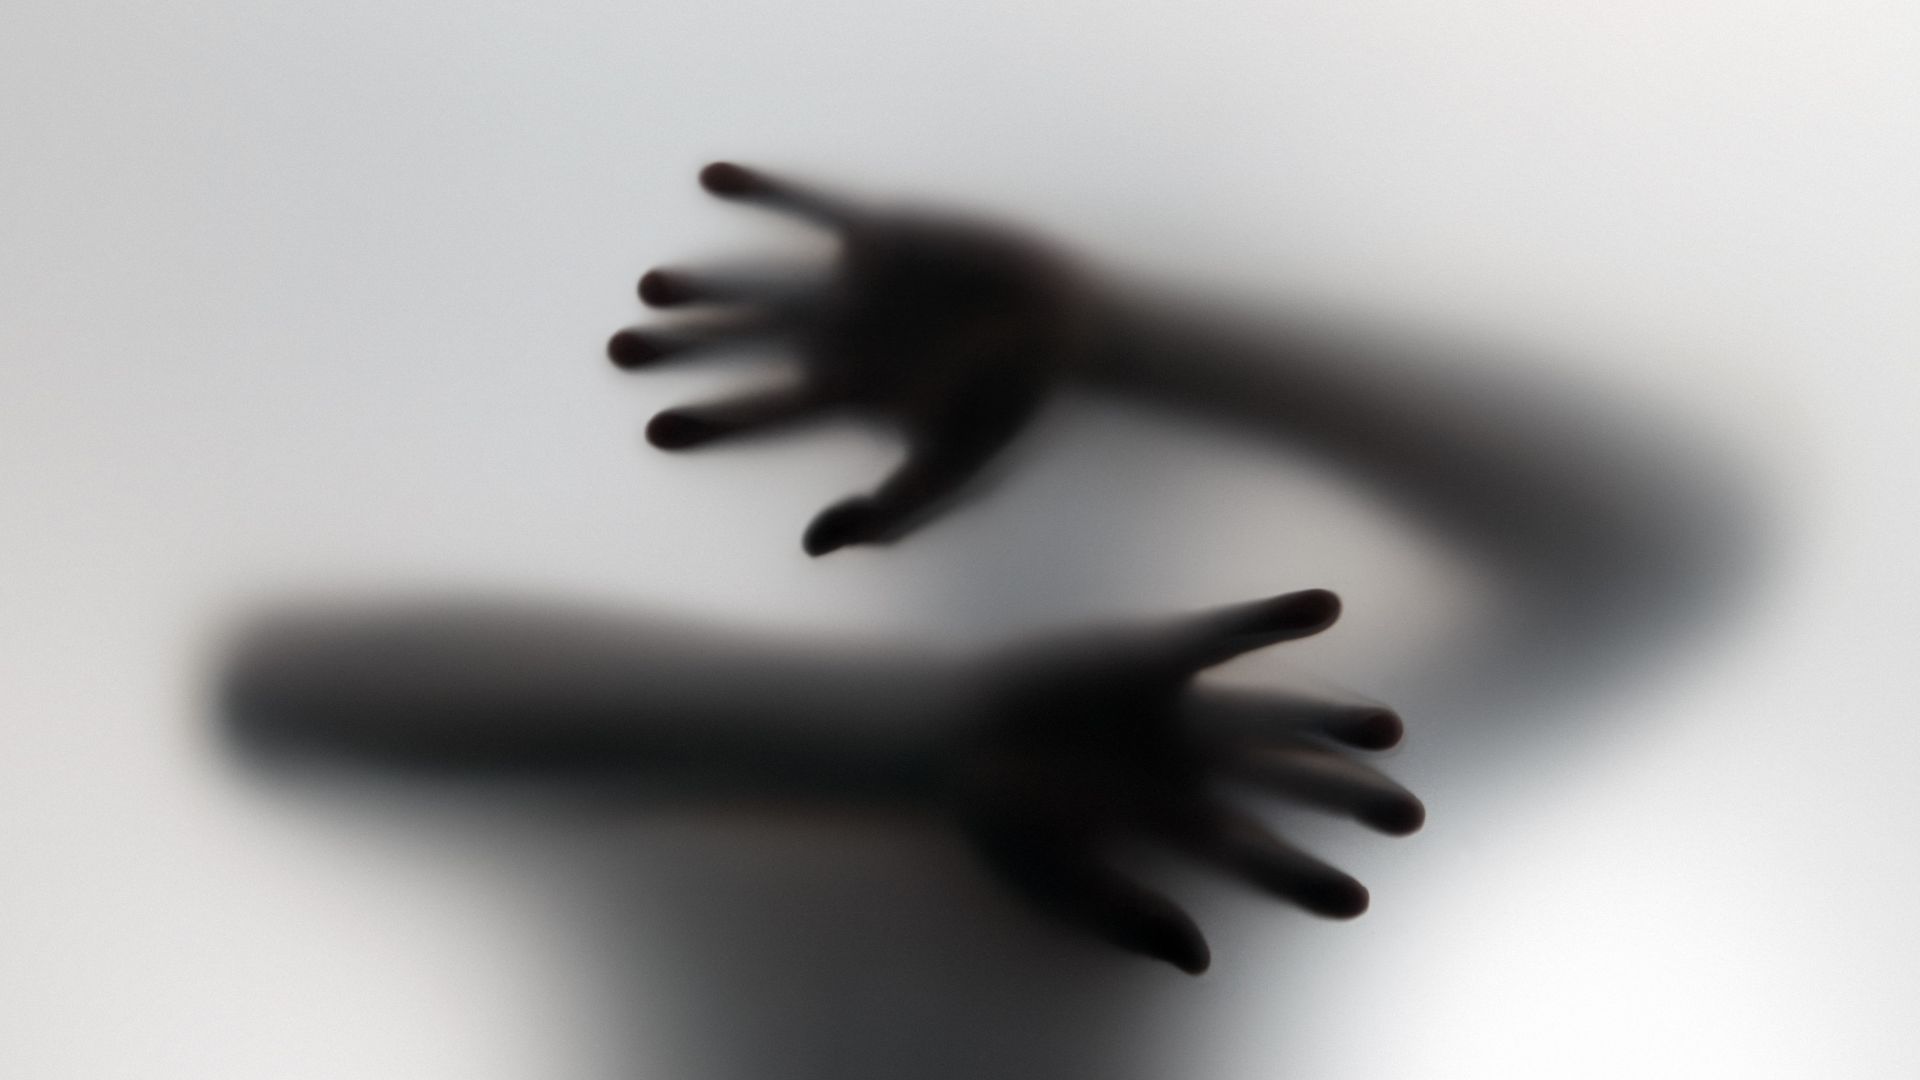
Shadow photography creates amazing art without costing you anything. Your home has everything you need to make stunning shadow images. Most photographers add more light to their shots. Shadow photography works differently. You use darkness as your main tool.
Shadows tell stories better than regular photos sometimes. They add mystery and drama to ordinary scenes. You can turn any room into a creative studio with basic household items.
The trick happens between your subject and light source. Shadows become your brushes for painting with light. Professional artists spend thousands on gear. You can get the same results with things you already own.
Read more: Creative Shadow Photography with DIY Projects to Cast Interesting ShadowLight Sources for Shadow Photography
Light acts the same way every time once you learn the basics. Different lights create different shadow styles. Natural window light changes all day long. This gives you many shadow options without moving anything.
Window direction matters for your shadow work. North windows give soft, even light all day. South windows create strong, direct light with sharp shadows. East and west windows offer golden hour lighting during specific times.
Working with Hard Light Sources
Hard lights make crisp shadows with clean edges. Direct sunlight works best for this style. Desk lamps and flashlights also create hard light. Use these when you want geometric shadow patterns.
Put your objects close to hard lights for soft shadow edges. Move objects farther away for sharper, smaller shadows. The distance controls how your shadows look.
Position matters more than the light itself. Close objects cast big, soft shadows. Far objects make small, sharp shadows. Practice moving objects to see the differences.

Soft Light Techniques for Creative Shadows
Soft lights create gentle shadow edges that blend smoothly. Cloudy sunlight works great for this. Window light through curtains also makes soft shadows. These work well for portrait photography projects.
Make your own soft light easily. Put shower curtains between your light and objects. Bedsheets work too. Parchment paper creates very soft light. The thicker your material, the softer your shadows become.
Layer different materials for custom softness levels. Combine thin and thick materials. This lets you control exactly how soft your shadows look.
DIY Shadow Photography Projects Using Household Items
Your kitchen has amazing shadow-making tools. Colanders create polka dot patterns. Wire cooling racks make grid shadows. Even crumpled paper balls create interesting textures.
Look for objects with interesting shapes first. Geometric items work best for clean patterns. Organic shapes like plants create flowing shadow designs. Mix both types for complex compositions.
Paper Cutout Shadow Projects
Paper cutouts give you unlimited creative options. Cut shapes from cardboard or construction paper. Layer multiple cutouts at different distances for complex patterns.
Create story shadows by cutting people or animal silhouettes. These work great for dramatic portraits. Use craft knives for clean edges. Tear paper by hand for rough, organic textures.
Template projects let you repeat patterns easily. Draw your design on paper first. Cut out the shapes carefully. Hold your template between light and background to project the pattern.
Make seasonal shadow decorations this way. Cut snowflakes for winter themes. Create leaf patterns for fall projects. Holiday shapes work great for themed photo shoots.
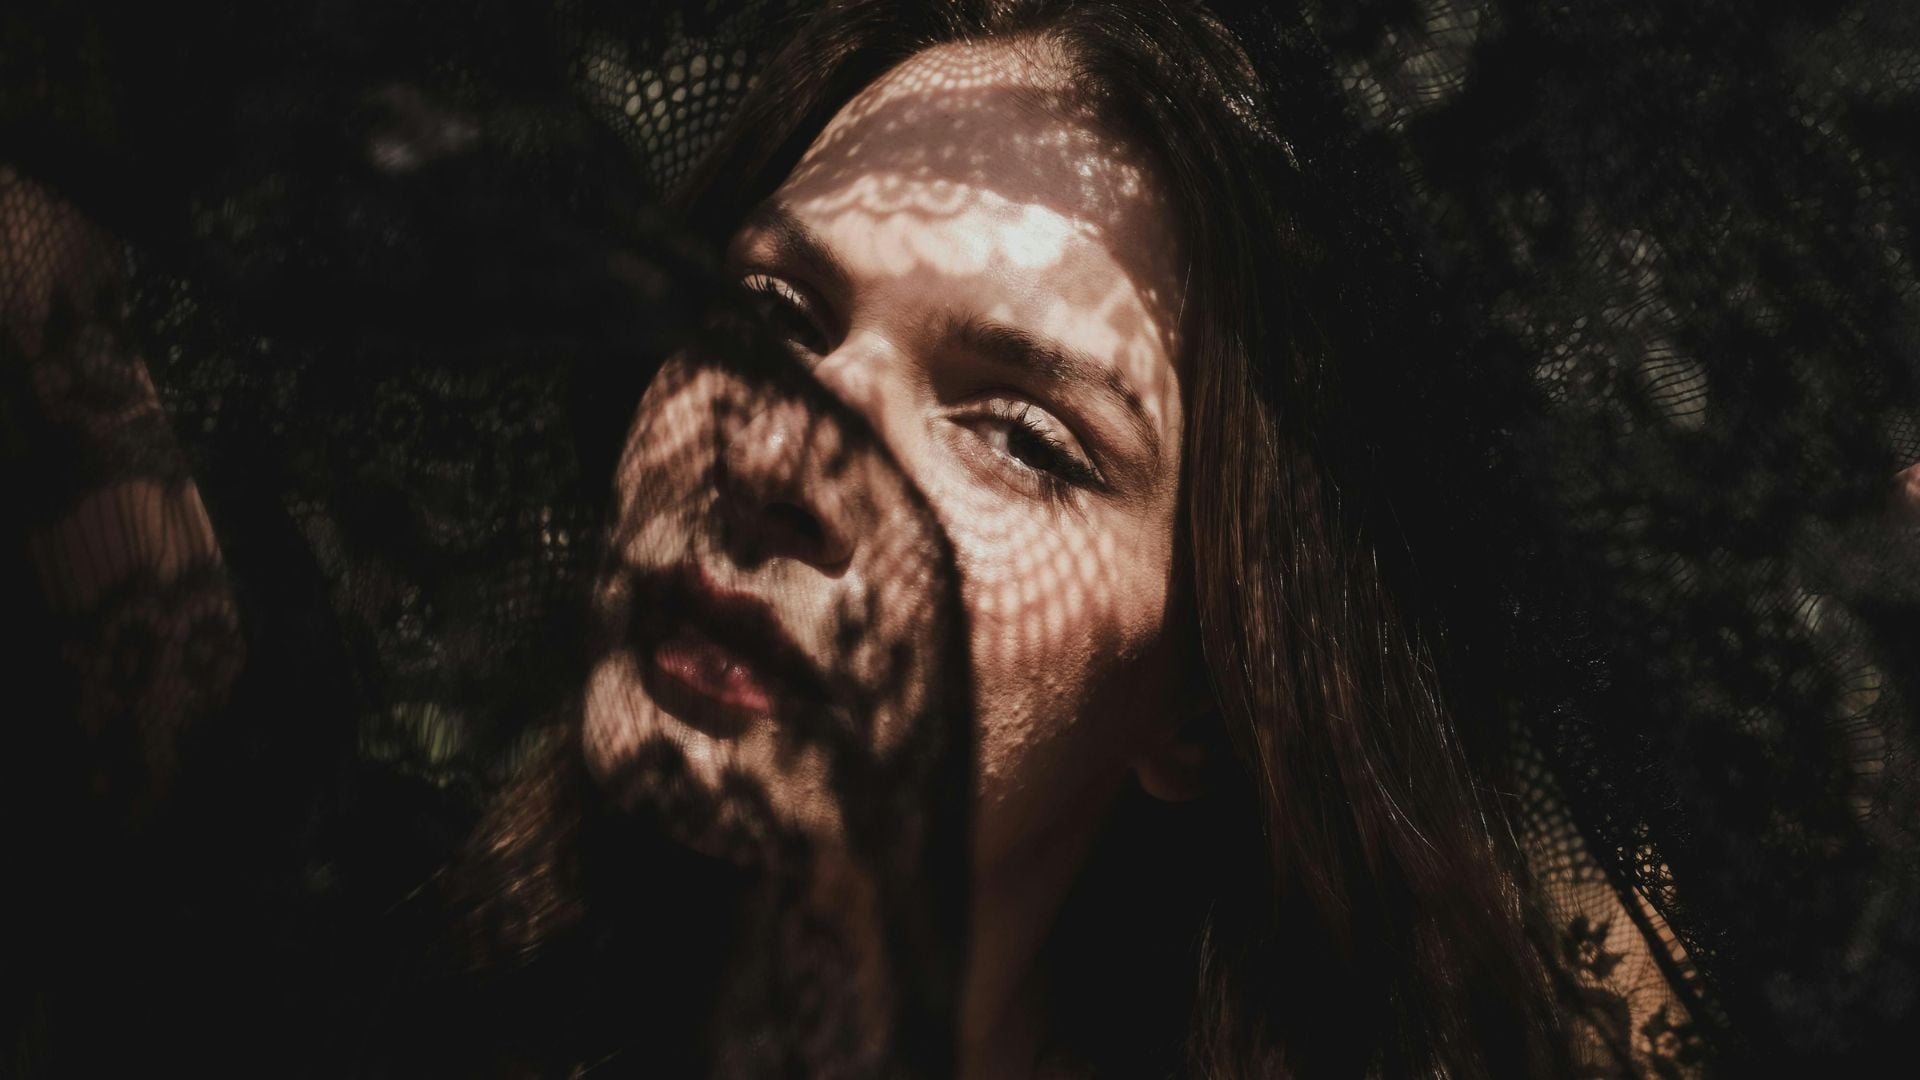
Fabric and Textile Shadow Creation
Fabric textures create shadows that paper cannot match. Lace makes delicate, detailed patterns. Burlap creates rough, textured shadows. Mesh from laundry bags makes geometric grids.
Test different fabric transparency levels. Semi-transparent fabrics create subtle variations. Opaque materials make stark black and white contrasts. Stretch fabric tight for clean patterns.
Layer different fabrics for complex effects. Put lace over burlap for mixed textures. Combine mesh with solid pieces. The overlapping shadows add depth to your images.
Old clothing works great for this technique. Cut up worn shirts for fabric pieces. Use torn stockings for interesting textures. Cheesecloth creates very soft, dreamy shadows.

Advanced Shadow Photography Techniques
Moving beyond basic shadows opens new creative doors. Multiple lights create overlapping patterns. Colored filters add mood and interest. Moving objects during long exposure create motion blur effects.
Time of day changes everything in shadow work. Morning light creates long, dramatic shadows. Midday sun makes short, intense shadows. Evening light adds warm color to your shadows.
Multiple Light Source Shadow Photography
Two or more lights create complex shadow interactions. Position lights at different angles for crossing patterns. Use one main light and others for accent effects.
Colored lights open amazing creative possibilities. Smart LED lights with app controls work best in 2025. RGB LED strips are now affordable and widely available. Colored cellophane over regular lights also works. Different colors create multiple shadow colors that blend together.
Control shadow strength by adjusting light distance and power. Closer lights make stronger shadows. Distant lights create subtle shadow accents. Balance your lights to avoid overwhelming your subject.
Try this setup for interesting results. Use three colored lights from different angles. Red, blue, and green work well together. The overlapping shadows create rainbow color effects.
Motion and Time-Based Creative Shadows
Moving shadow objects during long exposures creates flowing trails. Rotate objects slowly while the shutter stays open. Use fans to create air movement for flowing effects.
Time-lapse shadow photography captures shadow movement over time. Set your camera on a tripod. Take photos every few minutes throughout the day. The shadows move across your frame as light changes.
Water creates dynamic shadow opportunities. Fill clear bowls with water. Ripples create moving shadow patterns. The continuous motion means every shot looks different.
Set up a simple water shadow system. Use a clear glass bowl filled with water. Position a light above the bowl. Place your background below. Gently disturb the water to create ripples.
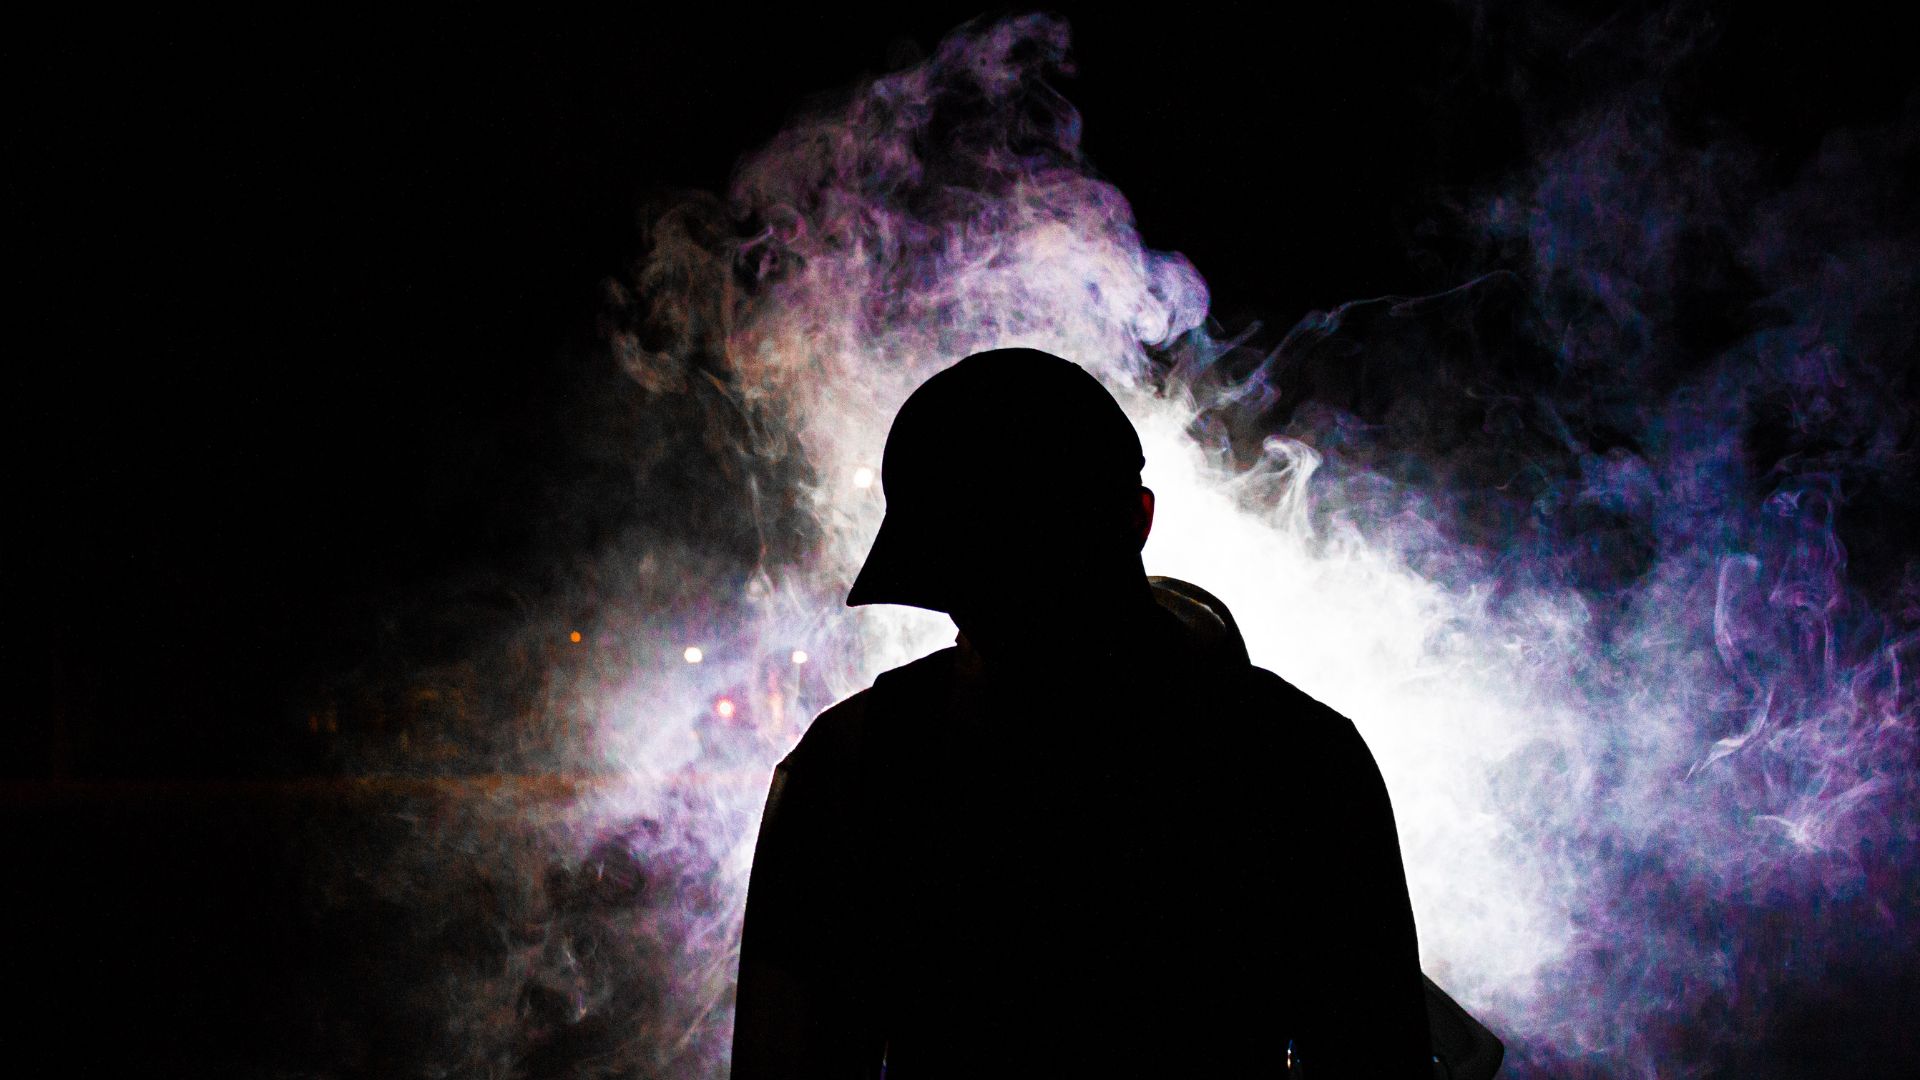
Setting Up Your DIY Shadow Photography Studio
Any corner of your room can become a shadow studio. You need controllable lights and adjustable backgrounds. Methods for positioning objects complete your basic setup.
Background choice affects shadow visibility dramatically. White walls show shadows clearly but may look boring. Textured walls add character but can compete with shadow patterns. Colored backgrounds change shadow mood completely.

Essential Equipment for Shadow Photography
You need very little specialized gear for shadow photography. A camera with manual exposure settings gives you full control. Tripods help maintain consistent framing while you experiment.
Start with adjustable desk lamps for controlled lighting. Flashlights offer precise control for detailed work. Window light costs nothing and works great for many projects. DIY lighting solutions can replace expensive equipment.
Reflectors help fill unwanted dark areas. White poster boards work perfectly. Small mirrors redirect light precisely. Aluminum foil creates sparkly reflections for special effects.
Build a simple reflector system using white cardboard. Cut pieces to different sizes. Attach them to adjustable stands or lean them against books. Position opposite your main light to bounce light back.
Camera Settings for Shadow Photography
Manual mode gives you complete control over shadow appearance. Shadows contain less light than bright areas. Your settings determine whether shadow details stay visible or become completely black.
Start with your camera’s light meter reading. Adjust based on your creative goals. Underexpose for dramatic, dark shadows with high contrast. Overexpose slightly to reveal shadow details while keeping shadow presence.
Understanding dynamic range helps you capture better shadow photos. Bracket your exposures to compare different shadow treatments. Take the same shot at different exposure levels.
Modern cameras in 2025 handle low light better than ever before. Mirrorless cameras especially excel at shadow detail capture. However, autofocus still struggles in very dark areas. Switch to manual focus for precise control in shadow photography. Use your camera’s screen magnification to check focus accuracy.
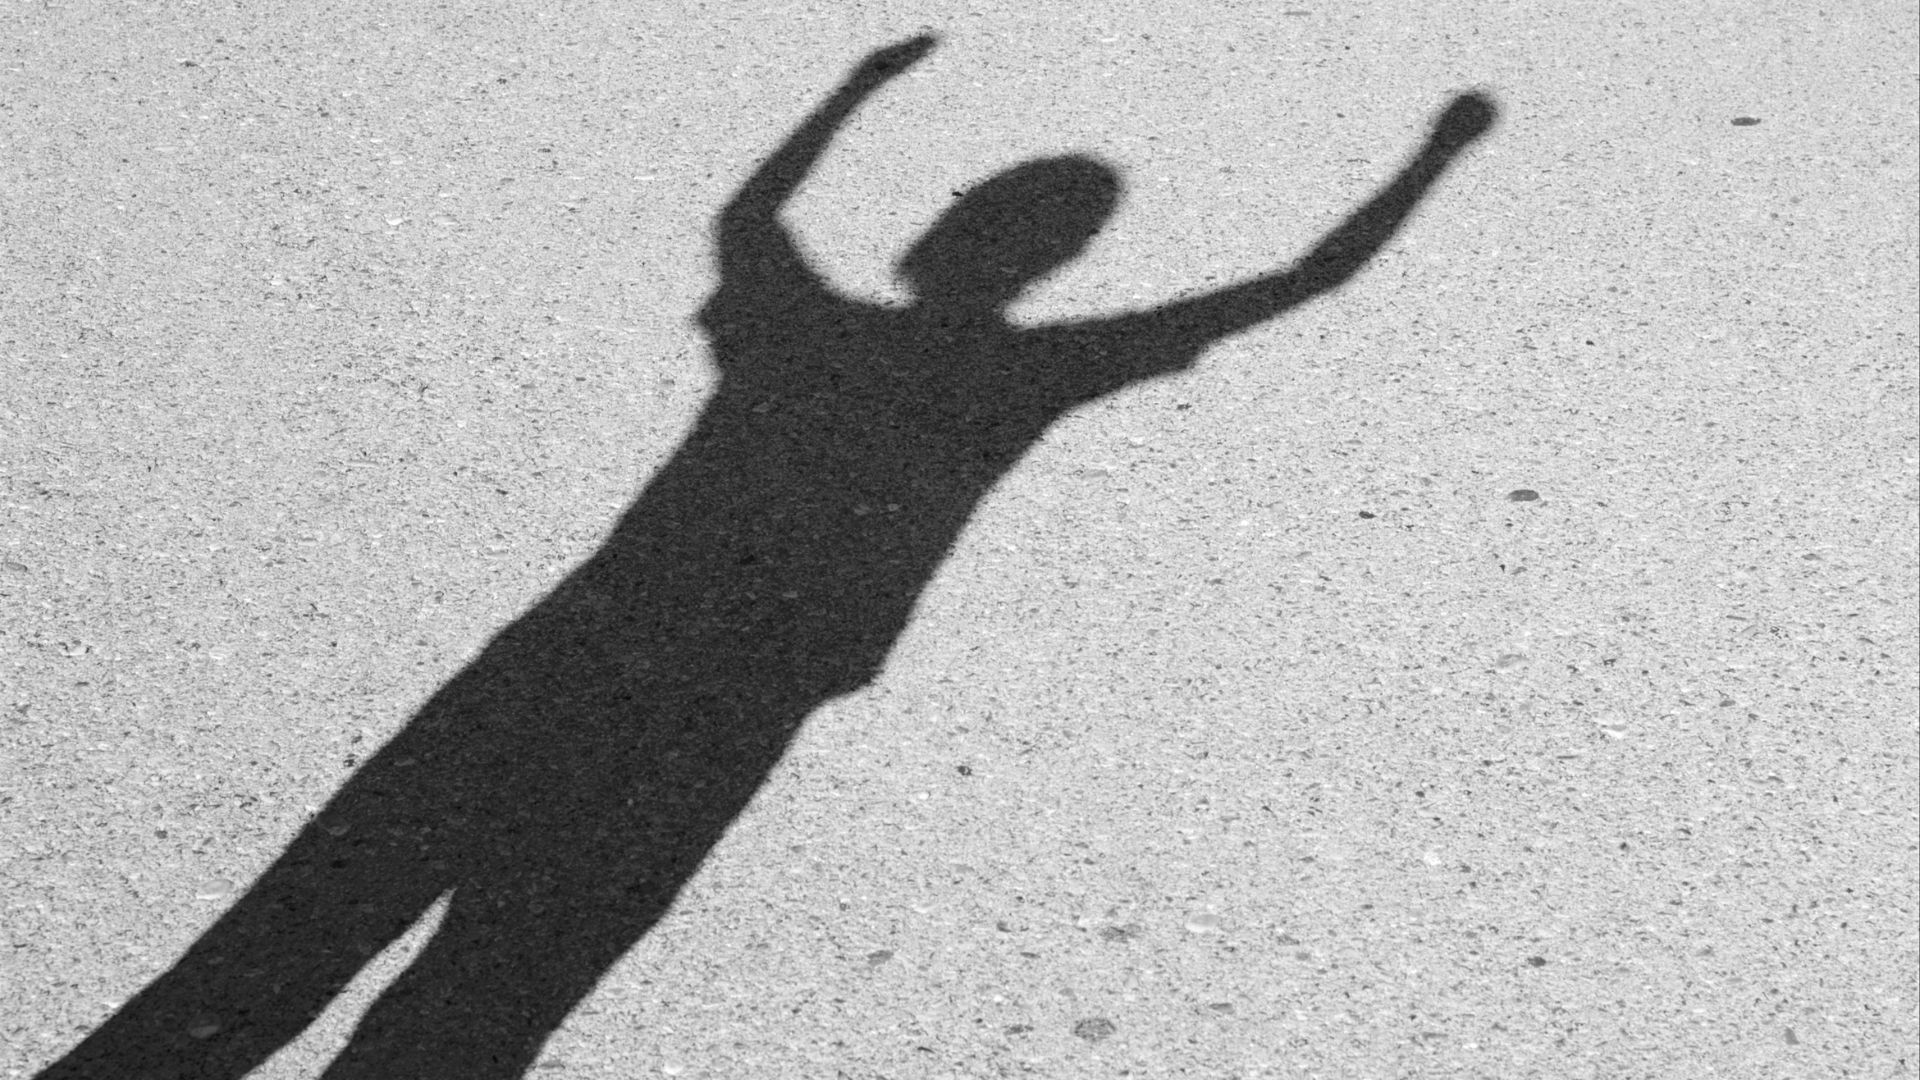
Creative Shadow Composition and Styling
Good shadow photography balances shadows with regular composition rules. Shadows work as graphic design elements. They guide viewers’ eyes and create visual patterns. They also establish mood in your images.
The rule of thirds applies to shadow placement too. Put interesting shadow intersections on third-line crossings. Use shadow lines to lead viewers through your frame.
These composition techniques work well for shadow photography:
- Place main shadow elements on rule of thirds points
- Use shadow lines as leading elements to guide the eye
- Create shadow patterns that repeat across the frame
- Balance light and dark areas for visual weight
- Leave negative space for shadows to breathe
Shadow Photography Color Theory
Color temperature affects shadows more than most people realize. Warm lights create cool-colored shadows. Cool lights make warm shadows. This color relationship adds depth to your images.
Mix different light temperatures for multiple shadow colors. Combine warm tungsten bulbs with cool daylight. Your shadows range from blue to orange. The color contrast creates visual drama.
Black and white shadow work eliminates color distractions. Many classic shadow photos work better without color. Color information can compete with shadow patterns. Convert color images to see how they work in monochrome.
Try this color technique for dramatic results. Use warm tungsten light as your main source. Add cool LED light as fill. The different temperatures create colored shadows that complement each other.
Pattern and Texture in Creative Shadows
Shadow patterns create visual rhythm that pleases viewers. Regular patterns feel comfortable to look at. Broken patterns create tension and interest. Combine both approaches for dynamic compositions.
Texture appears differently in shadows than direct light. Smooth surfaces show texture through shadow patterns only. Rough surfaces create tiny shadows that add depth and interest.
Scale relationships between objects and shadows affect viewer emotions. Large objects casting small shadows feel one way. Small objects casting huge shadows feel completely different. Use scale consciously to support your image mood.
Experiment with these pattern techniques:
- Repeat the same shadow shape across your frame
- Break pattern repetition in one area for visual interest
- Layer different sized patterns for complexity
- Use texture to add surface interest to flat areas
- Mix geometric and organic patterns for contrast
Troubleshooting Common Shadow Photography Challenges
Shadow photography creates unique problems that regular photography does not have. Exposure issues happen frequently. Focus becomes difficult in dark areas. Unwanted shadows often appear in your frame.
High contrast scenes challenge your camera’s abilities. Your eyes see detail in bright and dark areas. Cameras capture less range than human vision. Learn to work within your camera’s limits.
Managing Shadow Contrast
Extreme contrast happens often in shadow work. Cameras cannot record detail in very bright and very dark areas simultaneously. This creates images with completely black shadows or blown-out highlights.
Fill flash provides one solution for contrast problems. Use low-power flash to add light to shadow areas. Do not overpower your main light source. This technique requires careful balance for natural results.
HDR photography combines multiple exposures for extended range. Take several photos at different settings. Blend them using photo editing software. This works well for complex shadow scenes with extreme contrast.
Try this contrast control technique. Take three photos of the same scene. Use normal exposure, then one stop under, then one stop over. Blend the best parts of each image.
Focus and Sharpness in Low Light
Shadow areas contain less light for autofocus systems. Manual focus becomes necessary for precise control. Use your camera’s magnification feature to check focus on the LCD screen.
Focus stacking ensures sharp focus throughout different distances. Take multiple photos with focus at different points. Blend the sharp areas using editing software. This works great for objects extending through multiple focus planes.
Pre-focus works well when you know object positions ahead of time. Set focus manually first. Arrange objects within the focused area. This approach works especially well for moving object photography.
Use these focus techniques for better results:
- Switch to manual focus in low light situations
- Use camera magnification to verify sharp focus
- Focus on the most important part of your shadow pattern
- Take multiple shots with different focus points
- Use a flashlight to help autofocus, then turn it off
Your Shadow Photography Adventure Starts Here
Shadow photography turns ordinary objects into extraordinary art tools. These techniques provide starting points for your shadow journey. Every household item becomes potential equipment for unique shadow designs.
Success depends more on experimentation than expensive gear. Study how light interacts with objects throughout your day. Notice shadow patterns around your home. Practice with simple setups before trying complex arrangements.
Your shadow photography skills will grow with practice. Start with available light and household objects today. The creative possibilities expand as your technical abilities develop.

Darlene Lleno
Darlene Lleno brings a unique perspective to DIY Photography as someone who grew up surrounded by camera gear but chose words over lenses. With five years of writing experience, she specializes in photography content that’s both technically informed and genuinely passionate. Growing up with a photographer twin brother meant camera talk was everyday conversation in her household. While he mastered capturing moments, Darlene discovered she preferred being the subject and the storyteller behind the scenes. As a travel enthusiast and mother of two, she understands the importance of preserving life’s precious moments. When not exploring new destinations or writing for DIY Photography, you’ll find her reading or tending to her garden. Her approach to photography writing is refreshingly authentic, she may not be behind the camera, but she knows exactly what it takes to help others capture the shots that matter most.


Join the Discussion
DIYP Comment Policy
Be nice, be on-topic, no personal information or flames.