


How to recreate the Orton Effect in Photoshop to get dreamy landscape photos
Sep 29, 2017
Dunja Đuđić
Dunja Djudjic is a multi-talented artist based in Novi Sad, Serbia. With 15 years of experience as a photographer, she specializes in capturing the beauty of nature, travel, concerts, and fine art. In addition to her photography, Dunja also expresses her creativity through writing, embroidery, and jewelry making.
Share:

Orton Effect creates a dreamy, impressionist look of the image. Photographer Michael Orton invented it in the mid-1980s in order to imitate watercolor painting. He’d blend together one sharp photo with one that’s out of focus and slightly overexposed. With the digital photos and Photoshop, creating photos like this is easier than ever. Photographer Mark Denney will show you how to do it with a single image in a couple of minutes.
Start by opening a sharp image you want to edit. Duplicate the layer (press Ctrl/Cmd + J), and your new layer will be the blurred, overexposed image.
Go to Filter > Blur > Gaussian Blur. The amount of blur depends on your camera: make the radius match the number of your sensor’s megapixels, or a bit more. Nikon D7000 has 16 MP, so I set it to 17.

The next step is to make this image a bit brighter, so set the brightness and contrast. Crank up the contrast (Mark suggests between 70 and 80), and set the brightness to a value between 10 and 20.

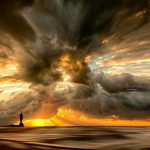
The final step is to toggle the opacity of your “Orton layer” until you’re satisfied with the look. Around 20-30% should do it, but I guess it depends on the photo. Here’s the before and after:


Bringing back some sharpness
If it looks like the Orton Effect took away more sharpness that you’d like, you can add another layer to fix it, yet keep the dreamy effect.
Copy the sharp layer and move it on top. Go to Filter > Other > High Pass and add just a small amount of the filter (3-4 pixels). Change the blending mode to Soft Light. This should give you a bit sharper image, but with the soft effect still visible.
Personally, I prefer this method. It doesn’t make a big difference to the effect, but it adds some sharpness and I think it looks better overall:

Here are a few more examples:

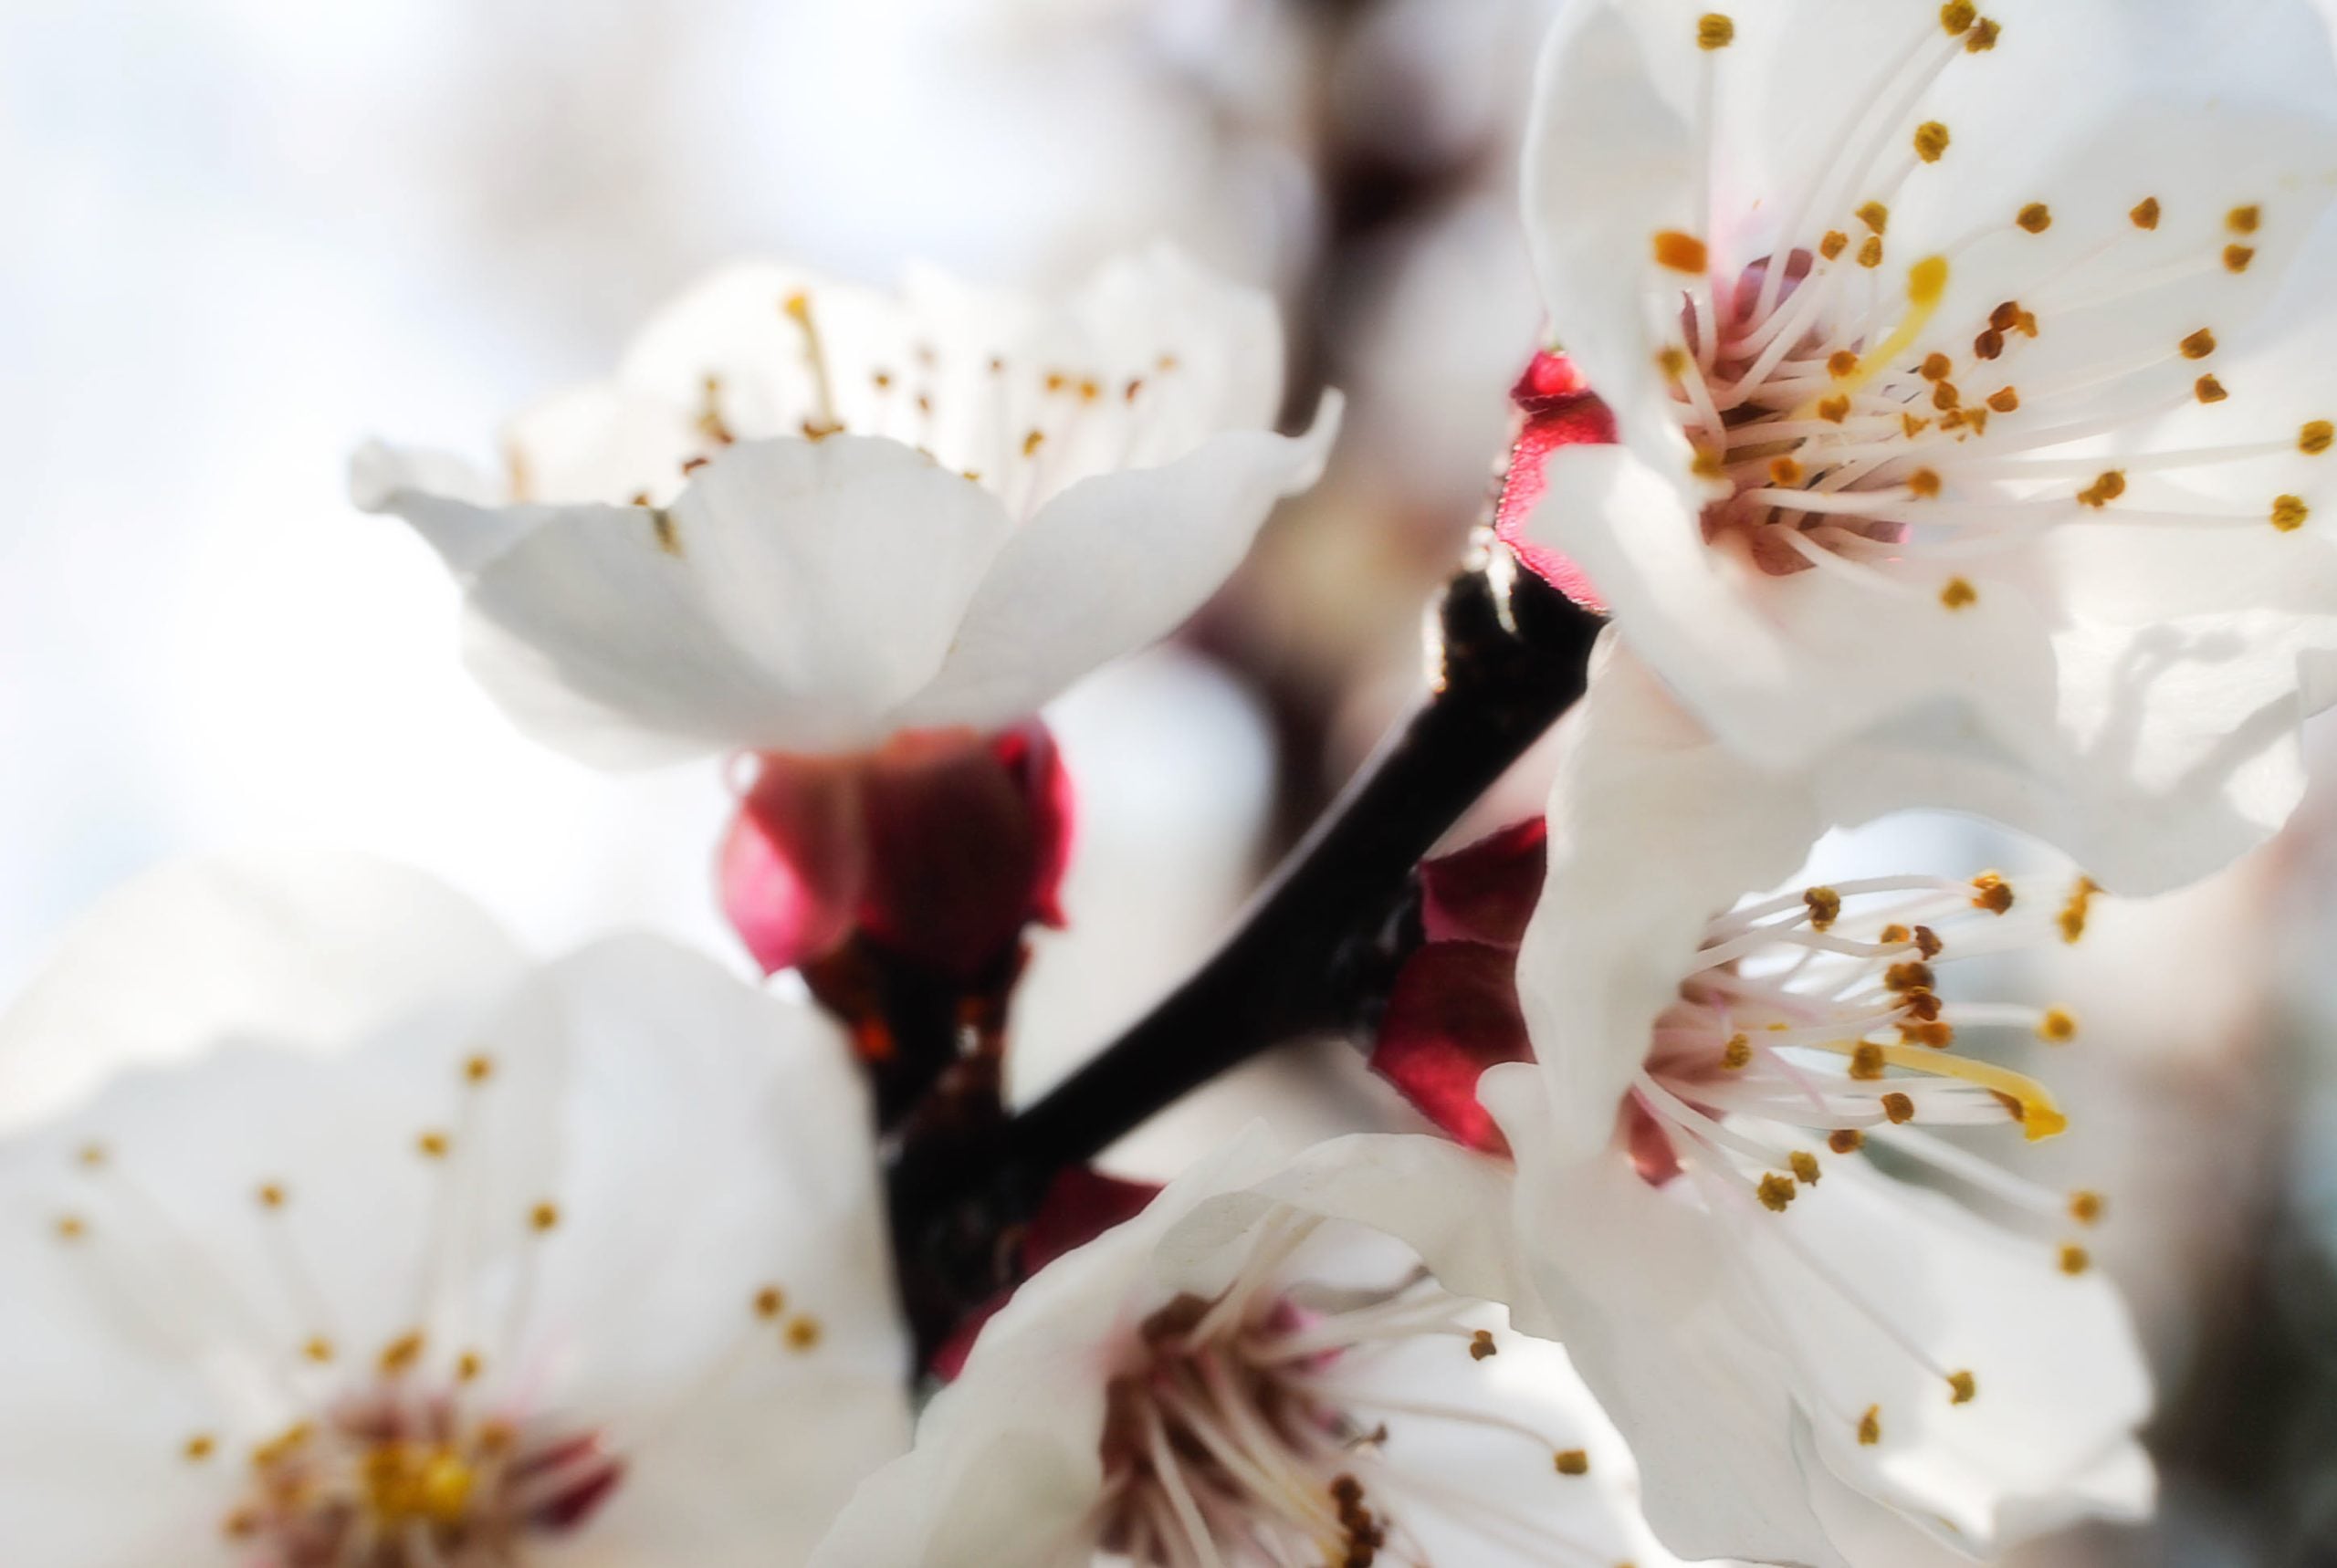


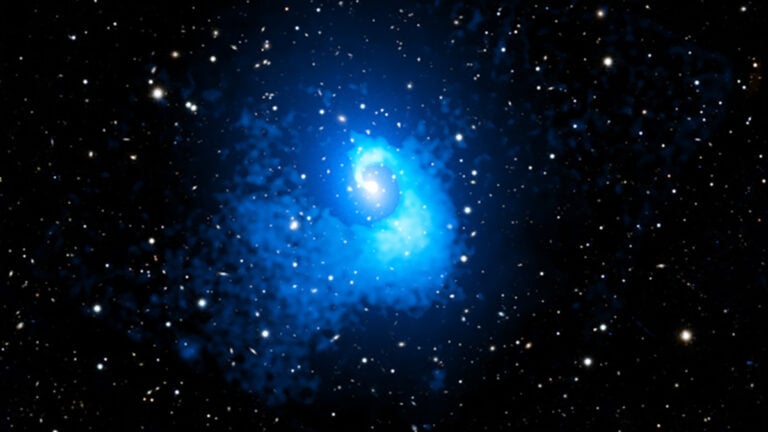
After playing with this effect, I must say it works very differently for different photos. Other than landscapes, it gives a soft effect to the close-up shots of plants (I have a bunch of those from this spring), and it looks pretty nice. I must admit it’s not completely my cup of tea, but I do like it in some images. And if you’re into Orton Effect, this is probably the easiest way to get it in Photoshop.
[How to make DREAMY LANDSCAPE PHOTOS using the ORTON EFFECT! via FStoppers]

Dunja Đuđić
Dunja Djudjic is a multi-talented artist based in Novi Sad, Serbia. With 15 years of experience as a photographer, she specializes in capturing the beauty of nature, travel, concerts, and fine art. In addition to her photography, Dunja also expresses her creativity through writing, embroidery, and jewelry making.


Join the Discussion
DIYP Comment Policy
Be nice, be on-topic, no personal information or flames.
2 responses to “How to recreate the Orton Effect in Photoshop to get dreamy landscape photos”
You can do the same thing with Picassa in 3 secondes.
Thanks for sharing, DIY Photography!