


Calibration
SpyderPro 2025 Update: Total Color Control for Photographers and Filmmakers
Nov 11, 2025
Alysa Gavilan
Discover the SpyderPro 2025 update from Datacolor. Achieve ultimate color accuracy with ultra-bright display support, 3D LUT export, Device Preview Plus, and workflow tools designed for photographers and filmmakers.

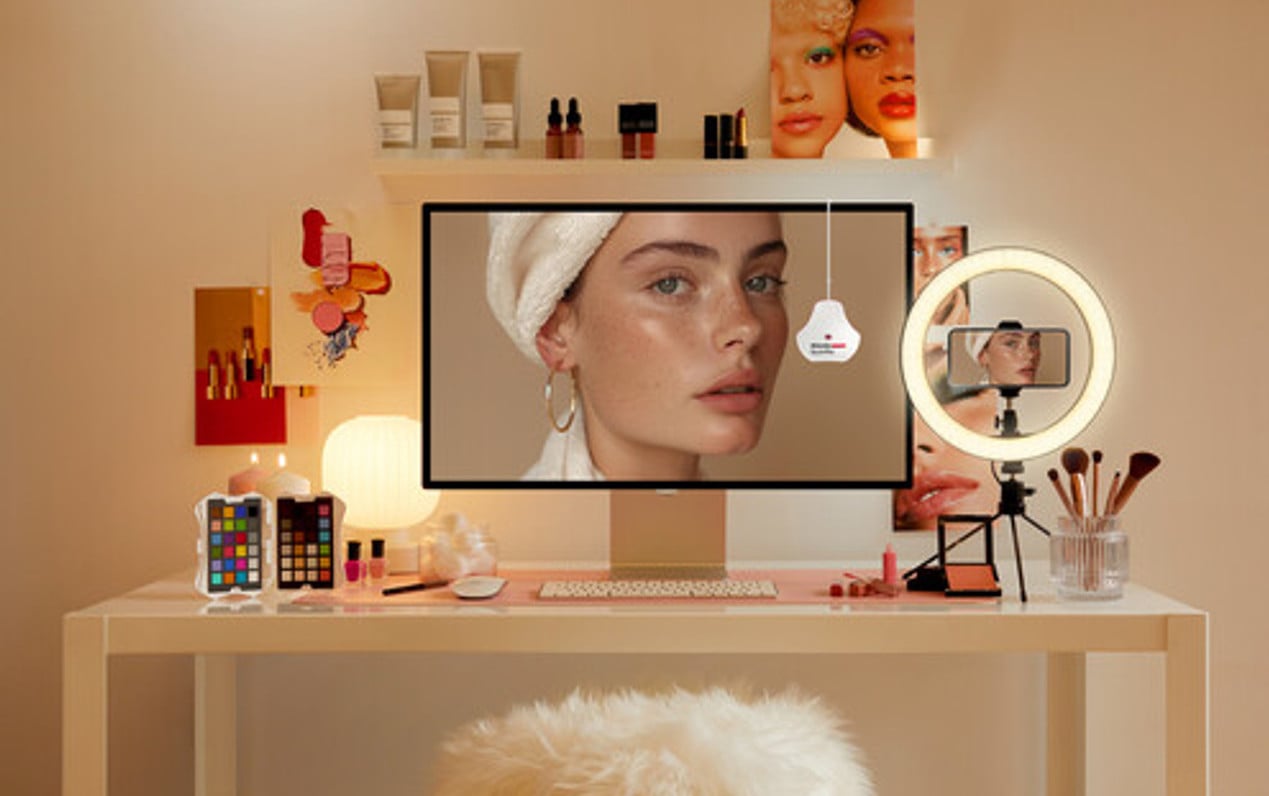
The Calibrite Display 123 is an easy-to-use color calibrator
Mar 7, 2024
Sagiv Gilburd
If you’re using two or more monitors, (out of your clients use a different monitor than your) you’ll want them to color match. However, different…

If you use vintage lenses, you need to make custom lens profiles
Jul 27, 2023
Vlad Moldovean
I’ll start this article by saying I love shooting vintage glass for the character it can imprint on my images. I love the swirly bokeh,…

Calibrite’s new Display Plus HL calibrates super bright HDR displays up to 10,000 nits
Jun 15, 2023
John Aldred
Calibrite has announced its newest monitor calibration devices. There are three in the lineup, starting with the basic model Display SL, then the Display Pro…

Calibrite finally lets you tripod-mount your ColorChecker with the Target Holder
May 25, 2023
John Aldred
One of the biggest issues with the various ColorChecker and ColorChecker Passport devices from Calibrite (formerly X-Rite) is that they’re quite delicate and you have…

Datacolor’s 48-swatch camera profiling colour chart now finally fits in your pocket with the Spyder Checkr Photo
Sep 19, 2022
John Aldred
Well, here’s one I missed while I was away in Amsterdam for IBC 2022, but it looks like Datacolor has finally released a pocket-sized version…

Calibrite targets hybrid photo & video shooters with the new ColorChecker Passport Duo
Sep 17, 2022
John Aldred
The ColorChecker Passport Photo and the ColorChecker Passport Video (review here) are common items in the bags of many photographers and filmmakers. But for those…

Here’s how to use the calibration tool in Lightroom
May 19, 2021
Dunja Đuđić Kalinin
What’s your preferred method for editing colors in Lightroom? Do you use the Calibration panel sitting at the bottom of the Develop module? I usually…

How to colour correct your footage without having to resort to LUTs
Apr 24, 2020
John Aldred
I’ve been using the ColorChecker Video and ColorChecker Passport Video since around the time they were first released a little over four years ago and…

How to calibrate your lens autofocus for $0
Jan 27, 2020
Dunja Đuđić Kalinin
Sometimes the autofocus on your lenses may not be exactly where you want it. Fortunately, it’s an easy fix as most modern cameras offer “micro…