


What Is a Mirrorless Camera and How Does It Work?
Jun 9, 2026
Leonard Skapp

Alex Baker is a portrait and lifestyle driven photographer based in Valencia, Spain. She works on a range of projects from commercial to fine art and has had work featured in publications such as The Daily Mail, Conde Nast Traveller and El Mundo, and has exhibited work across Europe
Share:
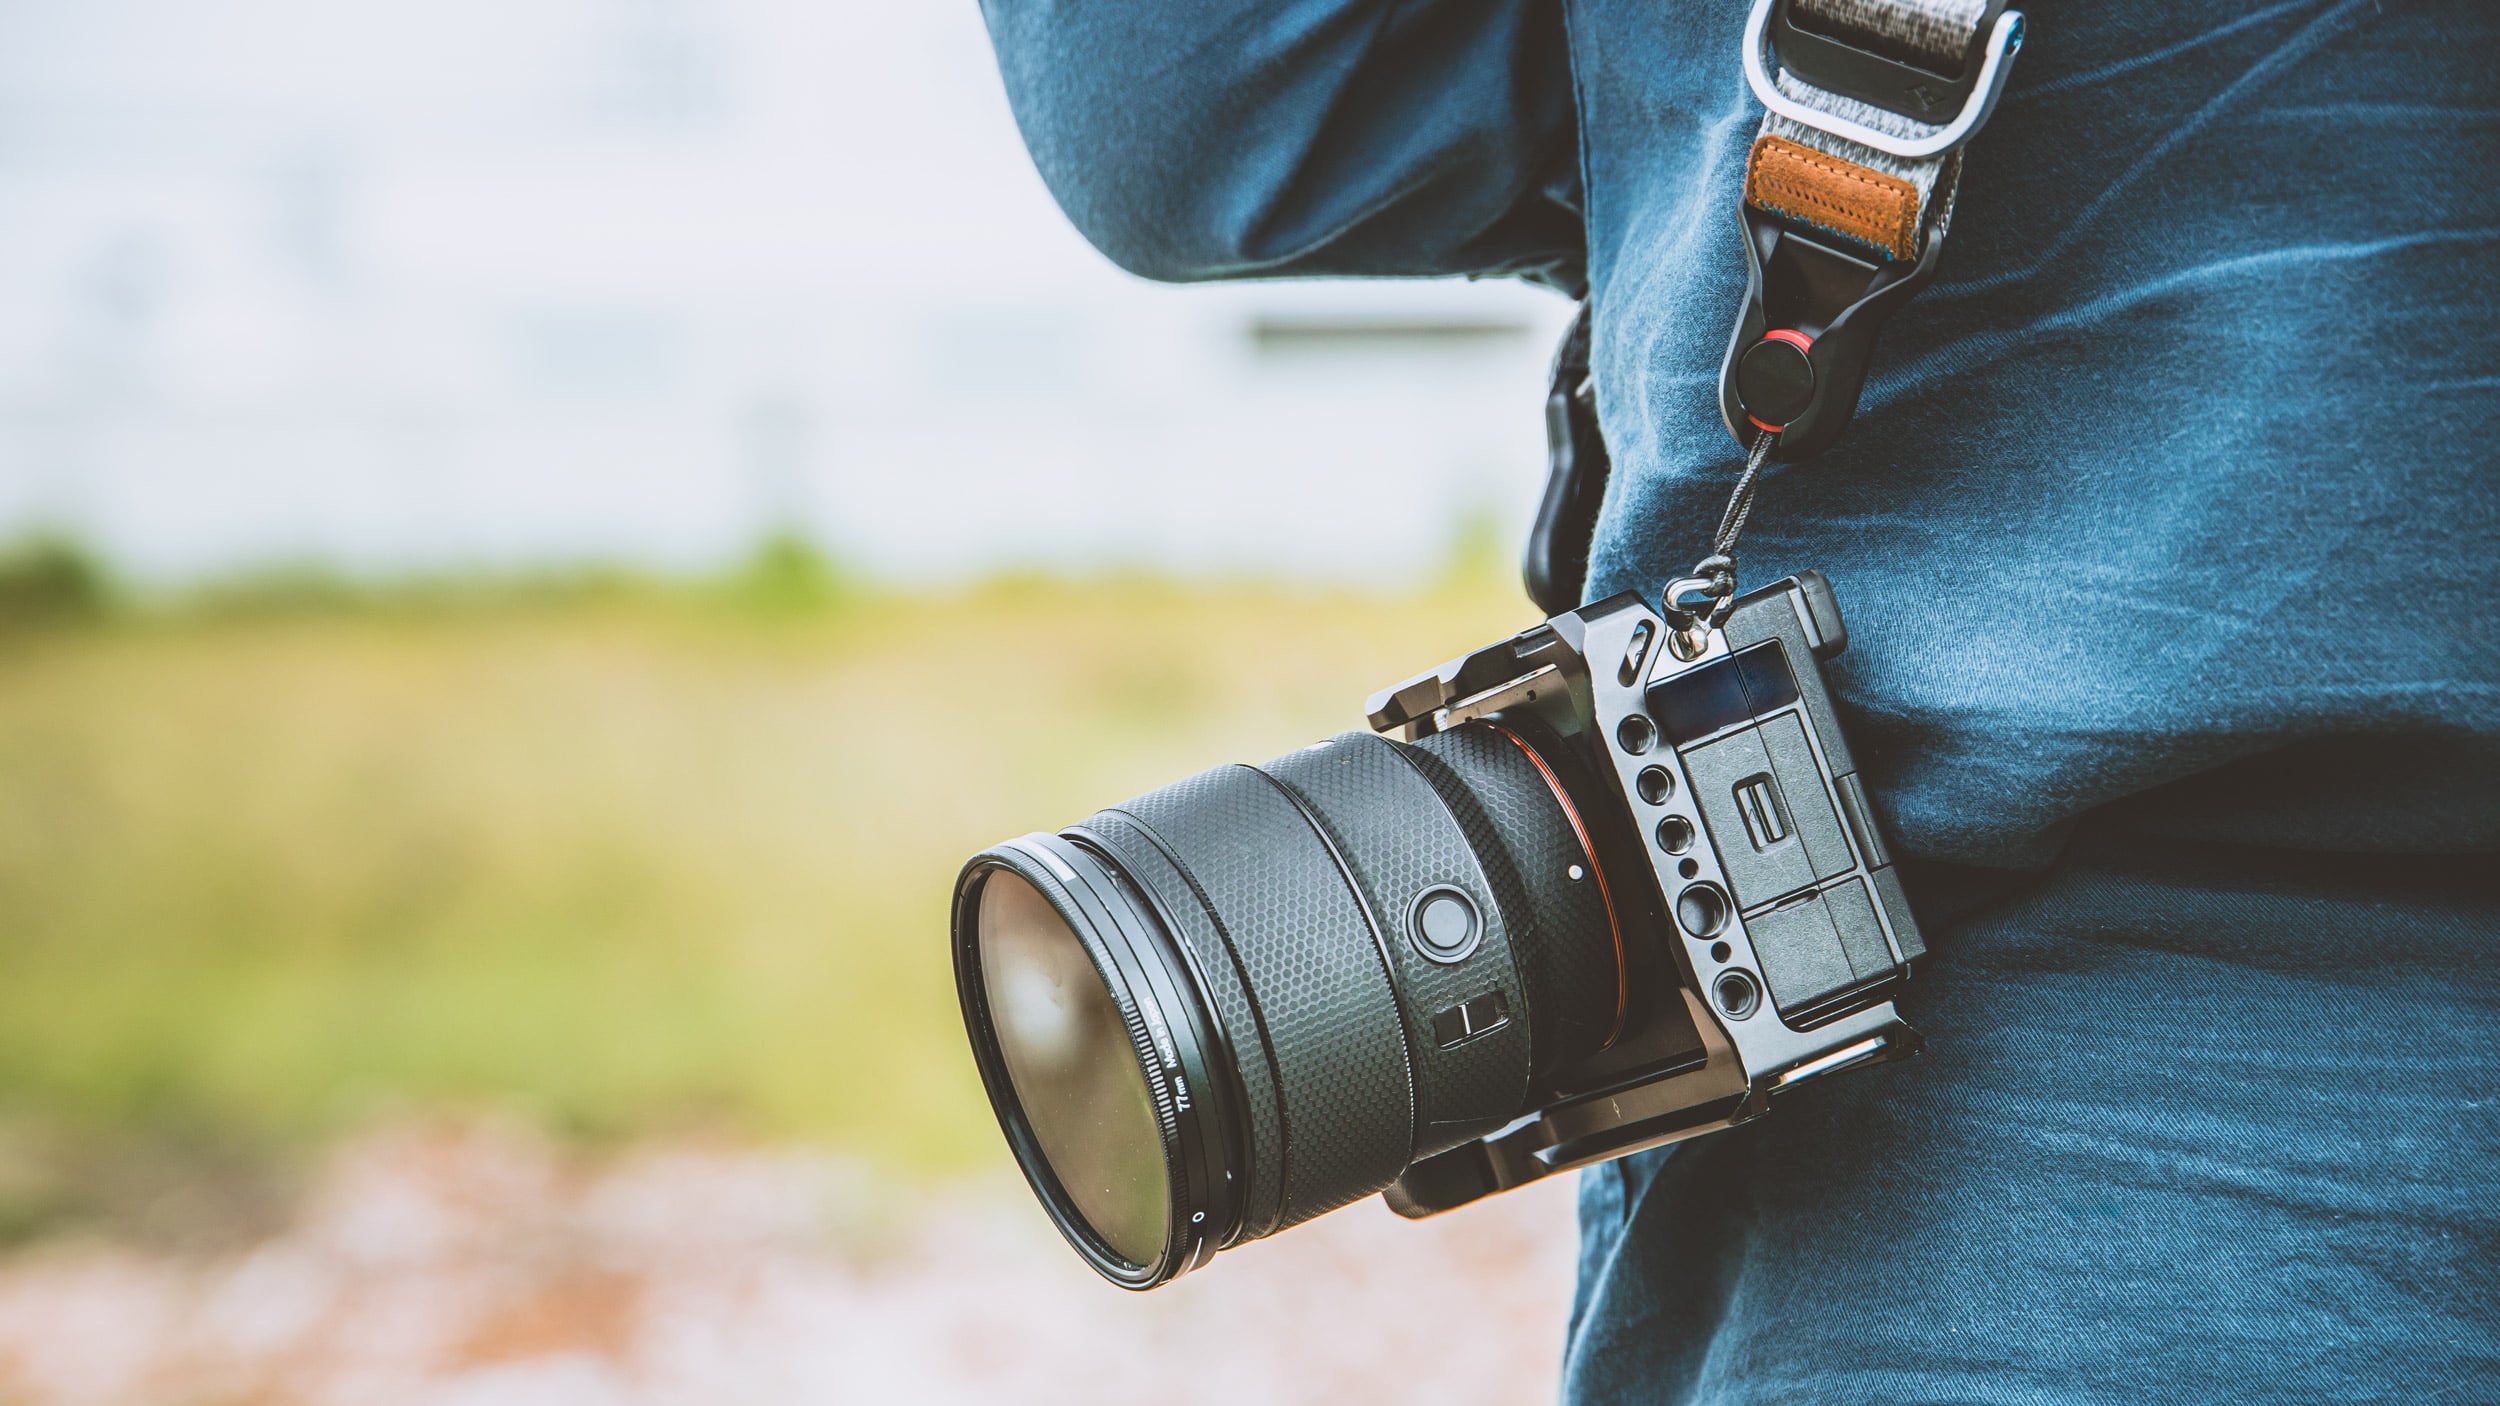
If you’ve been shopping for a camera in the last few years, you’ve probably noticed that almost every major manufacturer is talking about mirrorless cameras. In fact, many brands have shifted most of their development away from traditional DSLRs and towards mirrorless systems.
But what exactly is a mirrorless camera, and why has the photography industry embraced them so enthusiastically? The answer is surprisingly simple: a mirrorless camera is exactly what it sounds like, ie, a camera that doesn’t use a mirror to show you what’s through the lens.
How traditional DSLR cameras work
To understand what makes a mirrorless camera different, it helps to look at how a DSLR (Digital Single Lens Reflex) works. Inside a DSLR is a mirror positioned between the lens and the camera’s image sensor. When you look through the optical viewfinder, you’re actually seeing light reflected by that mirror. The moment you press the shutter button, the mirror flips out of the way so light can reach the sensor and create the image.
It’s a clever system that’s been around in one form or another for decades. In the early 2000’s, we saw a shift from film to digital SLR cameras; however, the basic internal mechanism largely remained the same. The downside to the internal mirror set-up is that it adds weight and bulk to the camera, something that mirrorless cameras don’t have.
What makes a camera mirrorless?
A mirrorless camera removes the mirror mechanism entirely (hence the name). Instead of reflecting light into an optical viewfinder, the sensor is constantly receiving light and generating a live image. That image is then displayed on the rear screen or inside an electronic viewfinder (EVF). What you see is effectively a real-time preview of the photograph before you take it.
This means you can often see exposure changes, white balance adjustments, depth of field effects, and other settings reflected in the viewfinder before pressing the shutter.
Why are mirrorless cameras so popular?
One of the biggest advantages of mirrorless cameras is that they are more compact. Without the bulky mirror box, cameras can often be made smaller and lighter than equivalent DSLRs. Modern mirrorless systems also tend to offer extremely fast autofocus, high shooting speeds, advanced subject tracking, and impressive video capabilities. Many mirrorless cameras are more like hybrid photo-video cameras than pure still cameras.
Features such as eye-detection autofocus, real-time exposure previews, and silent electronic shutters have become standard on many mirrorless models. For photographers moving from a smartphone, the live-view experience can also feel more familiar than an optical viewfinder.
Are mirrorless cameras better than DSLRs?
Mirrorless cameras are not necessarily better than DSLRs, at least not in every situation. Much of the time a good DSLR is more than enough to do a great job, despite the fact that on paper the specs may seem a lot better for a mirrorless camera.
DSLRs still offer some advantages. Optical viewfinders don’t consume battery power and provide a direct view of the scene without relying on a screen. Many photographers also enjoy the viewing experience and handling of traditional DSLR cameras. Many of the bells and whistles in mirrorless cameras aren’t actually that necessary for most types of photography.
That said, the gap has narrowed significantly. For most photographers, the advantages of modern mirrorless systems outweigh the remaining benefits of DSLRs. That’s one reason why manufacturers have largely focused their newest technology on mirrorless cameras. The reality is that both systems are capable of producing excellent images.
Who should buy a mirrorless camera?
For most people buying a new interchangeable-lens camera today, mirrorless is probably the default choice. If you’re interested in travel photography, wildlife, portraits, sports, landscapes, or video, there’s likely a mirrorless camera designed for your needs and budget.
That’s not to say you should immediately replace your DSLR if you already own one. Plenty of photographers continue to create incredible work with DSLR systems, and cameras don’t suddenly become obsolete because a newer technology exists. But if you’re entering the market for the first time, mirrorless is where most of the industry’s innovation is happening. You should also consider a mirrorless camera if you want to take photographs of vampires.
The future of photography
Mirrorless cameras aren’t a completely new invention, but they’ve become the dominant force in the camera industry.
By removing the mirror and relying on electronic viewfinders, manufacturers have been able to build smaller, smarter, and more capable cameras than ever before. The technology continues to evolve rapidly, bringing improvements in autofocus, video performance, and computational features that would have been difficult to achieve in traditional DSLR designs.
At the end of the day, a mirrorless camera is simply a camera without a mirror. The photographs it produces are no better or worse because of that fact alone. But the way the camera operates, and the features it makes possible, have changed the photography landscape dramatically. Watch the video below from Pixels and Wanderlust for a detailed illustration of how mirrorless cameras work:
About Leonard Skapp
Leonard “Len” Skapp is a photographer with a particular interest in cameras, lenses, accessories, camera bags, lens filters, tripods, camera straps, and, on rare occasions, photography itself. Equal parts reviewer and enthusiast, he enjoys digging into the technical details behind the latest gear and translating them into plain English for fellow photographers. He maintains that every purchase is a carefully considered investment, although his bank account and overflowing camera cupboard continue to dispute this claim.
We love it when our readers get in touch with us to share their stories. This article was contributed to DIYP by a member of our community. If you would like to contribute an article, please contact us here.
Related Posts
 What is flash recycle time and how/why does it work the way it does?
 How does the 10-year-old Canon 5D Mark III compare with a modern Fuji GFX 100S medium format mirrorless camera?
 Shooting with film expired 20 years ago: Does it work?
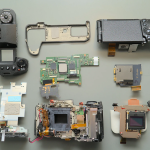 Fujifilm X-H2 teardown and disassembly: How does it work for infrared photography?
Join the Discussion
DIYP Comment Policy
Be nice, be on-topic, no personal information or flames.