


One of the Most Versatile and Powerful Monolights You Can Buy Now – The Godox AD300Pro II
May 30, 2026

Share:
Every photographer should be comfortable using off-camera flash, yet many shy away from picking up a proper strobe for several reasons. Among the top reasons many cite are the cost of an off-camera flash system and the general lack of portability versus power. It’s true that traditionally, monolights and studio strobes have been limited to studios because of rigid power delivery systems (i.e. clunky batteries, or wired-only power supplies), or the sheer expense (a good light from a reputable company could easy go for a couple of thousand dollars). The Godox AD300Pro II changes all of that.
Godox AD300Pro II Key Features
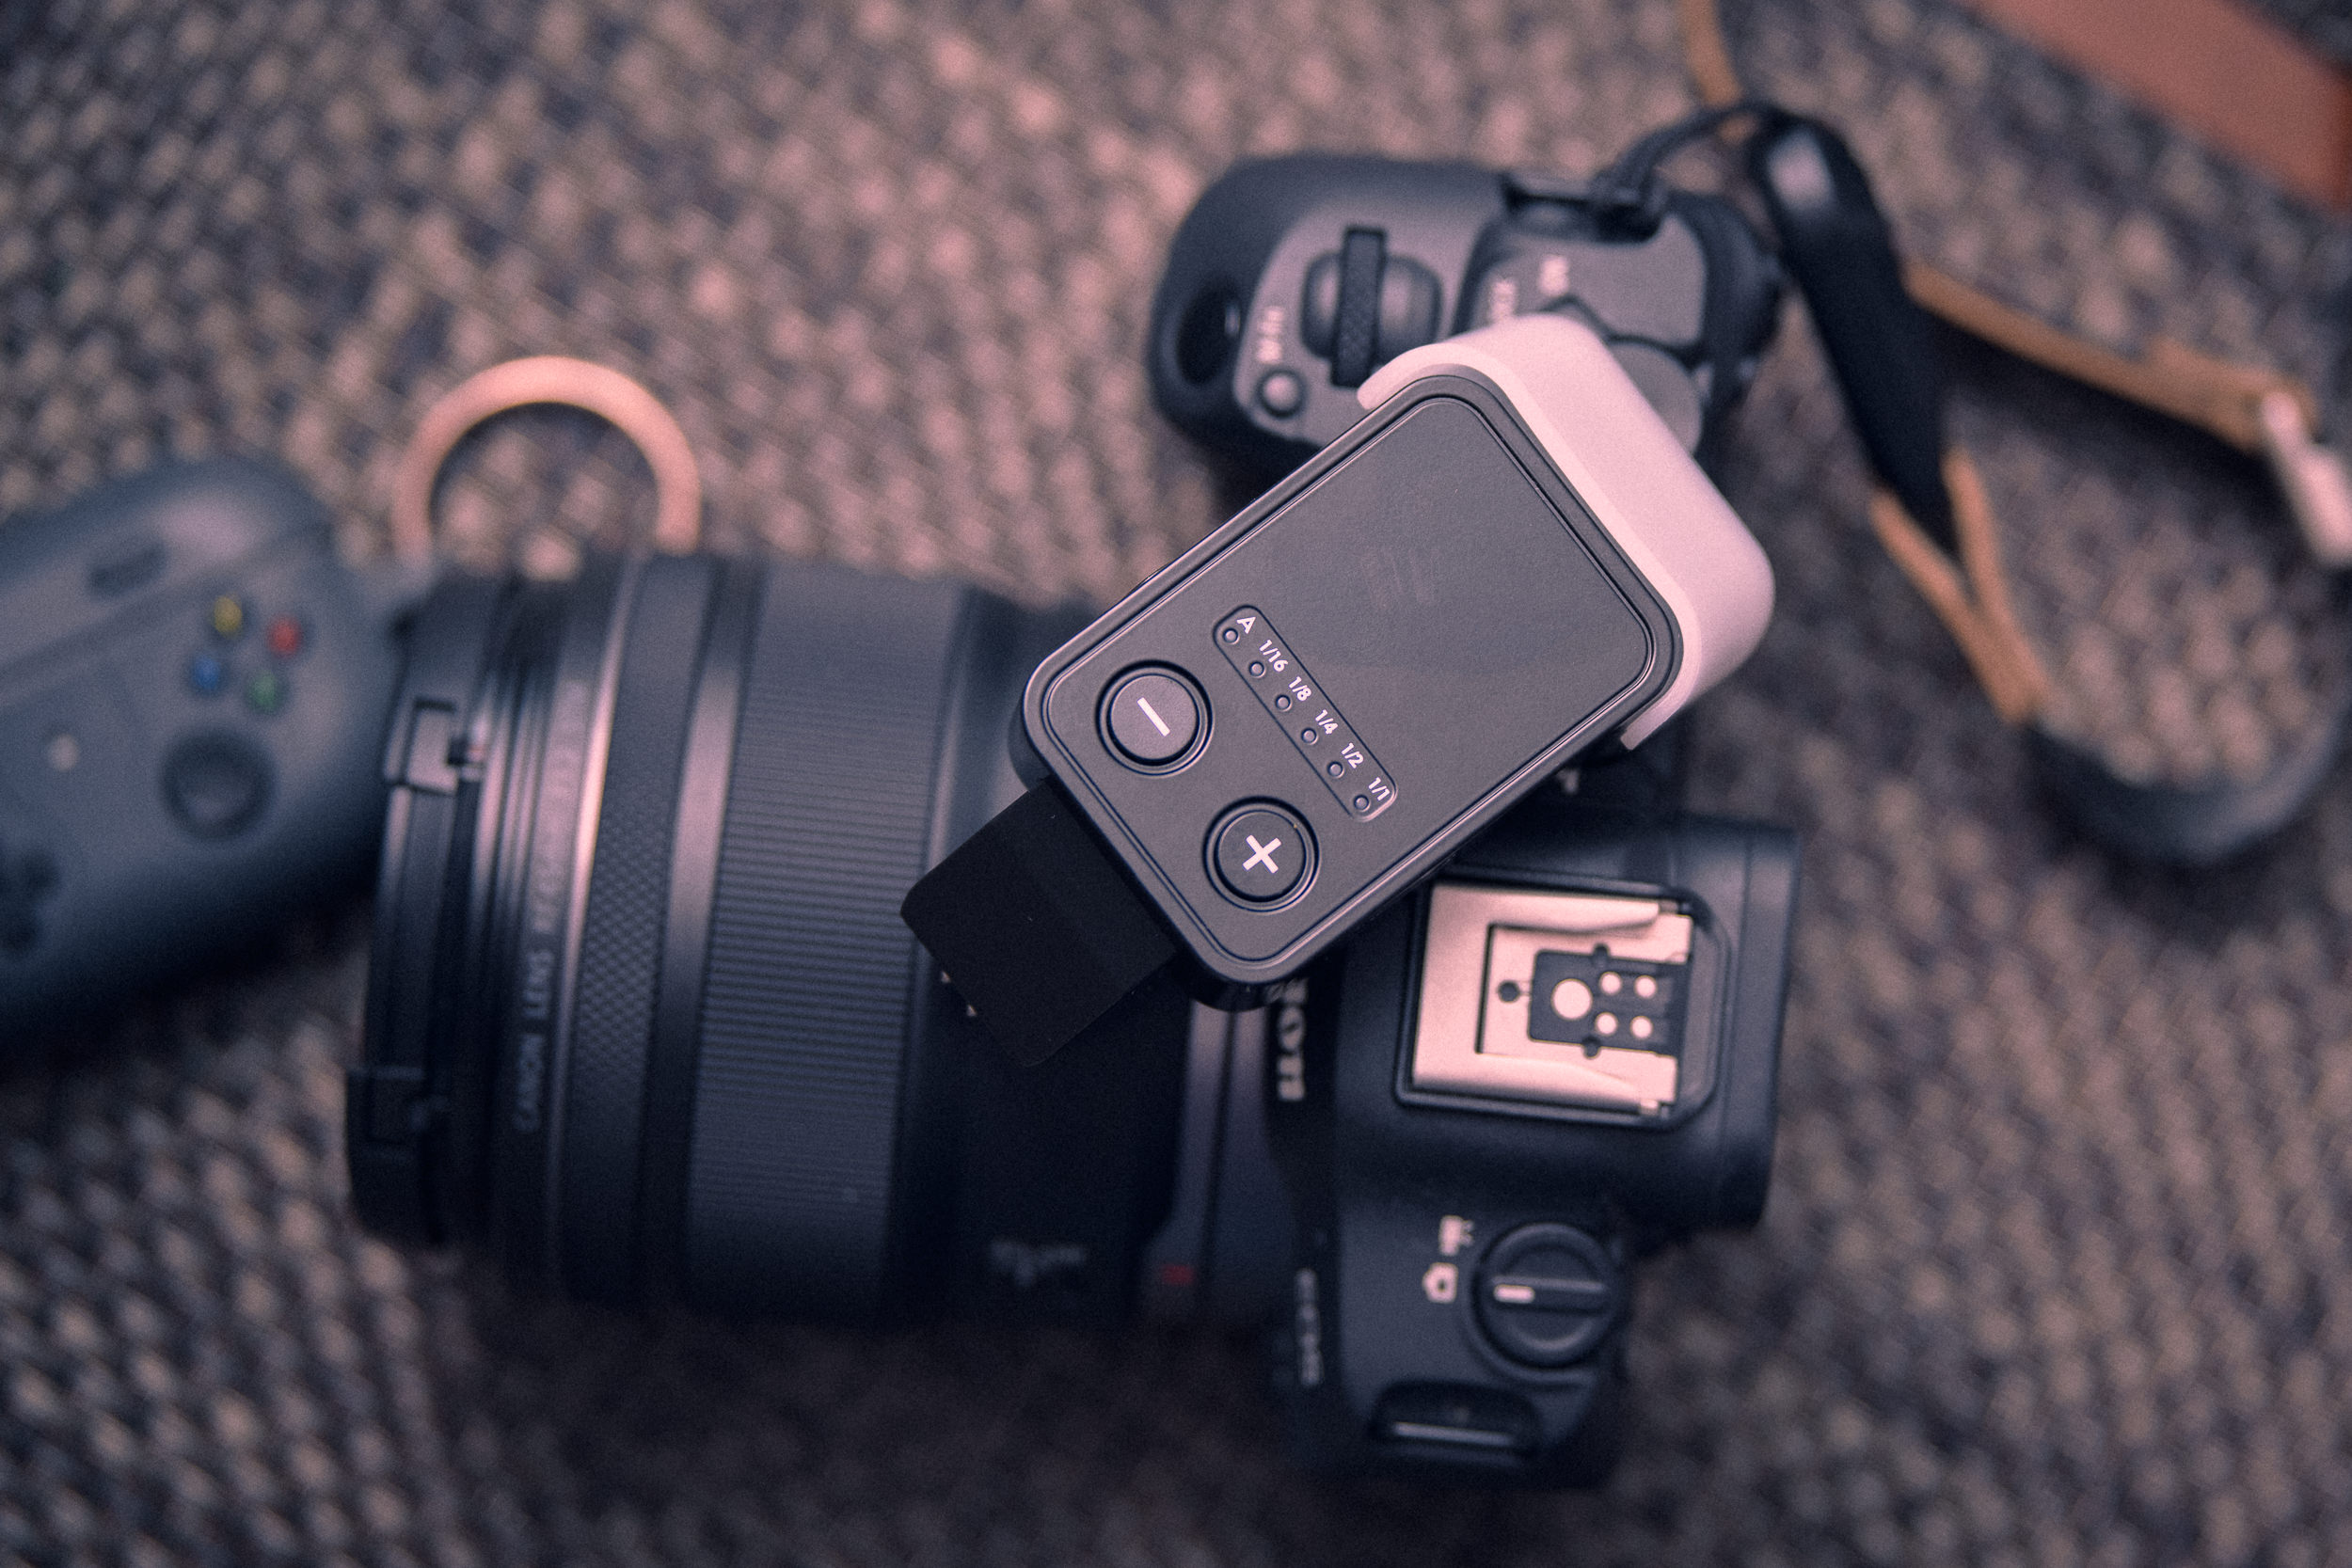
- One-Tap Sync with Optional X3 Trigger
- Compatible with Most TTL Systems
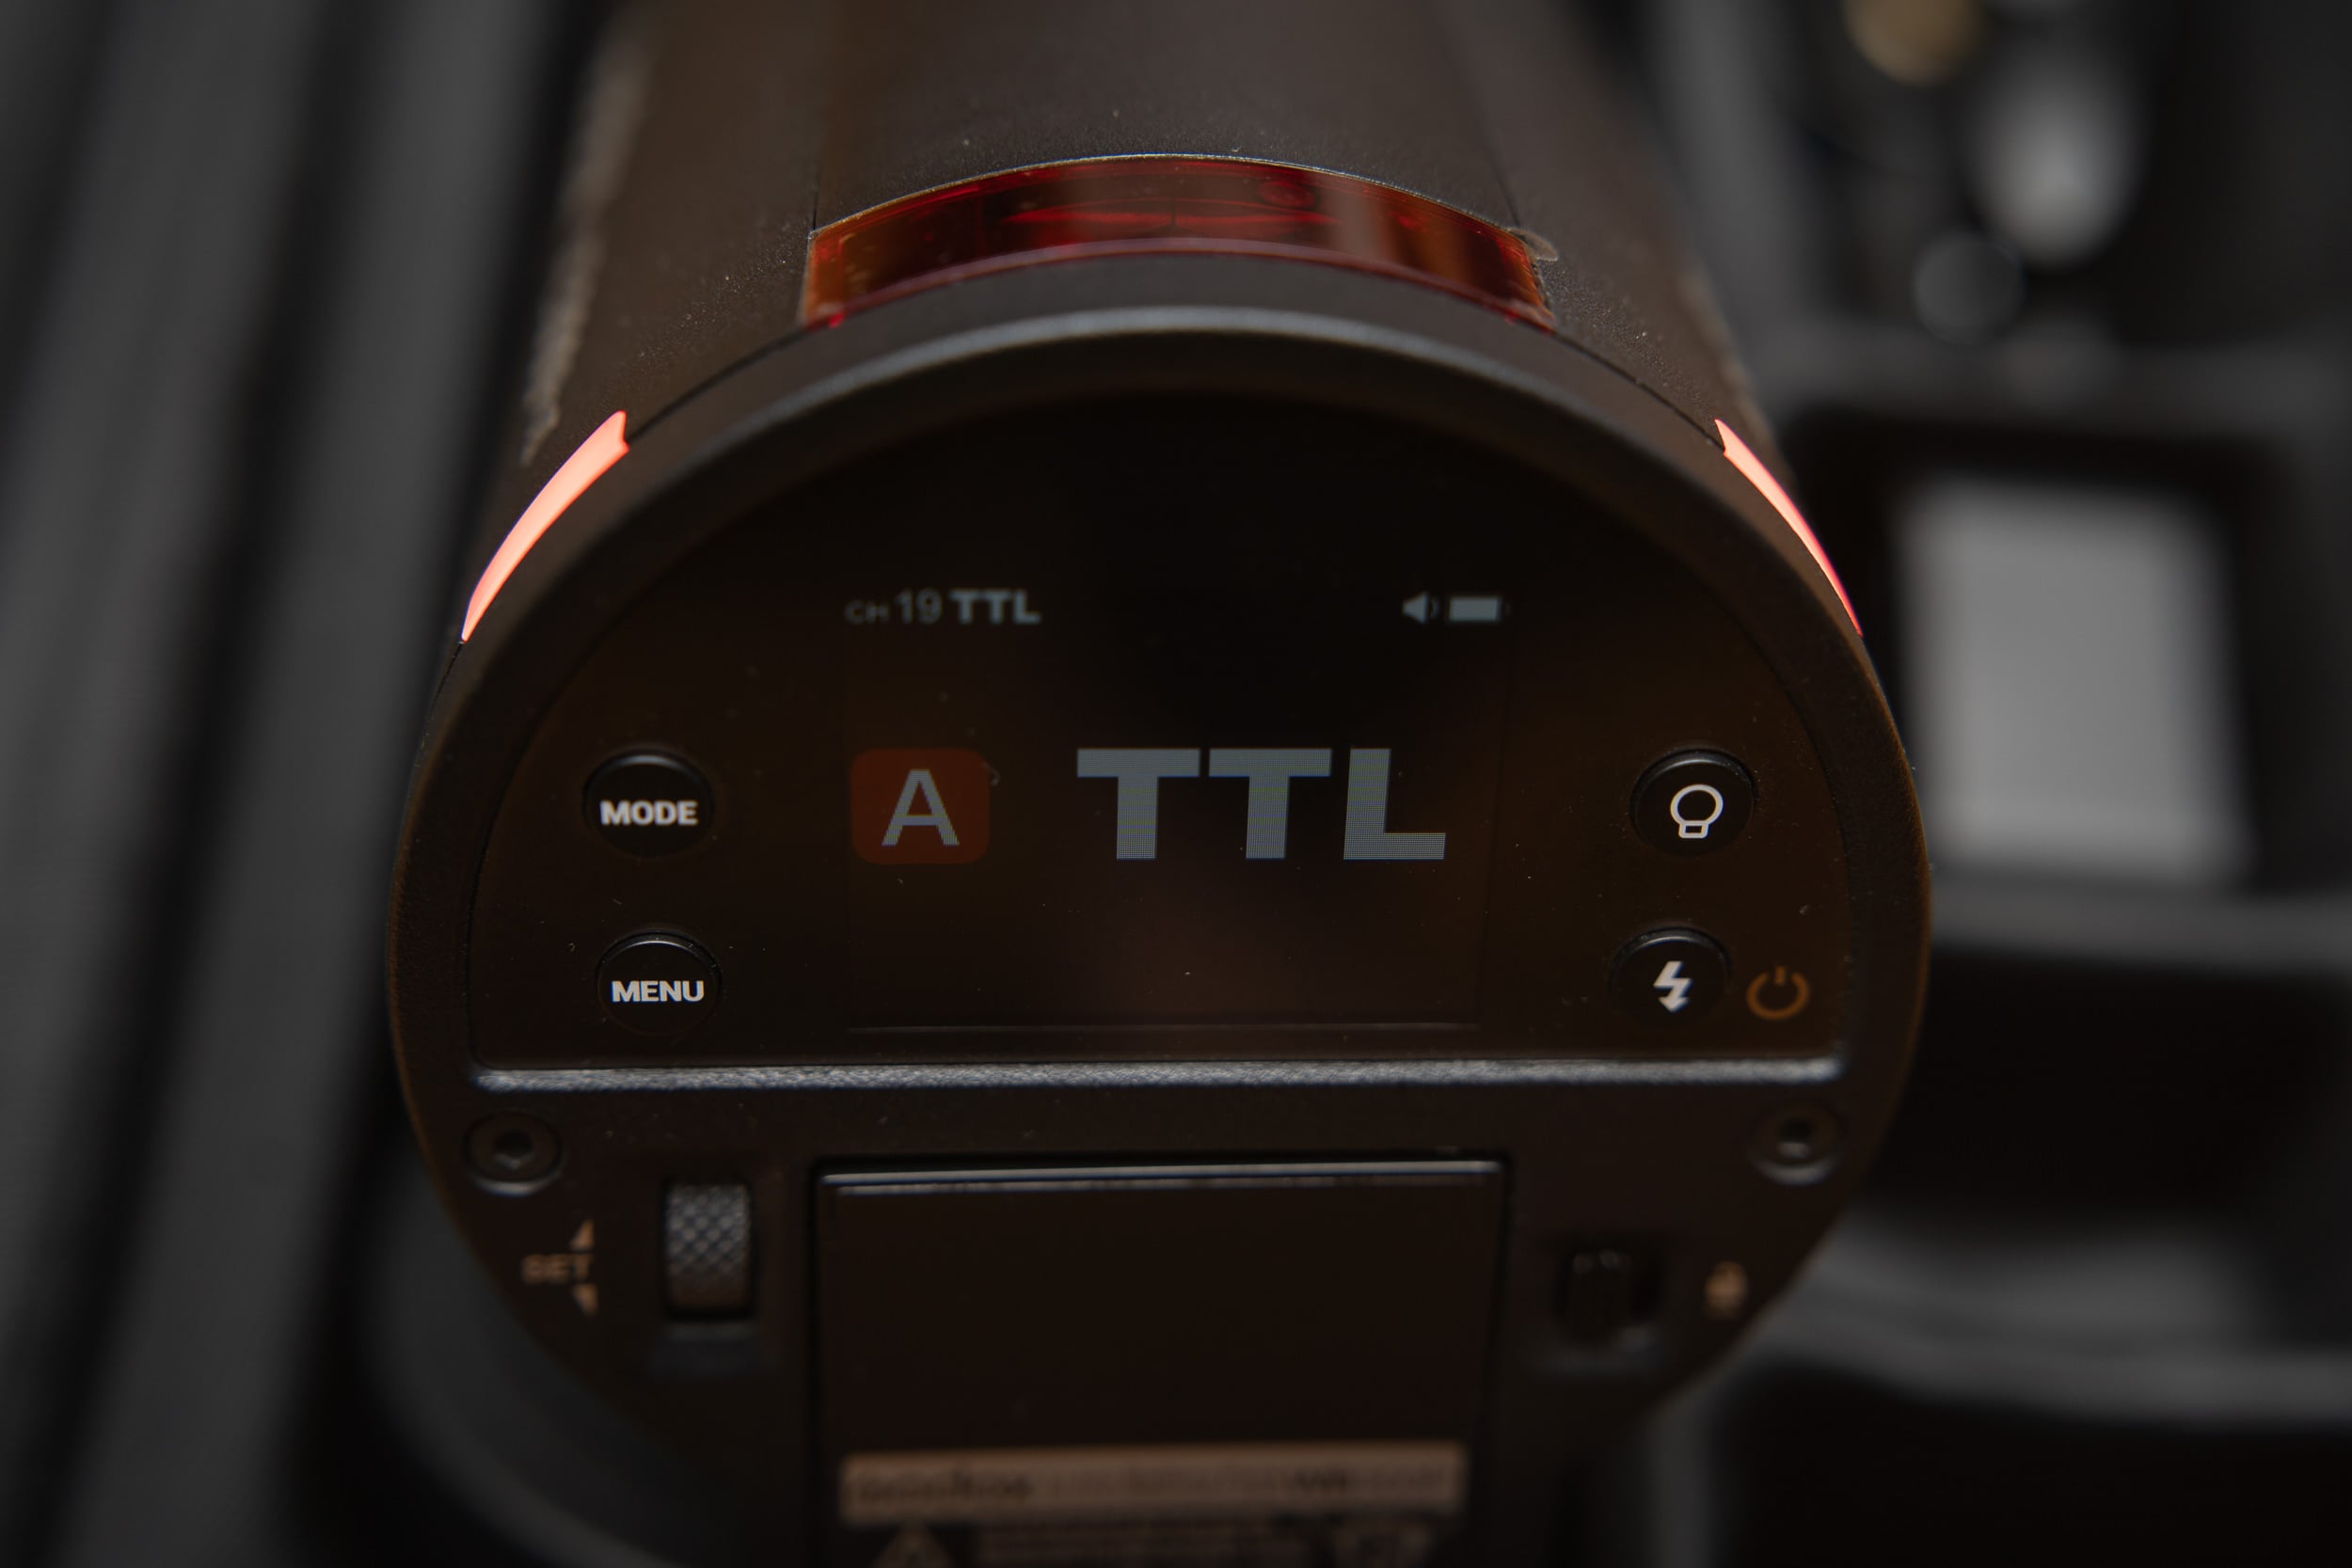
- 300Ws, 1/512 to 1/1 Power Output
- Up to 350 Full-Power Flashes
- Freeze Mode: 1/2310 to 1/24,390 sec
- 1/8000 sec High-Speed Sync
- 0.01-1.5 sec Recycling Time
- 16 Color Groups & Color Screen
- 12W Bi-Color LED Modeling Lamp
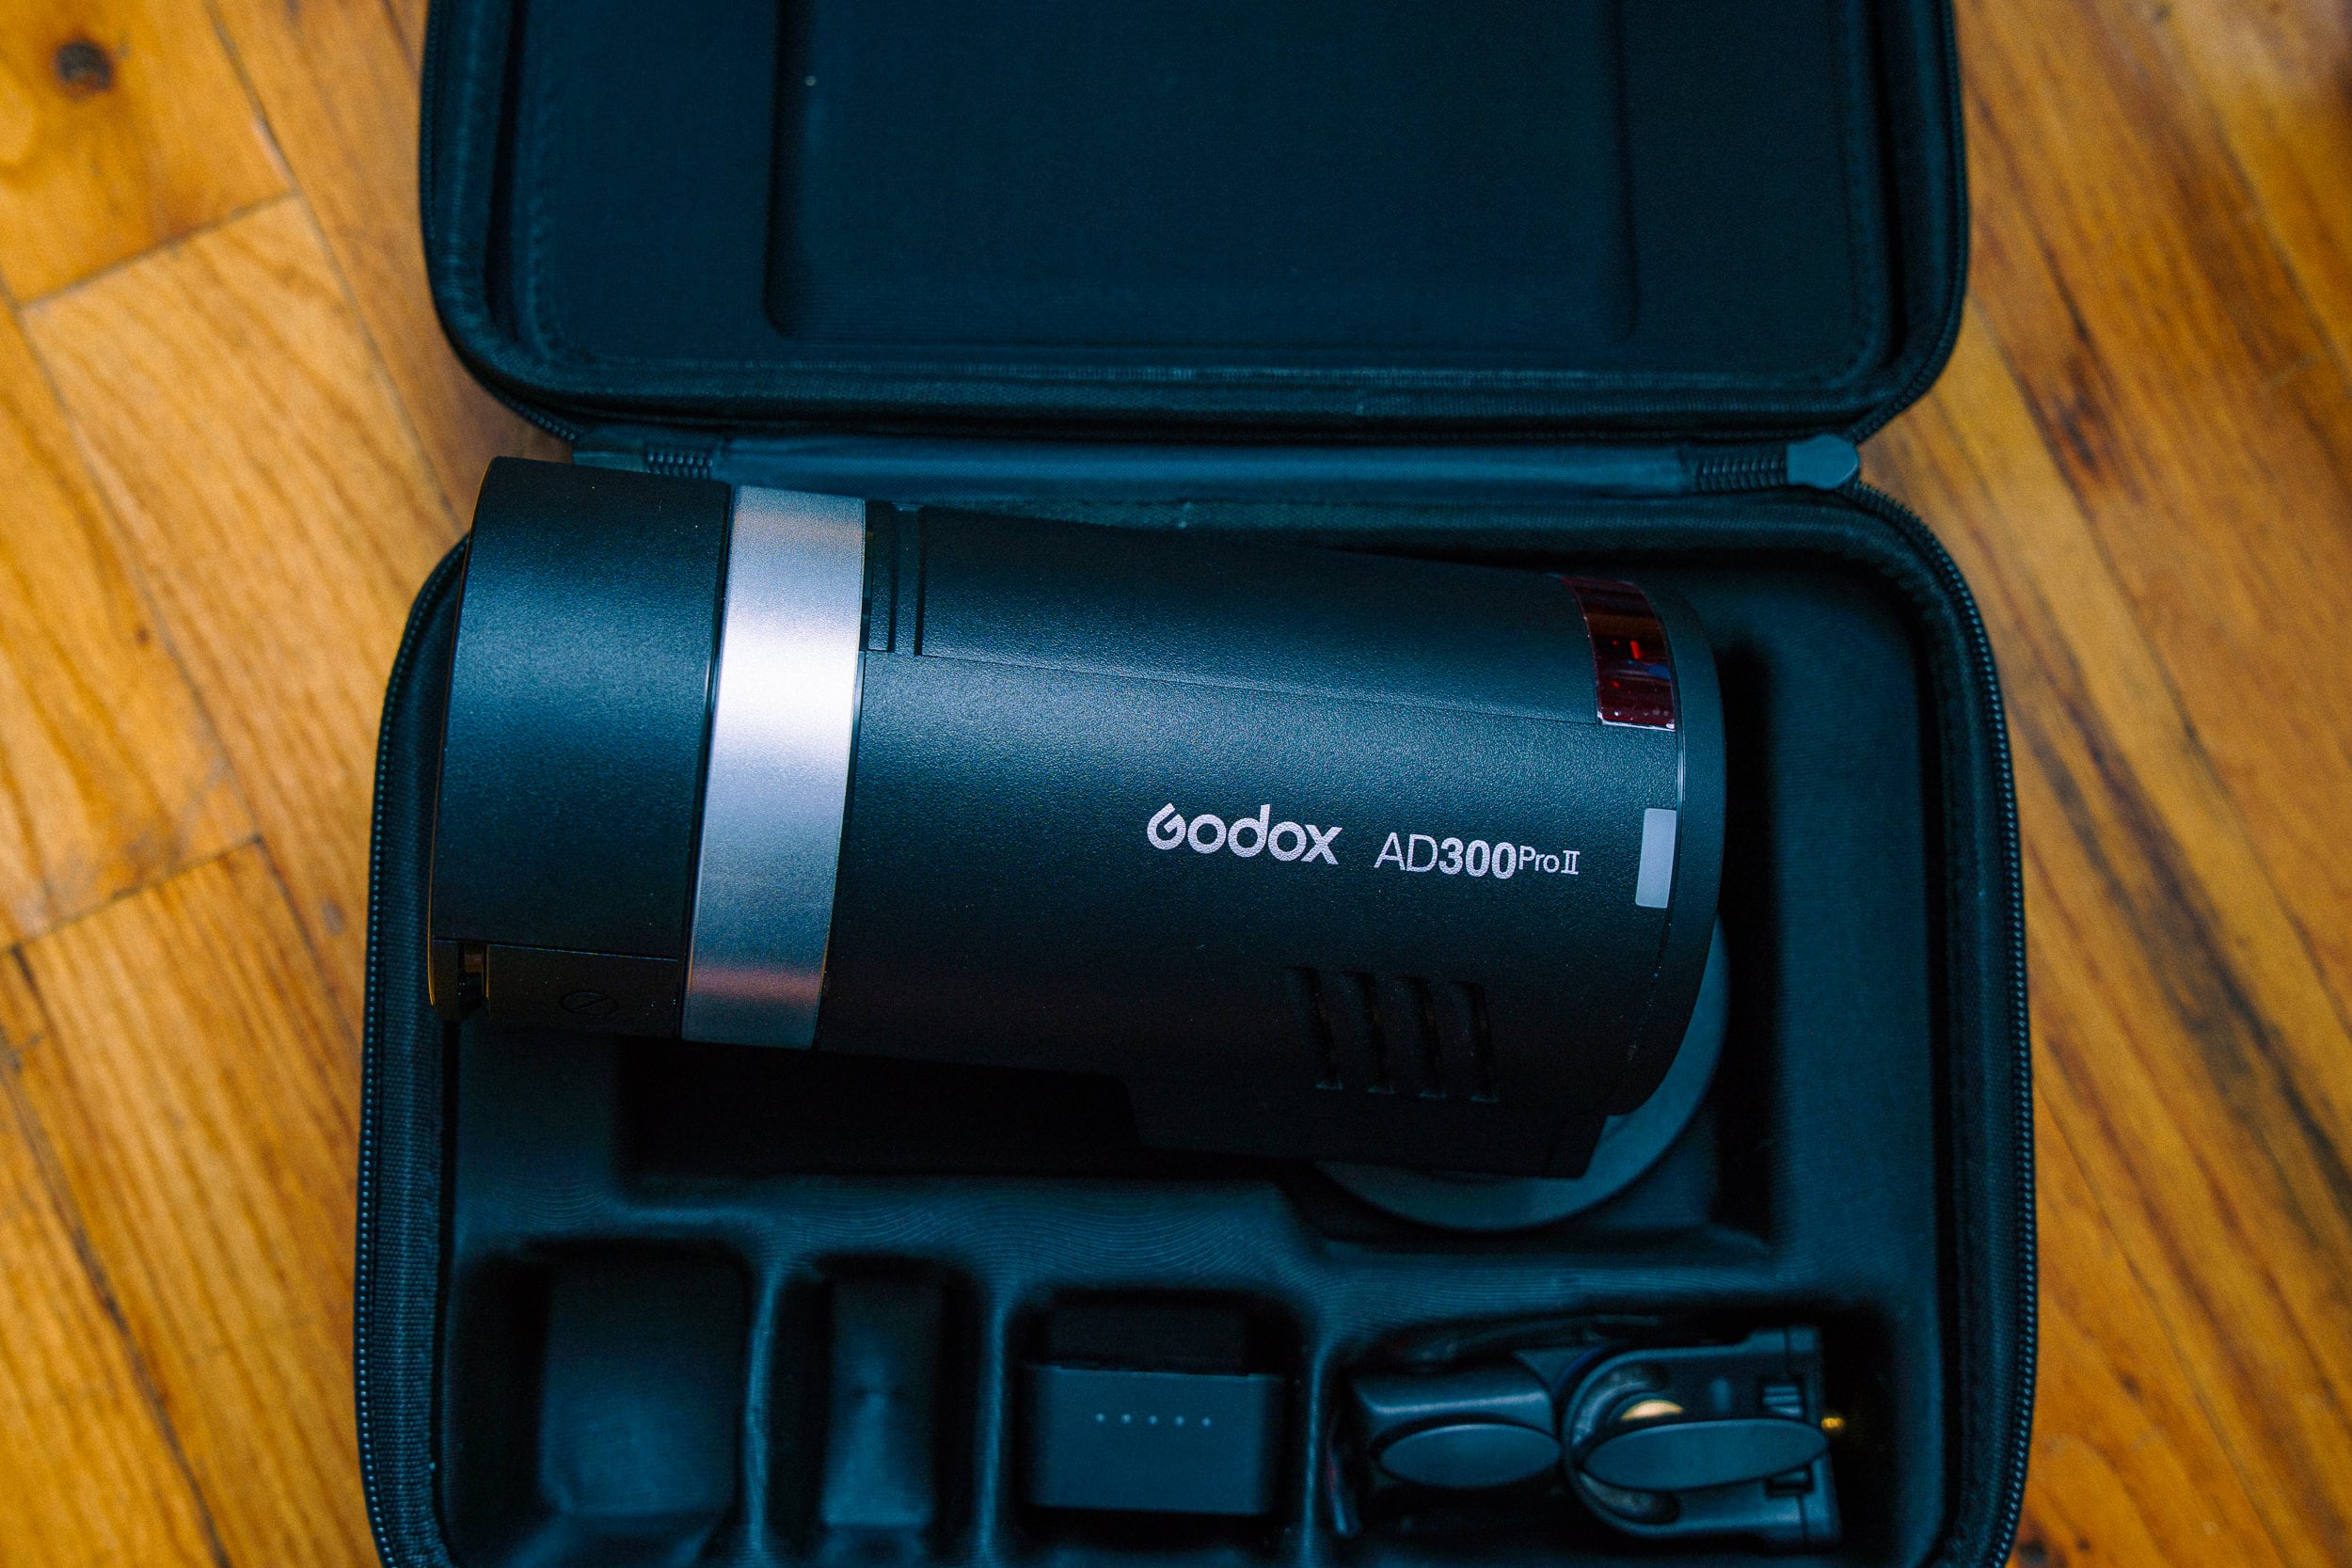
- Includes Battery, Charging Cable & Bag
Right off the bat, the Godox AD300Pro II gives photographers a 50Ws boost over Profoto’s B20 monolight – a light with an MSRP of $1995 (US). When paired with a Godox X3 or X3 Pro trigger, you can seamlessly sync both your light and trigger without the hassle getting too deep in the menu. The AD300Pro II is rated for 350 full-power flashes which is plenty for most jobs, even ones where you’ll be taking of advantage of High-Speed Sync and full-power pops.
If you’re using the AD300Pro II in a studio or as part of a multi-light setup, Godox introduced a feature: the Visual 16 Color Groups indicator to help keep things organized at a glance. The strobe body features an integrated multi-color LED group light that changes color depending on which wireless group it is assigned to. If Group A is set to blue and Group B to red, you can instantly verify your lighting layout across a busy location simply by glancing at the strobes. When paired with a transmitter like the Godox X3 wireless trigger, one-tap syncing connects the units instantly without tedious manual channel pairing, turning what used to be a tedious multi-step setup into a seamless, single-handed task.
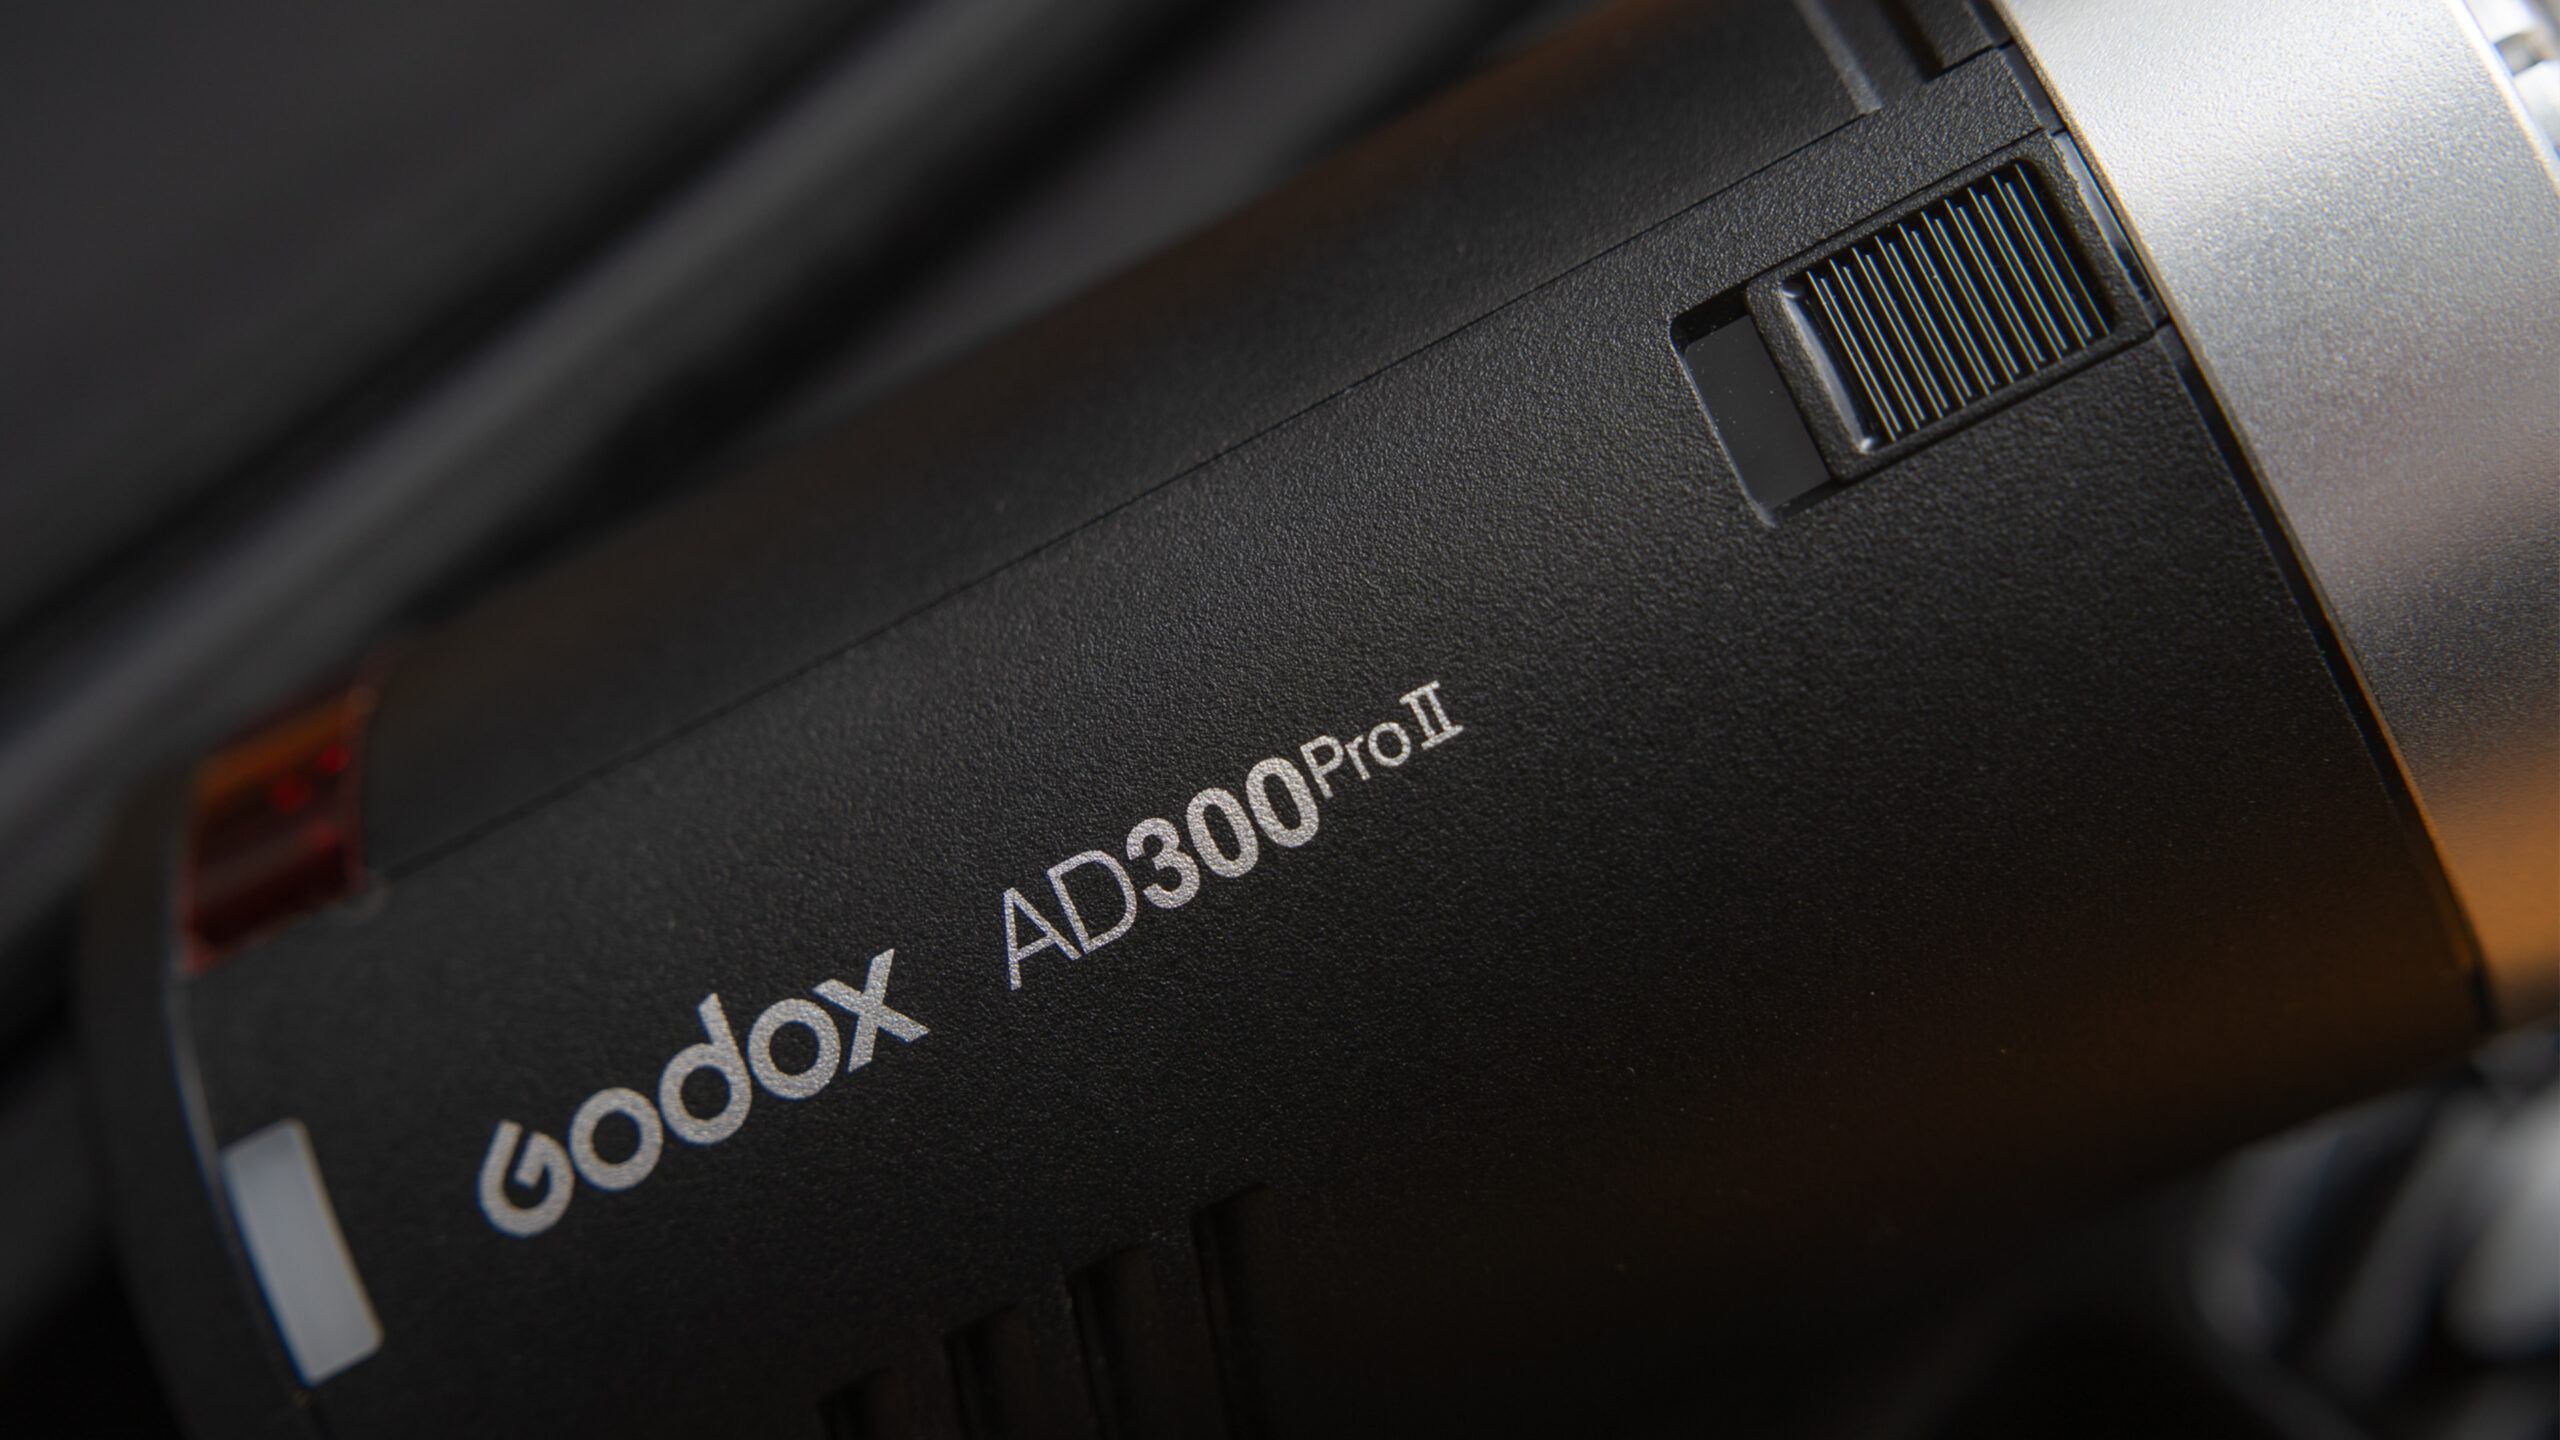
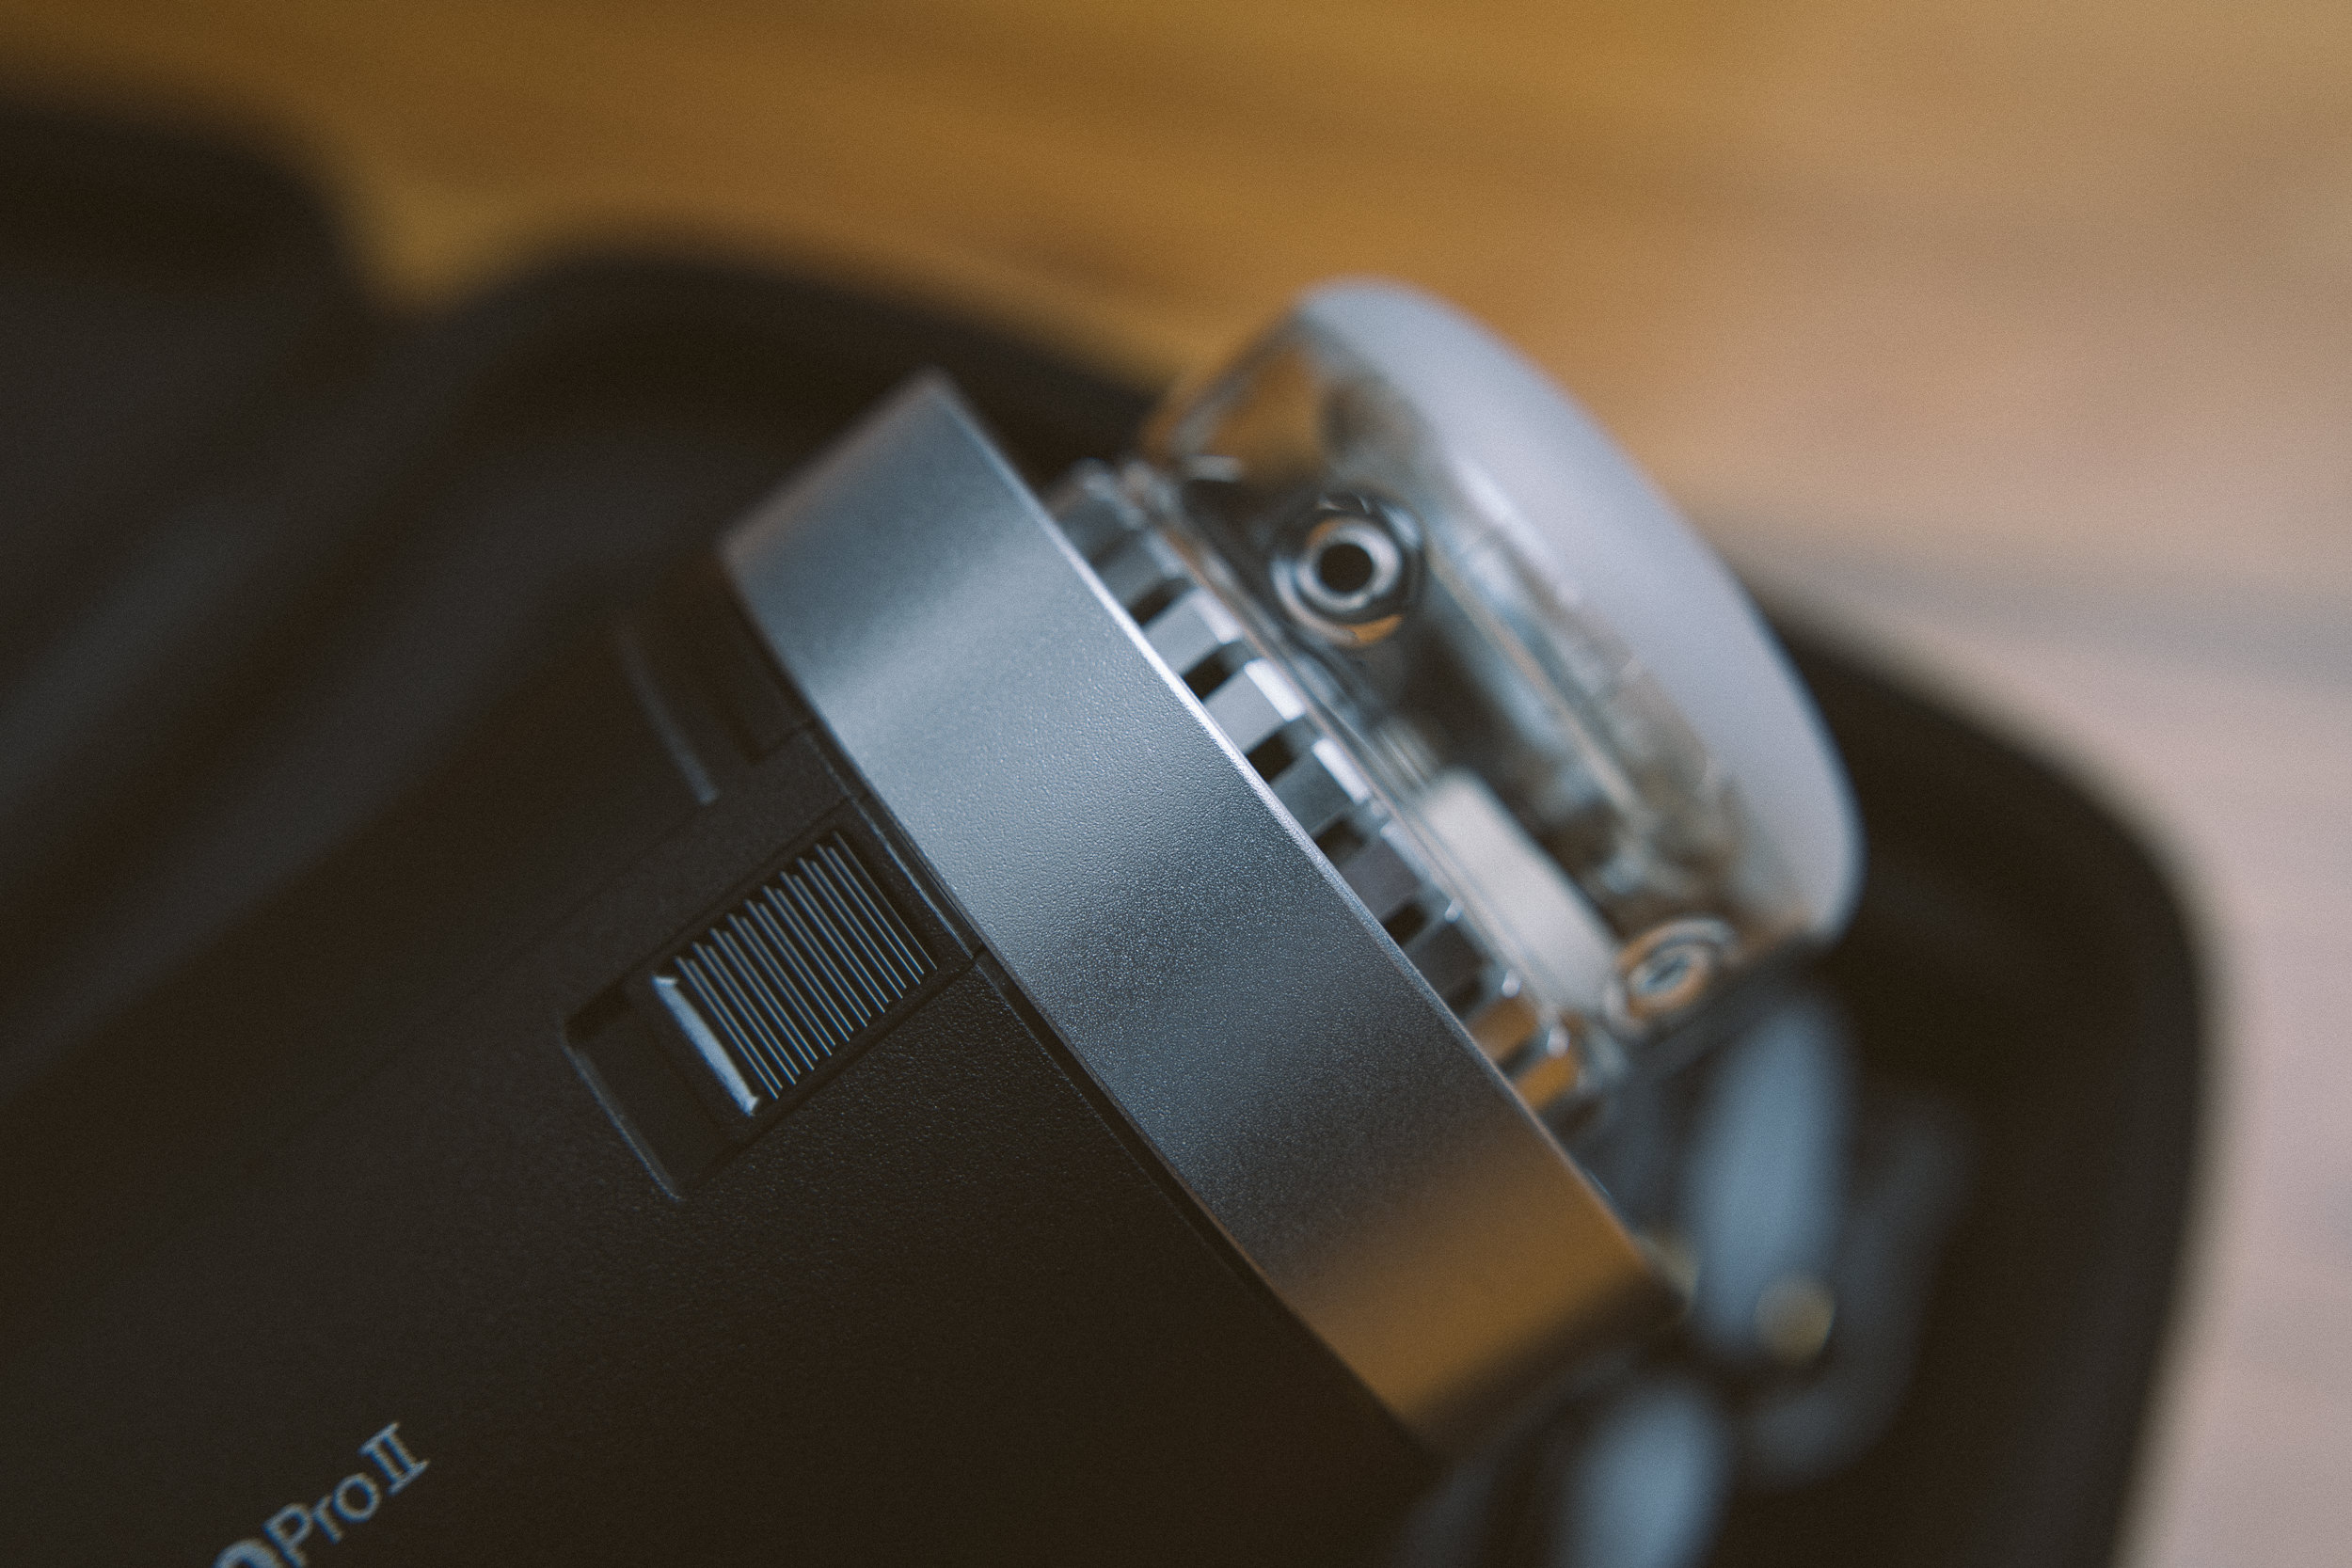
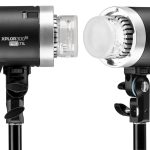
Product Images
Using the Godox AD300Pro II in the Real World
Getting the tech specs out of the way, let’s get down to why you’re here – how does the Godox AD300Pro II work in the real world? Earlier in this article I made the comparison between the AD300Pro II and the Profoto B20 – a light that I own and have been using for nearly a year. It’s an apt comparison as the two lights have very similar specs with a few caveats that must be mentioned. For starters, the AD300Pro II does have 300Ws max output, a 50Ws difference compared to the B20’s 250Ws, but the battery is rated for 350 full-power flashes versus the B20’s 400. Depending on your needs, this might swing your decision one way or the other, however, in my testing, I found that difference to be negligible – even when shooting outdoors.

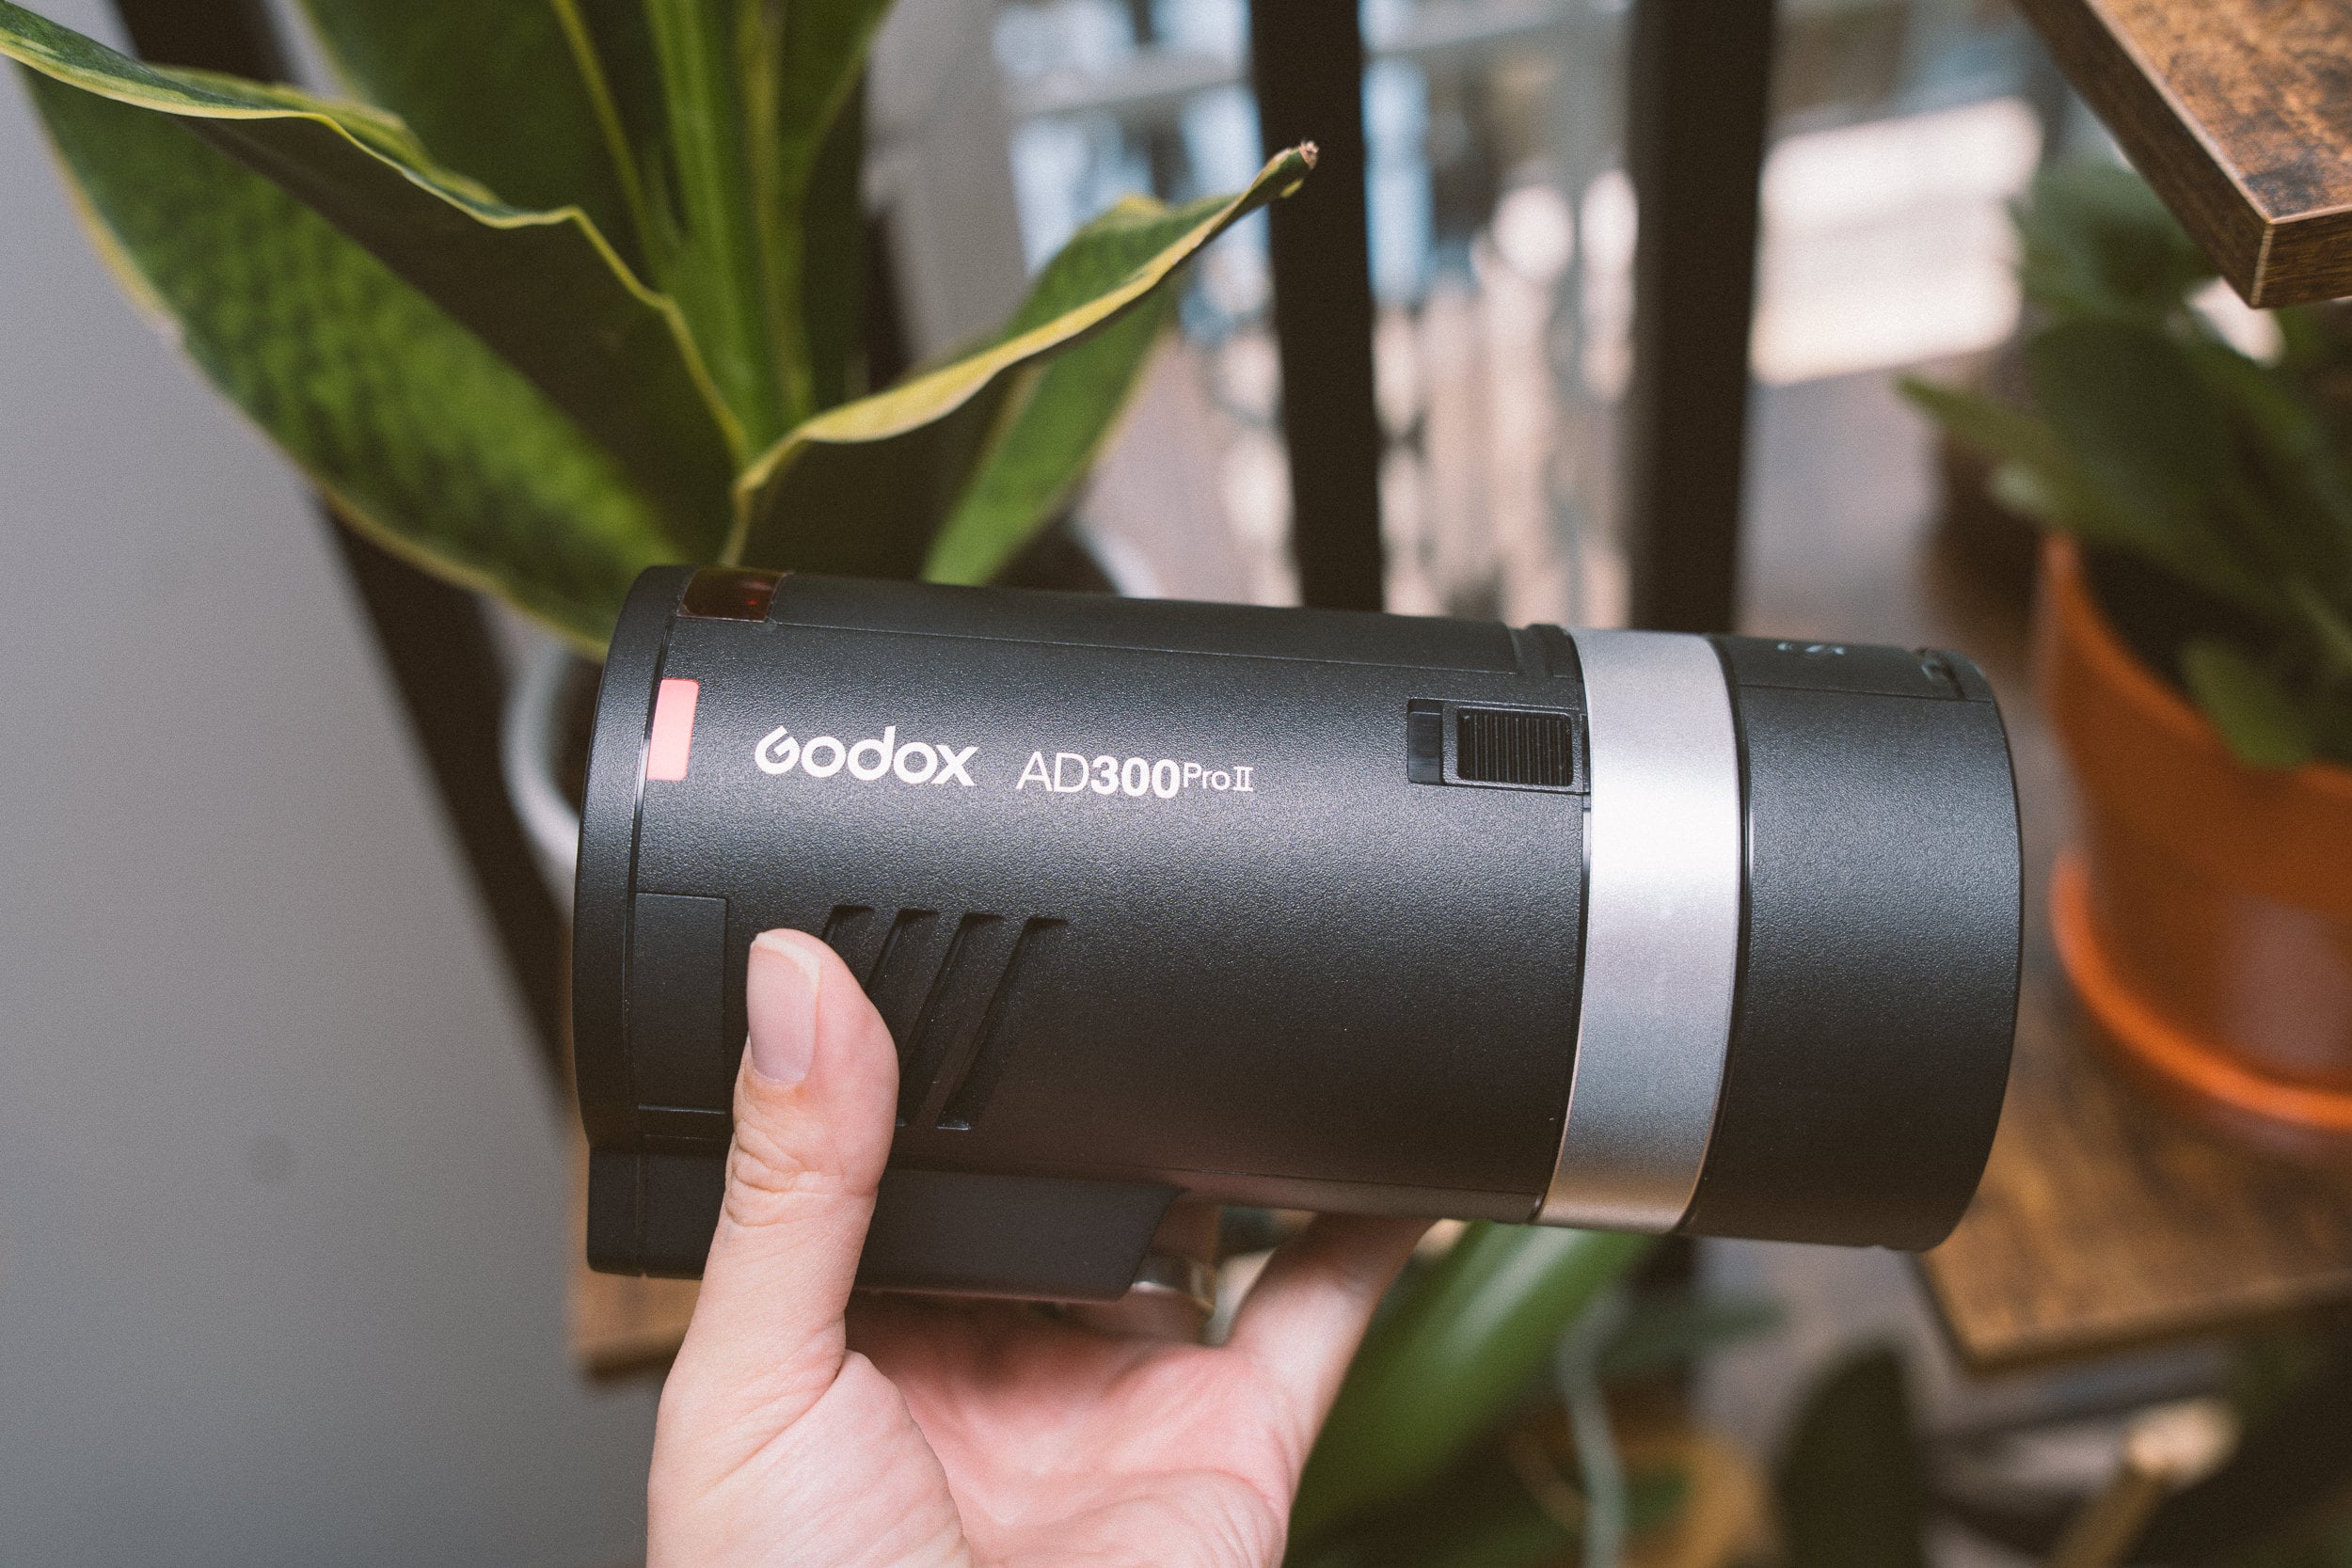
Instead of getting lost in these slight differences, I want to focus on the two biggest factors that impact my workflow and needs. As an event photographer and my lighting needs can vary from venue to venue, often without a dedicated space to stick a light on a stand. For this reason, the AD300 Pro II felt like the best option as it is significantly lighter than my B20 – which allows me to handhold the light if needed. While AD300Pro II is largely intended to be used on a stand, it’s good to know that you won’t have sore arms for a week if you (or an assistant) has to walk around with this light (and a modifier).
As someone that’s shot everything from weddings to press announcements, having an adequately powerful light is the difference between beautiful images or lots of work in post, and potentially an unhappy client. The Godox AD300 Pro II is more than capable of adding light in dimly lit event spaces and over powering the sun for creative shoots outdoors. Additionally, recycle times are remarkably swift, ranging from a virtually instantaneous 0.01 seconds at lower settings to just 1.5 seconds at maximum output. The AD300 Pro II is powered by a rechargeable lithium-ion battery that yields roughly 350 full-power flashes per charge. In my time with this monolight, I found it was easily able to handle several hours of shooting on a single charge.

Despite its exceptional engineering, the AD300Pro II is subject to a few notable limitations. The most glaring critique lies in its modifier mount. To keep the body as compact as possible, Godox utilizes its small, proprietary native Godox mount on the front of the strobe. While Godox makes excellent portable softboxes for this mount, the vast majority of standard studio modifiers use the universal Bowens S-mount. If you plan on using existing third-party softboxes, you must purchase an optional accessory bracket – I ended up purchasing the Godox S3 bracket to fit my Glow softboxes. It is an extra expense and another piece of gear to pack, which slightly undercuts the “all-in-one” out-of-the-box experience.
Another consideration is the 300Ws maximum power output. While this setup was perfect indoors and with a single subject in daylight, once you introduce multiple subjects in your midday scene, you’ll find that 300Ws isn’t nearly enough. For most people reading this now, you will most likely not encounter this scenario, but if you’re looking to do some heavy-duty outdoor commercial work, look elsewhere.
Additional Sample Images
All images were taken using the Godox AD300Pro II:


Should You Buy This Light?
The Godox AD300Pro II is a masterclass in meaningful product refinement. By combining an ultra-portable, travel-friendly form factor with an intuitive color UI, robust color consistency, and high-speed sync, Godox has crafted a light that punches far above its weight class. While the proprietary mount remains a minor inconvenience for Bowens users, the strobe’s overall versatility, reliability, and sheer usability make it an exceptional investment for any photographer ready to master the art of off-camera lighting.
Ready to try one yourself? You can buy one from B&H Photo/Video for $499 USD.

Related Posts
 The LitraTorch is a powerful versatile and waterproof LED light that fits in your pocket
 Godox’s lens-sized AD300Pro strobe is a portable power house
 The first review of the Godox AD100Pro shows a versatile flash, but it’s not for everybody
 Godox is releasing a lens-sized AD300Pro strobe that may double up as a video light
Join the Discussion
DIYP Comment Policy
Be nice, be on-topic, no personal information or flames.